Time needed: 5 minutes
Follow from Step 1 to Step 9 in order to create NS2 using Simulator projects. Quick guide to create Run NS2 in Windows. Reach us , if you want an customize NS2 simulator projects works for scholars.
We can download the by use these link and download the three .rar files and place them in a single folder and Extract the NS 2.35.part1 only.It will extract the part2 an part3 automatically.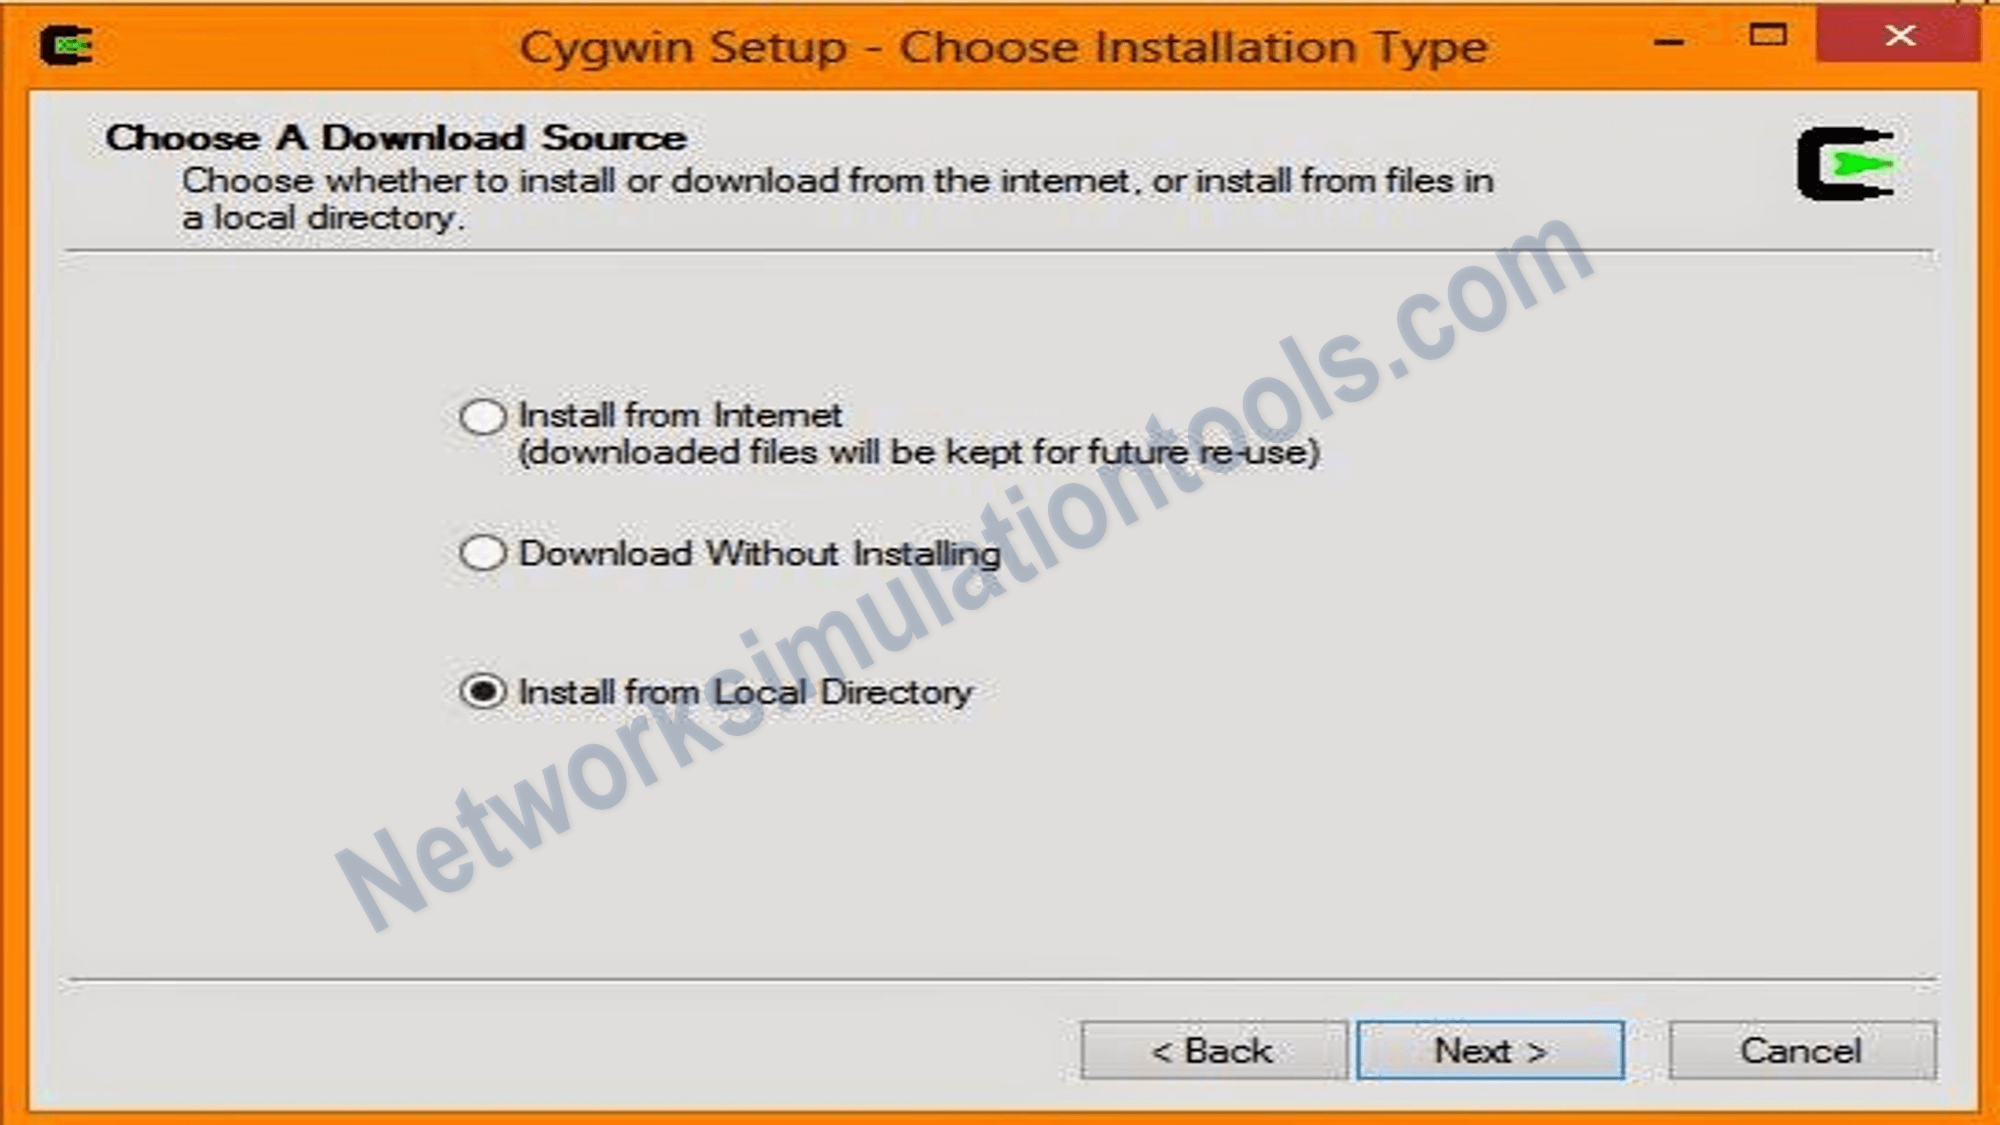
After extraction you’ll get a folder named NS 2.35 , next from the Inside this folder you get cygwin setup , .bashrc etc.. next , install the setup. Choose install from local directory
Next , press the next button , Don’t change the default Root Directory. Next browse the Local Package Rpository field to: NS 2.35/nslocal/release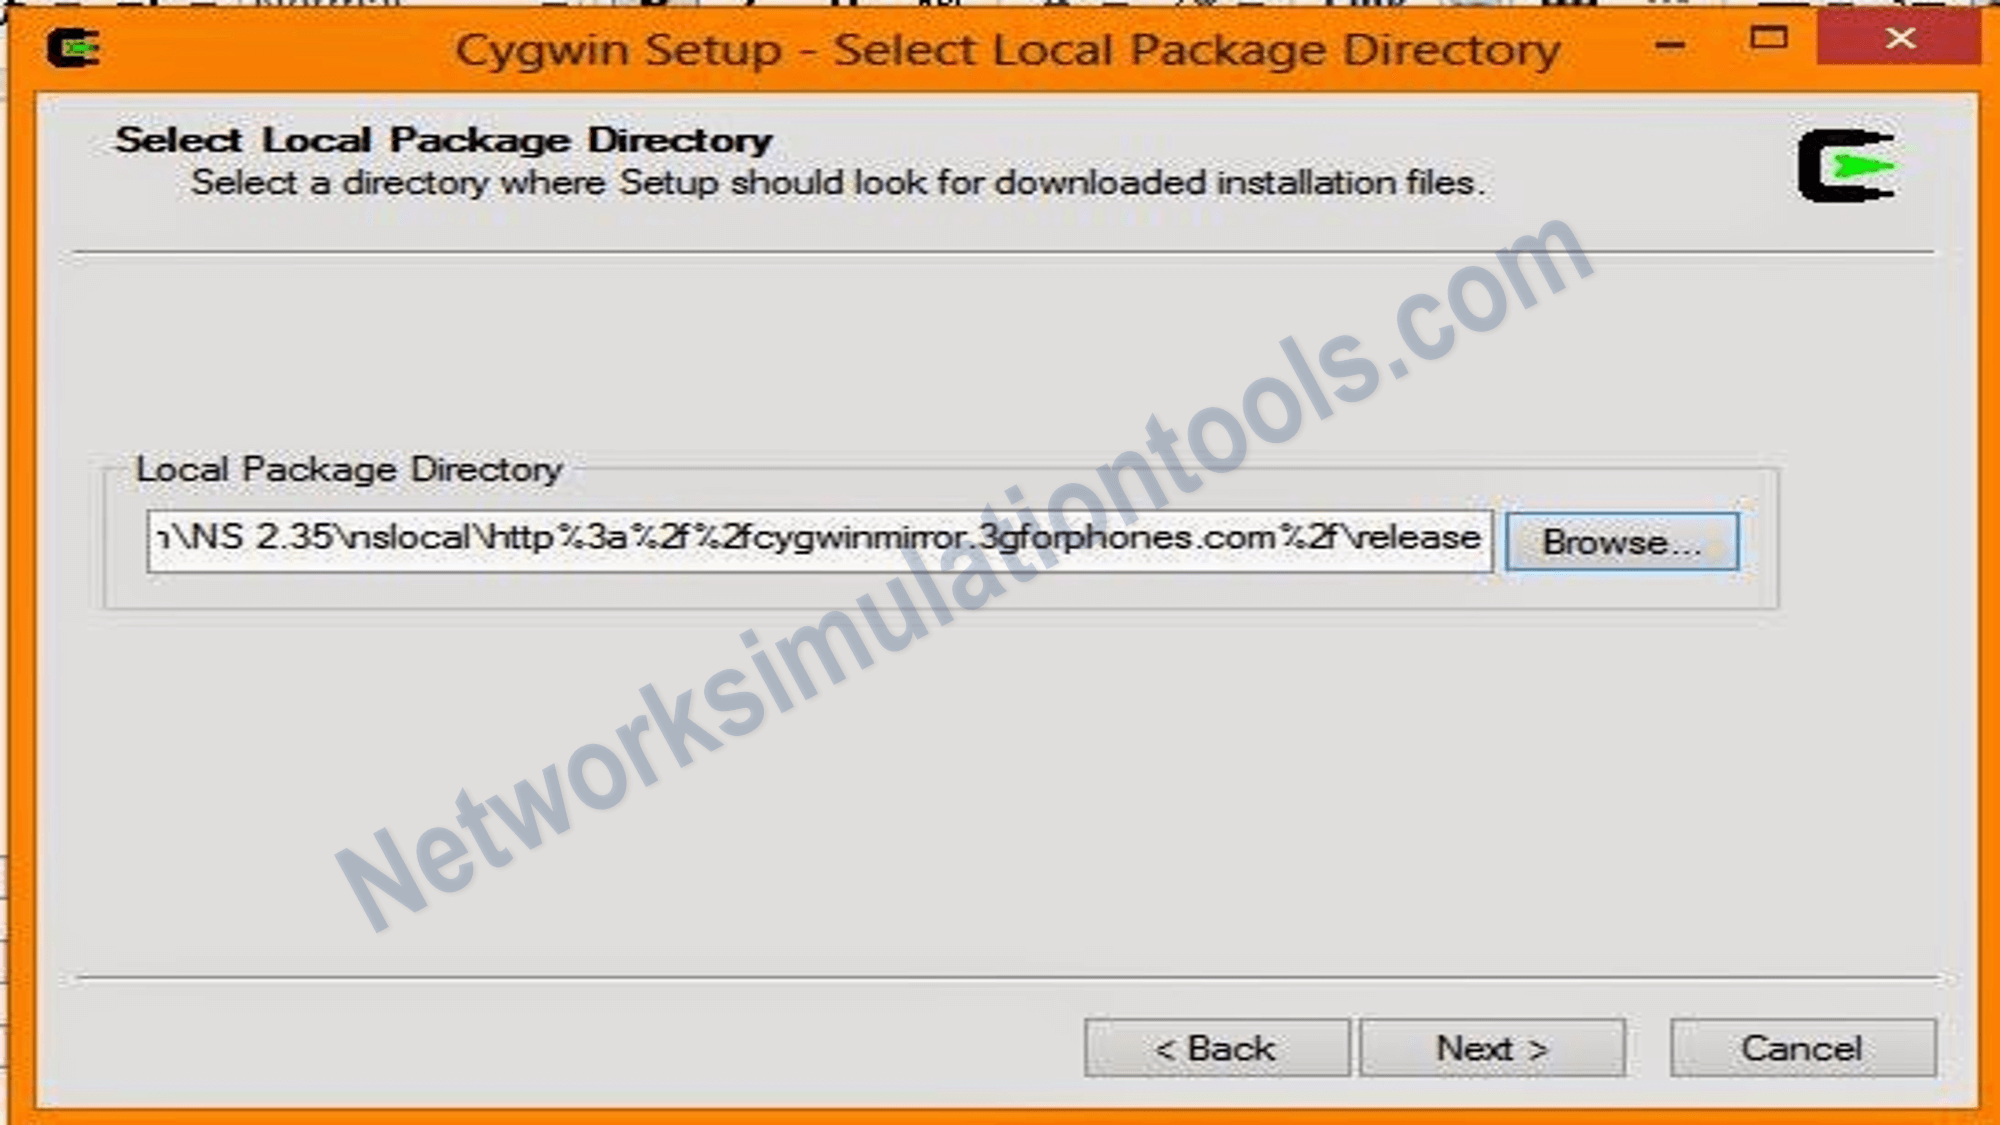
Next , click the next button option and Click on the Circle icon in the window for the all option , After clicking the circle the default turn to install , then select the install option
After this press Next button, it will install the necessary packages for NS2 installation and check create a desktop shortcut and start menu shortcut , Then installation finished.
$ns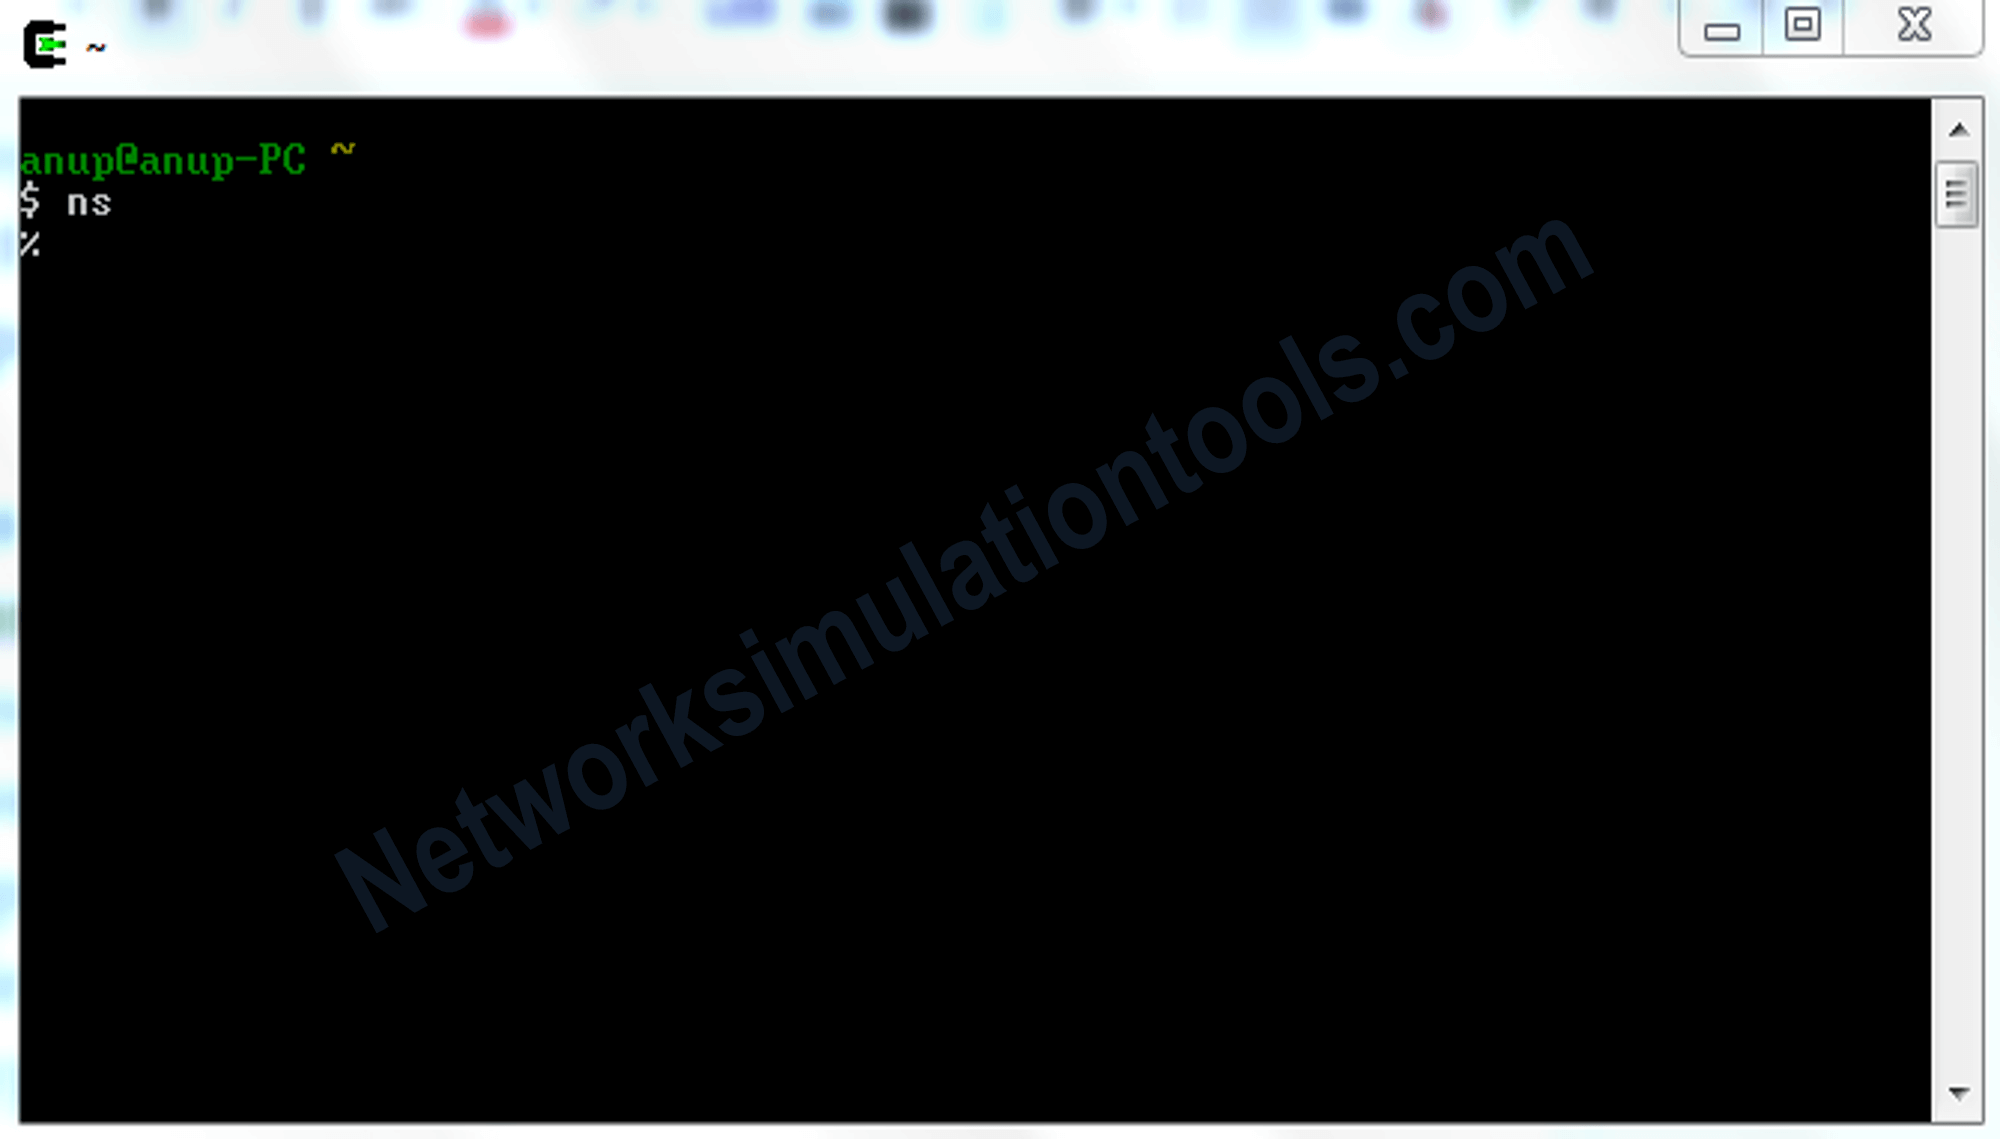
Next, create a folder Named in C:\cygwin\home next copy the ns-allinone-2.35-RC7avecxgraph.rar and Extract there. After that you can get the ns-allinone-2.35-RC7 folder. next cpoy the .bashrc file from the downloaded Extract folder .Now open the Cygwin command window which is on your desktop and type source .bashrc
Now type ns “$” change to “%”
Next type ns-version it will show like:
Next press exit.
NAM Console
Next type nam you’ll get a screen
NAM Process window
After open the nam process window ,
select the auto generated nam trace file
Select the auto generated nam trace file in NS2. By using this process to execute the network simulator to get the simulation successfully.
If you face any issues on How to Run NS2 in Windows, reach us to create an customize NS2 simulator projects.
| Technology | Ph.D | MS | M.Tech |
|---|---|---|---|
| NS2 | 75 | 117 | 95 |
| NS3 | 98 | 119 | 206 |
| OMNET++ | 103 | 95 | 87 |
| OPNET | 36 | 64 | 89 |
| QULANET | 30 | 76 | 60 |
| MININET | 71 | 62 | 74 |
| MATLAB | 96 | 185 | 180 |
| LTESIM | 38 | 32 | 16 |
| COOJA SIMULATOR | 35 | 67 | 28 |
| CONTIKI OS | 42 | 36 | 29 |
| GNS3 | 35 | 89 | 14 |
| NETSIM | 35 | 11 | 21 |
| EVE-NG | 4 | 8 | 9 |
| TRANS | 9 | 5 | 4 |
| PEERSIM | 8 | 8 | 12 |
| GLOMOSIM | 6 | 10 | 6 |
| RTOOL | 13 | 15 | 8 |
| KATHARA SHADOW | 9 | 8 | 9 |
| VNX and VNUML | 8 | 7 | 8 |
| WISTAR | 9 | 9 | 8 |
| CNET | 6 | 8 | 4 |
| ESCAPE | 8 | 7 | 9 |
| NETMIRAGE | 7 | 11 | 7 |
| BOSON NETSIM | 6 | 8 | 9 |
| VIRL | 9 | 9 | 8 |
| CISCO PACKET TRACER | 7 | 7 | 10 |
| SWAN | 9 | 19 | 5 |
| JAVASIM | 40 | 68 | 69 |
| SSFNET | 7 | 9 | 8 |
| TOSSIM | 5 | 7 | 4 |
| PSIM | 7 | 8 | 6 |
| PETRI NET | 4 | 6 | 4 |
| ONESIM | 5 | 10 | 5 |
| OPTISYSTEM | 32 | 64 | 24 |
| DIVERT | 4 | 9 | 8 |
| TINY OS | 19 | 27 | 17 |
| TRANS | 7 | 8 | 6 |
| OPENPANA | 8 | 9 | 9 |
| SECURE CRT | 7 | 8 | 7 |
| EXTENDSIM | 6 | 7 | 5 |
| CONSELF | 7 | 19 | 6 |
| ARENA | 5 | 12 | 9 |
| VENSIM | 8 | 10 | 7 |
| MARIONNET | 5 | 7 | 9 |
| NETKIT | 6 | 8 | 7 |
| GEOIP | 9 | 17 | 8 |
| REAL | 7 | 5 | 5 |
| NEST | 5 | 10 | 9 |
| PTOLEMY | 7 | 8 | 4 |