Time needed: 5 minutes
Follow from Step 1 to Step 8 in order to create NS2 using Simulator projects. Quick guide to create Network Simulator in Ubuntu 16.04. Reach us , if you want an customize NS2 simulator projects works for scholars.
For install the NS-2.35 , we need the following minimum system requirements.
1)OS : ubuntu-16.04
2)RAM :minimum 2GB
3)Processor: 2.5 GHz and above
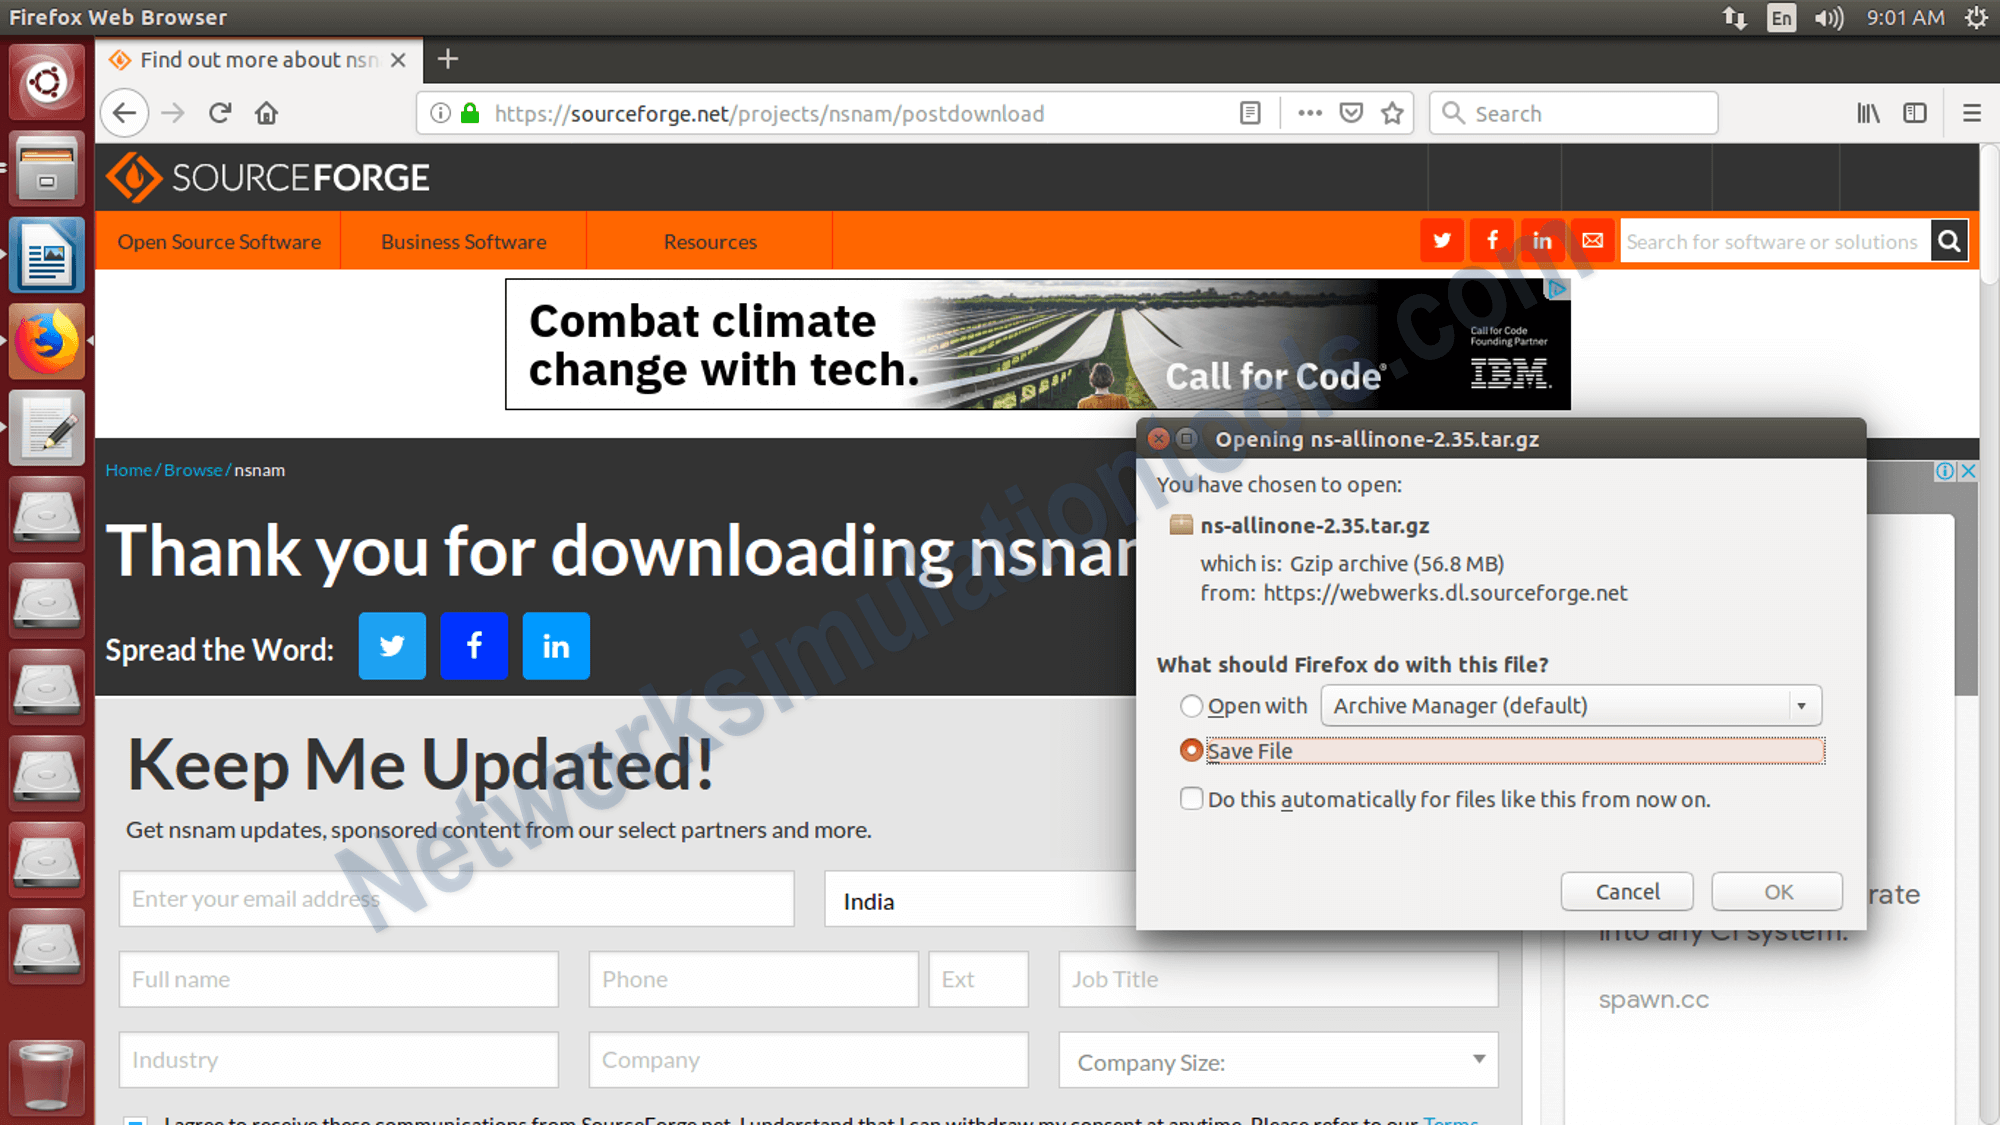
Download the ns-allinone-2.35.tar.gz package from the following url,
http://sourceforge.net/projects/nsnam/files/allinone/ns-allinone-2.35/ns-allinone-2.35.tar.gz/download
Extract the downloaded zip file ‘ns-allinone-2.35.tar.gz file’ to home drive.
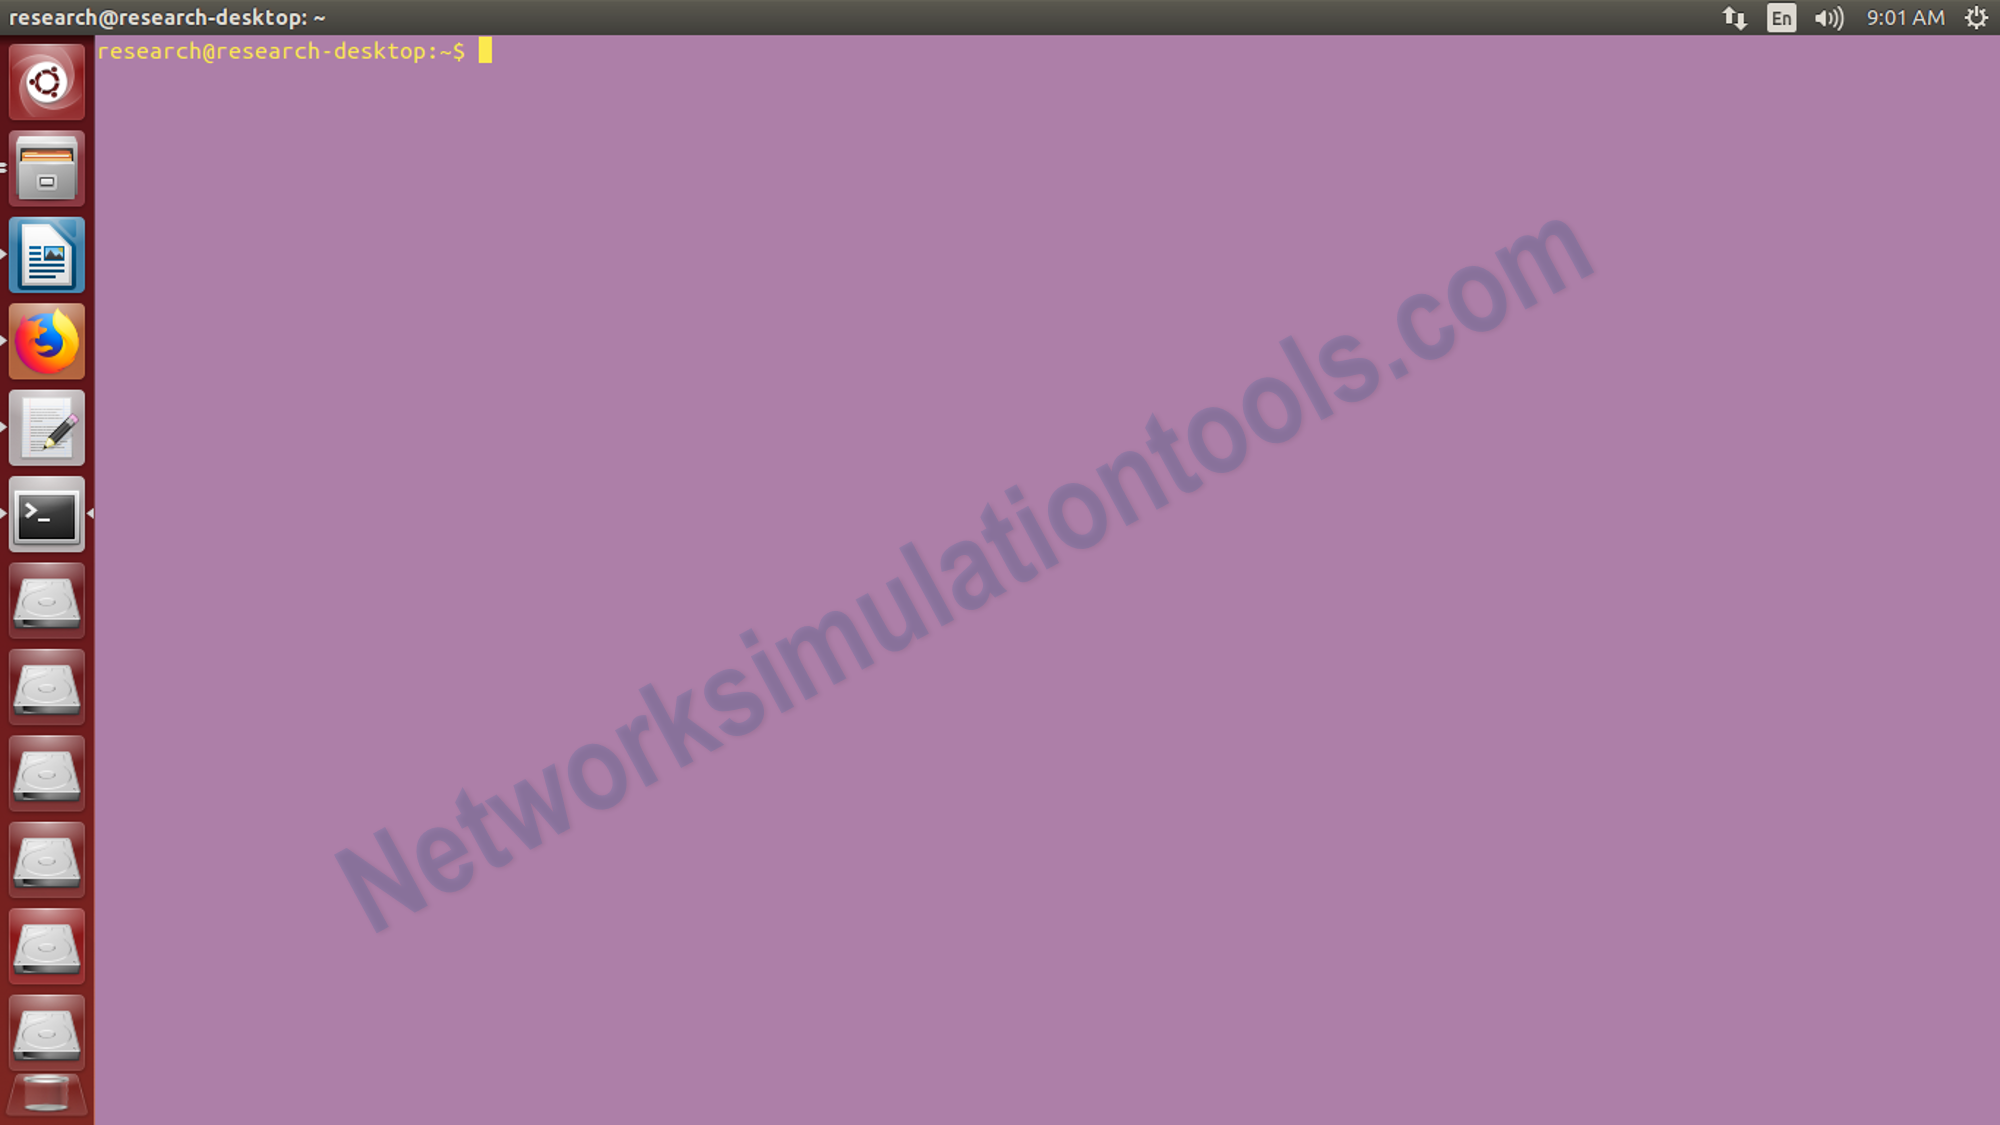
Initially,Next open the terminal by press ctrl+alt+T buttons or search from the installed software list.
To install prerequisites execute the given below command. to download some essential packages for ns2,these packages can be downloaded by using the following commands on the terminal window
sudo apt-get update apt-get dist-upgrade apt-get update apt-get gcc apt-get install build-essential autoconf automake apt-get install tcl8.5-dev tk8.5-dev apt-get install perl xgraph libxt-dev libx11-dev libxmu-dev
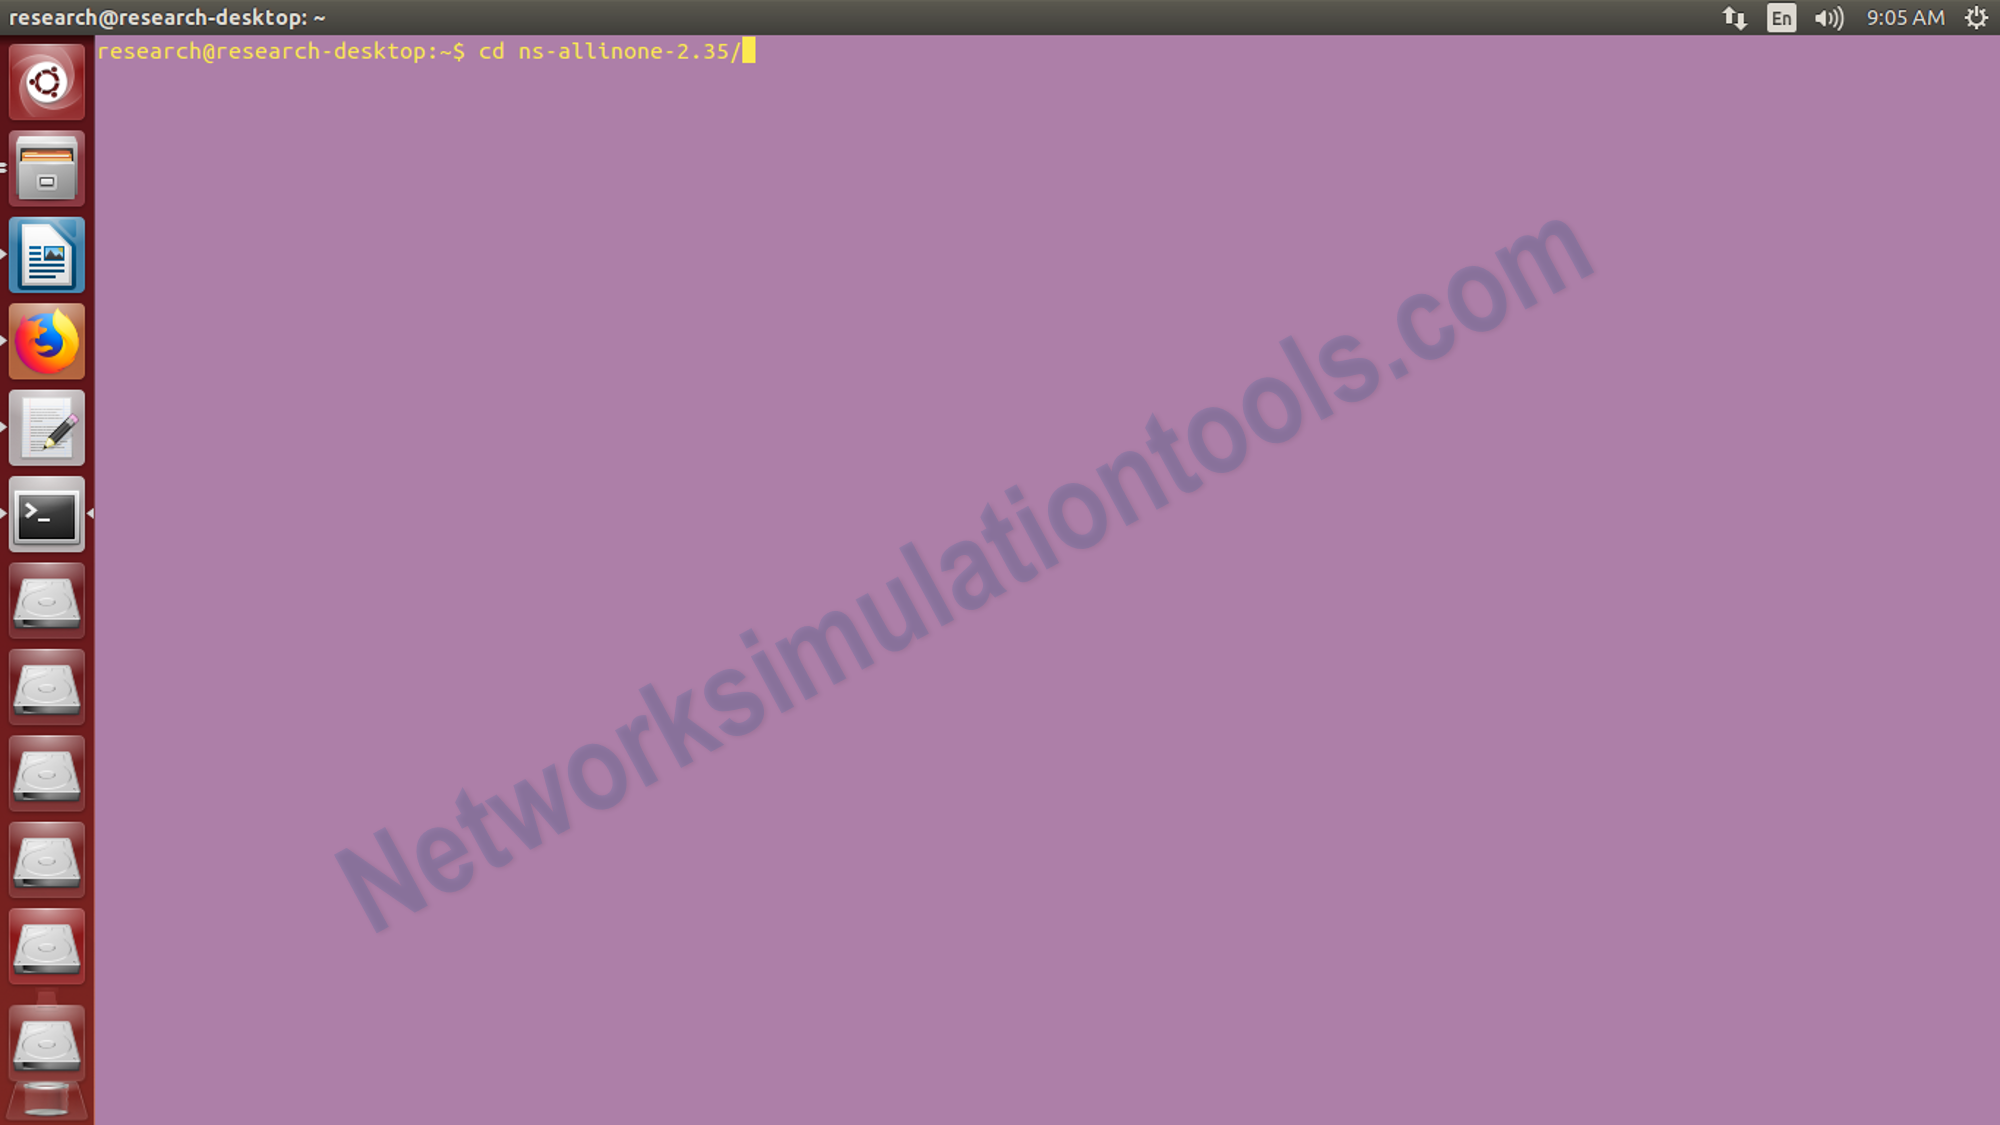
Now change your directory type the following codes in the command window to install NS2.
cd ns-allinone-2.35/
Execute the install command :sudo ./install
After completing the installation , next execute the command in the terminal
gedit ~/.bashrc
After execute the above command , you can get the window appears,please copy and paste the follwing codes in the end of the text file (note that ‘/home/research/ns-allinone-3.26/octl-1.14’ in each line in the below code should be replaced with your location where the ‘ns-allinone-2.35.tar.gz’file is extracted)
LD_LIBRARY_PATH
OTCL_LIB=/home/research/ns-allinone-3.26/otcl-1.14
NS2_LIB=/home/research/ns-allinone-3.26/lib
X11_LIB=/usr/X11R6/lib
USR_LOCAL_LIB=/usr/local/lib
export LD_LIBRARY_PATH=$LD_LIBRARY_PATH:$OTCL_LIB:$NS2_LIB:$X11_LIB:$USR_LOCAL_LIB
TCL_LIBRARY
TCL_LIB=/home/research/ns-allinone-3.26/tcl8.5.10/library
USR_LIB=/usr/lib
export TCL_LIBRARY=$TCL_LIB:$USR_LIB
PATH
XGRAPH=/home/research/ns-allinone-3.26/bin:/home/research/ns-allinone-3.26/tcl8.5.10/unix:/home/research/ns-allinone-3.26/tk8.5.10/unix
NS=/home/research/ns-allinone-3.26/ns-2.35/
NAM=/home/research/ns-allinone-3.26/nam-1.15/
PATH=$PATH:$XGRAPH:$NS:$NAM
Afet type the above code in the text file Save and close the text editor and then type the below command on the terminal
source ~/.bashrc
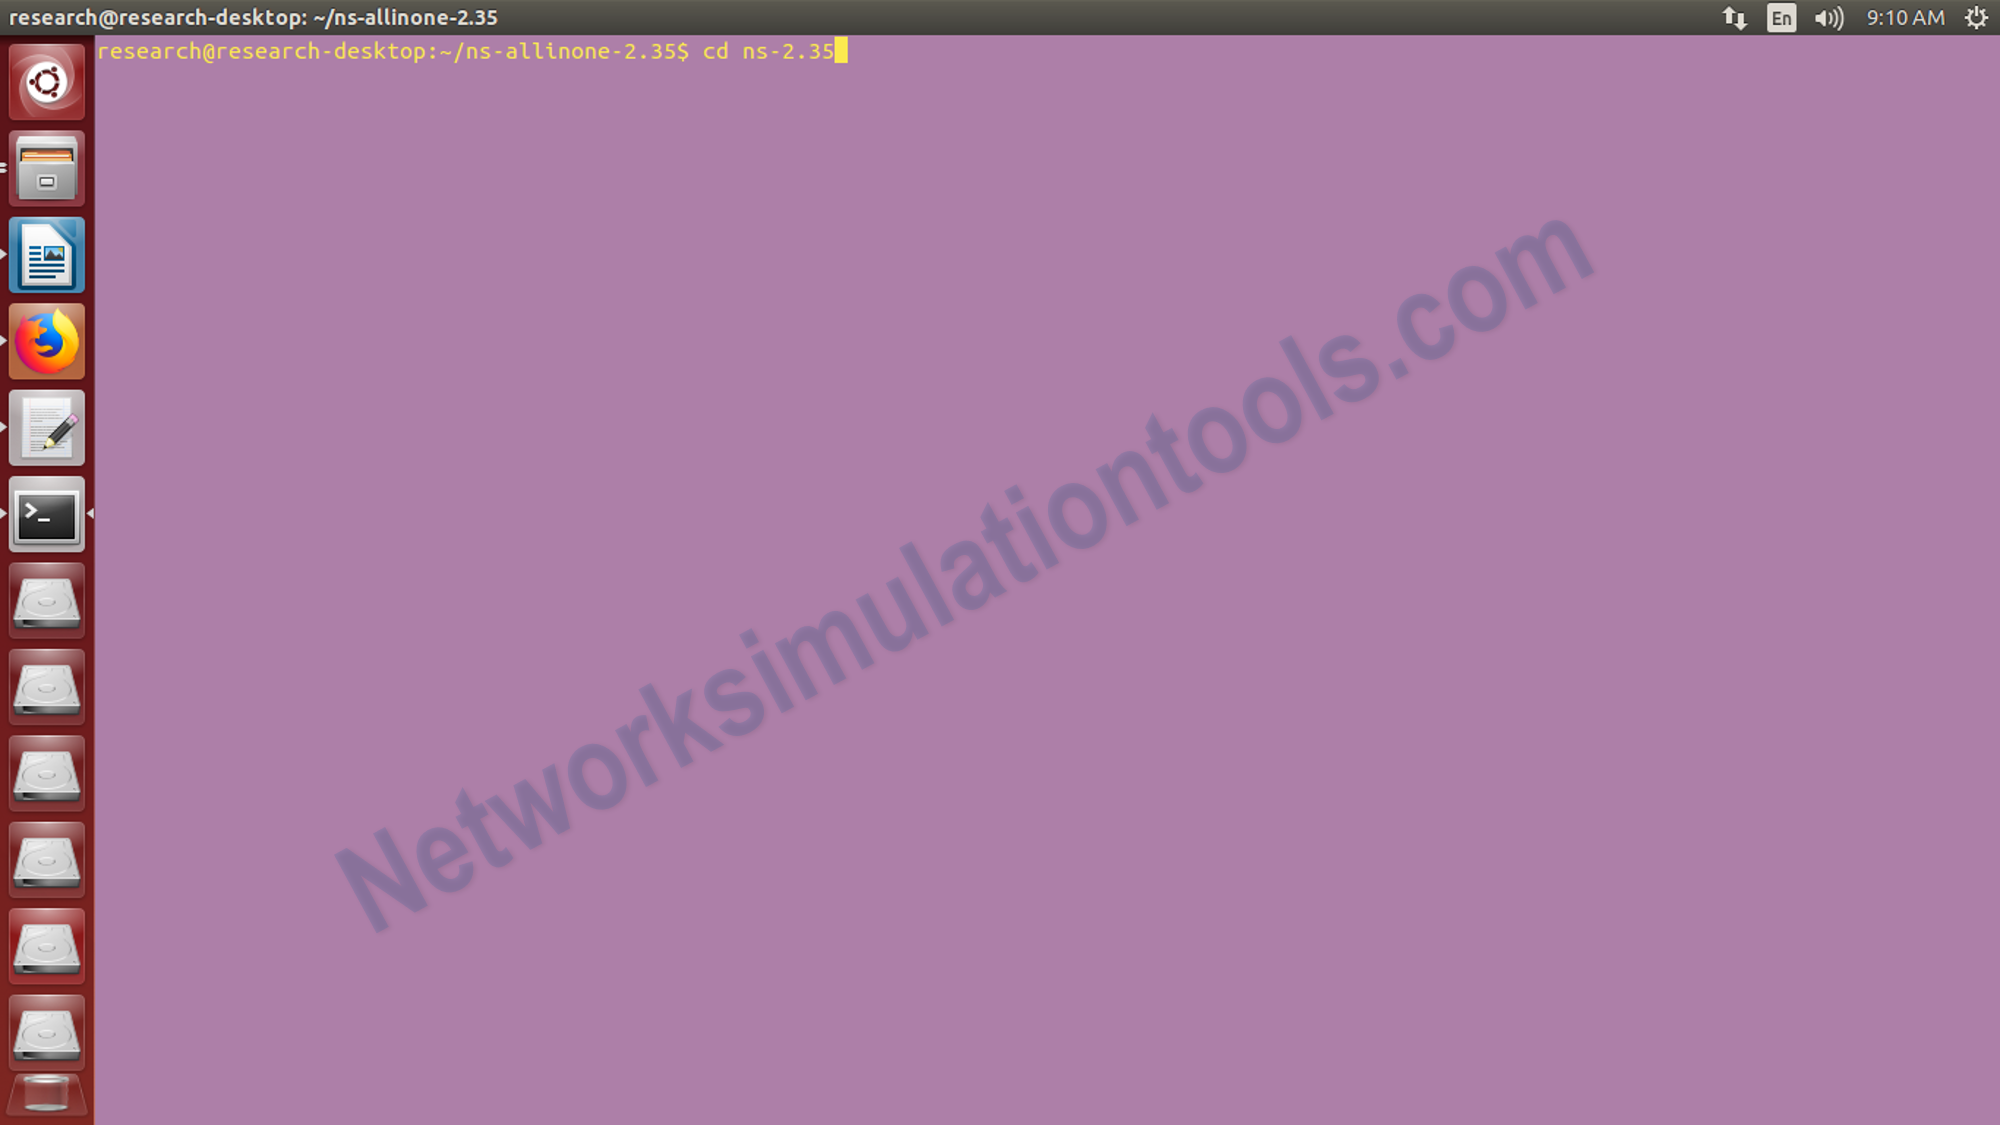
8)Close the terminal window and start a new terminal window and now change the directory to ns-2.35 and validate ns-2.35 by executing the following command
cd ns-2.35
./validate
Execute the new terminal window like cd ns-2.35
./validate
If you face any issues on How to Install NS2 in Ubuntu 16.04, reach us to create an customize NS2 simulator projects.
| Technology | Ph.D | MS | M.Tech |
|---|---|---|---|
| NS2 | 75 | 117 | 95 |
| NS3 | 98 | 119 | 206 |
| OMNET++ | 103 | 95 | 87 |
| OPNET | 36 | 64 | 89 |
| QULANET | 30 | 76 | 60 |
| MININET | 71 | 62 | 74 |
| MATLAB | 96 | 185 | 180 |
| LTESIM | 38 | 32 | 16 |
| COOJA SIMULATOR | 35 | 67 | 28 |
| CONTIKI OS | 42 | 36 | 29 |
| GNS3 | 35 | 89 | 14 |
| NETSIM | 35 | 11 | 21 |
| EVE-NG | 4 | 8 | 9 |
| TRANS | 9 | 5 | 4 |
| PEERSIM | 8 | 8 | 12 |
| GLOMOSIM | 6 | 10 | 6 |
| RTOOL | 13 | 15 | 8 |
| KATHARA SHADOW | 9 | 8 | 9 |
| VNX and VNUML | 8 | 7 | 8 |
| WISTAR | 9 | 9 | 8 |
| CNET | 6 | 8 | 4 |
| ESCAPE | 8 | 7 | 9 |
| NETMIRAGE | 7 | 11 | 7 |
| BOSON NETSIM | 6 | 8 | 9 |
| VIRL | 9 | 9 | 8 |
| CISCO PACKET TRACER | 7 | 7 | 10 |
| SWAN | 9 | 19 | 5 |
| JAVASIM | 40 | 68 | 69 |
| SSFNET | 7 | 9 | 8 |
| TOSSIM | 5 | 7 | 4 |
| PSIM | 7 | 8 | 6 |
| PETRI NET | 4 | 6 | 4 |
| ONESIM | 5 | 10 | 5 |
| OPTISYSTEM | 32 | 64 | 24 |
| DIVERT | 4 | 9 | 8 |
| TINY OS | 19 | 27 | 17 |
| TRANS | 7 | 8 | 6 |
| OPENPANA | 8 | 9 | 9 |
| SECURE CRT | 7 | 8 | 7 |
| EXTENDSIM | 6 | 7 | 5 |
| CONSELF | 7 | 19 | 6 |
| ARENA | 5 | 12 | 9 |
| VENSIM | 8 | 10 | 7 |
| MARIONNET | 5 | 7 | 9 |
| NETKIT | 6 | 8 | 7 |
| GEOIP | 9 | 17 | 8 |
| REAL | 7 | 5 | 5 |
| NEST | 5 | 10 | 9 |
| PTOLEMY | 7 | 8 | 4 |