Time needed: 6 minutes
Follow from Step 1 to Step 10 in order to create NS3 using Simulation projects. Quick guide to create NS3 simulation on Windows 7. Reach us , if you want an customize NS3 simulation projects works for scholars.
VMware 9.0 — https://my.vmware.com/web/vmware/downloads/#all_products
32-bit PC (i386) desktop image — https://releases.ubuntu.com/16.04/ubuntu-16.04.6-desktop-i386.iso
NS3 3.30 (Latest Version) –- https://www.nsnam.org/releases/
we need to install the above specified softwares.
Right click on the VMware setup and run as administrative
Click next button
Click on typical and press next in all coming windows till installation completion.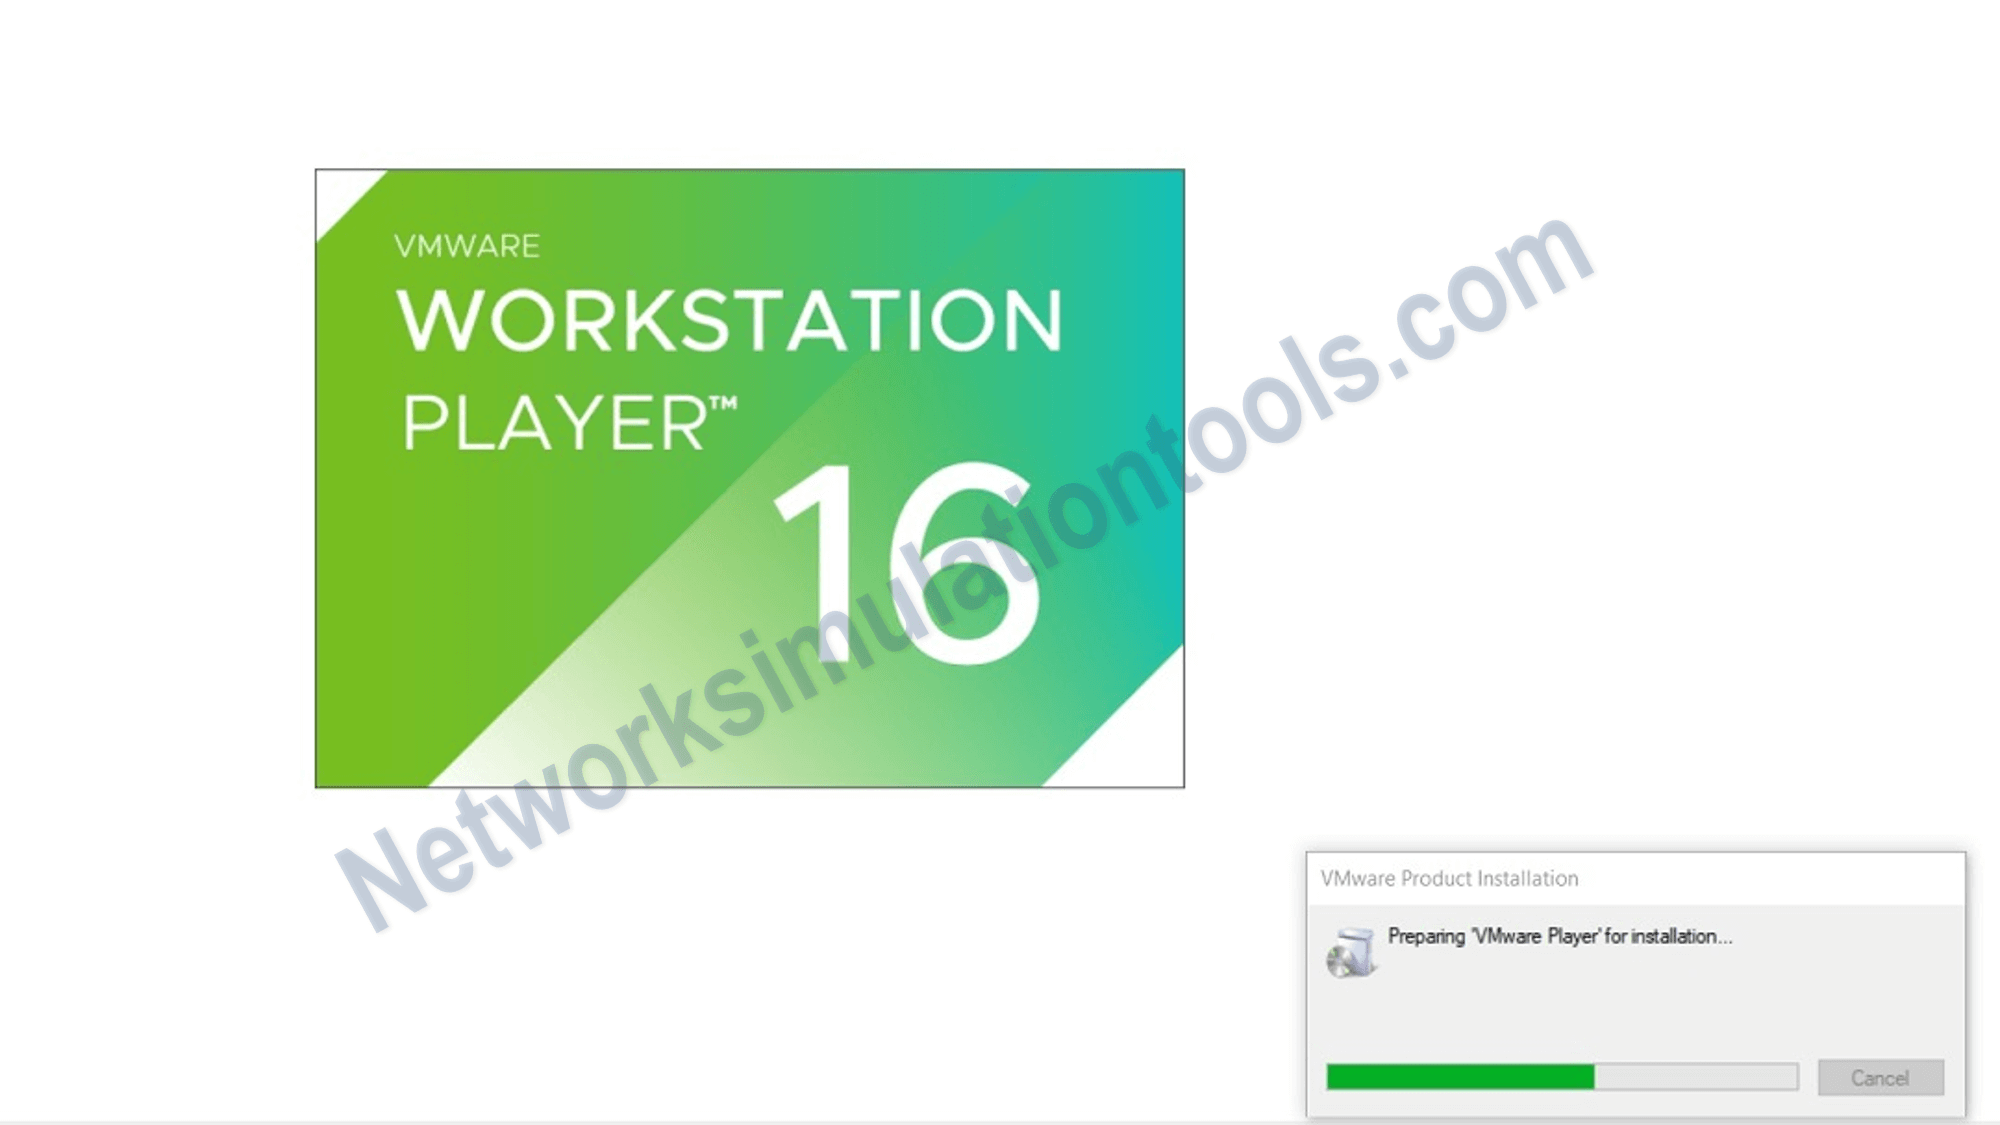
After the complete installation the bellow window will be displayed.
Create on a new virtual machine. press link
Press in typical checkbox and press next.
Click “installer disk image file” and press browse button
These pressings will leads you into your system and you have to select you’re your Ubuntu disk image or ISO file.
Then press next button.
After the all above process easy installation window will be open. You have to fill that window according to your requirements.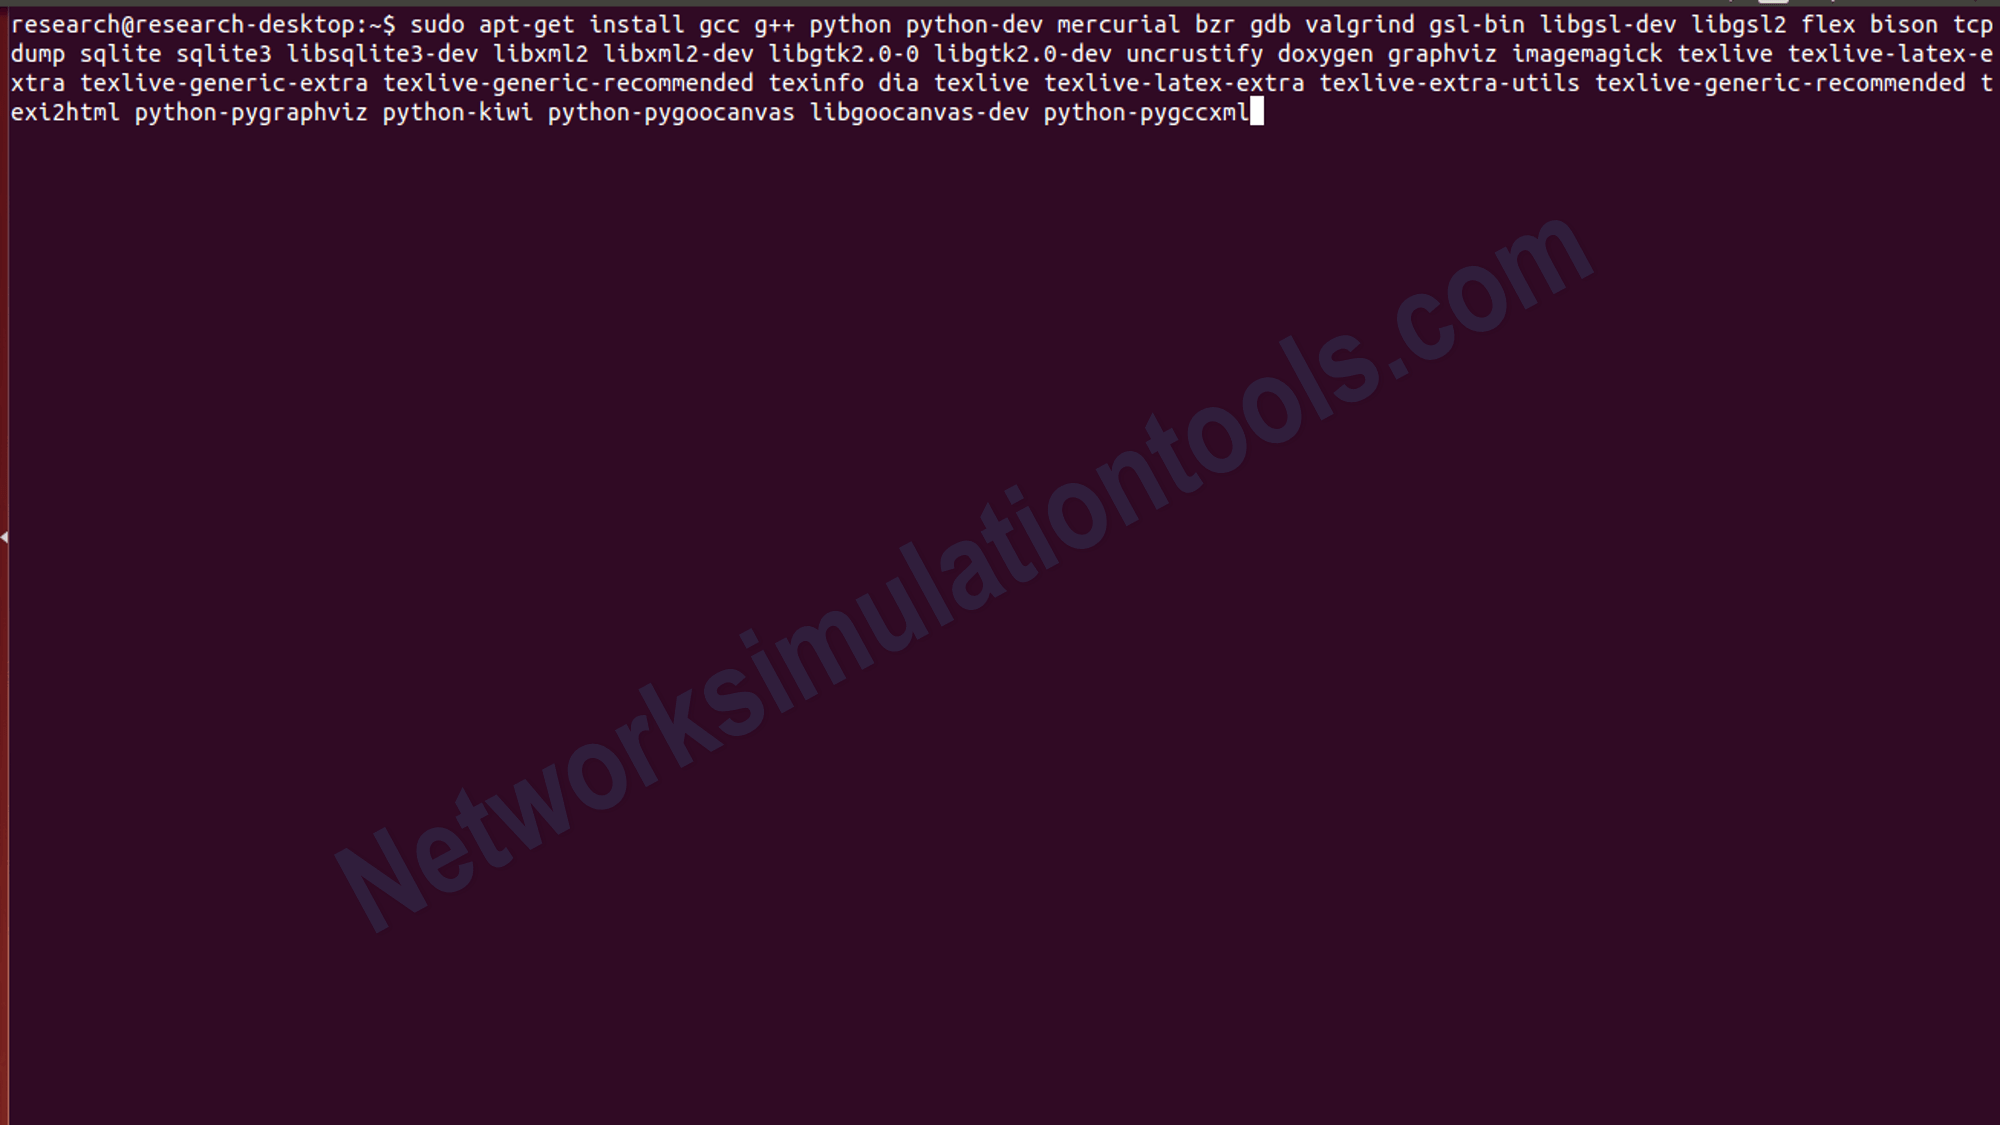
Run the below 2 commands in desktop terminal that will open by (CTRl + ALT + T).
Sudo apt-get updates (then enter password that you enter in easy installation process)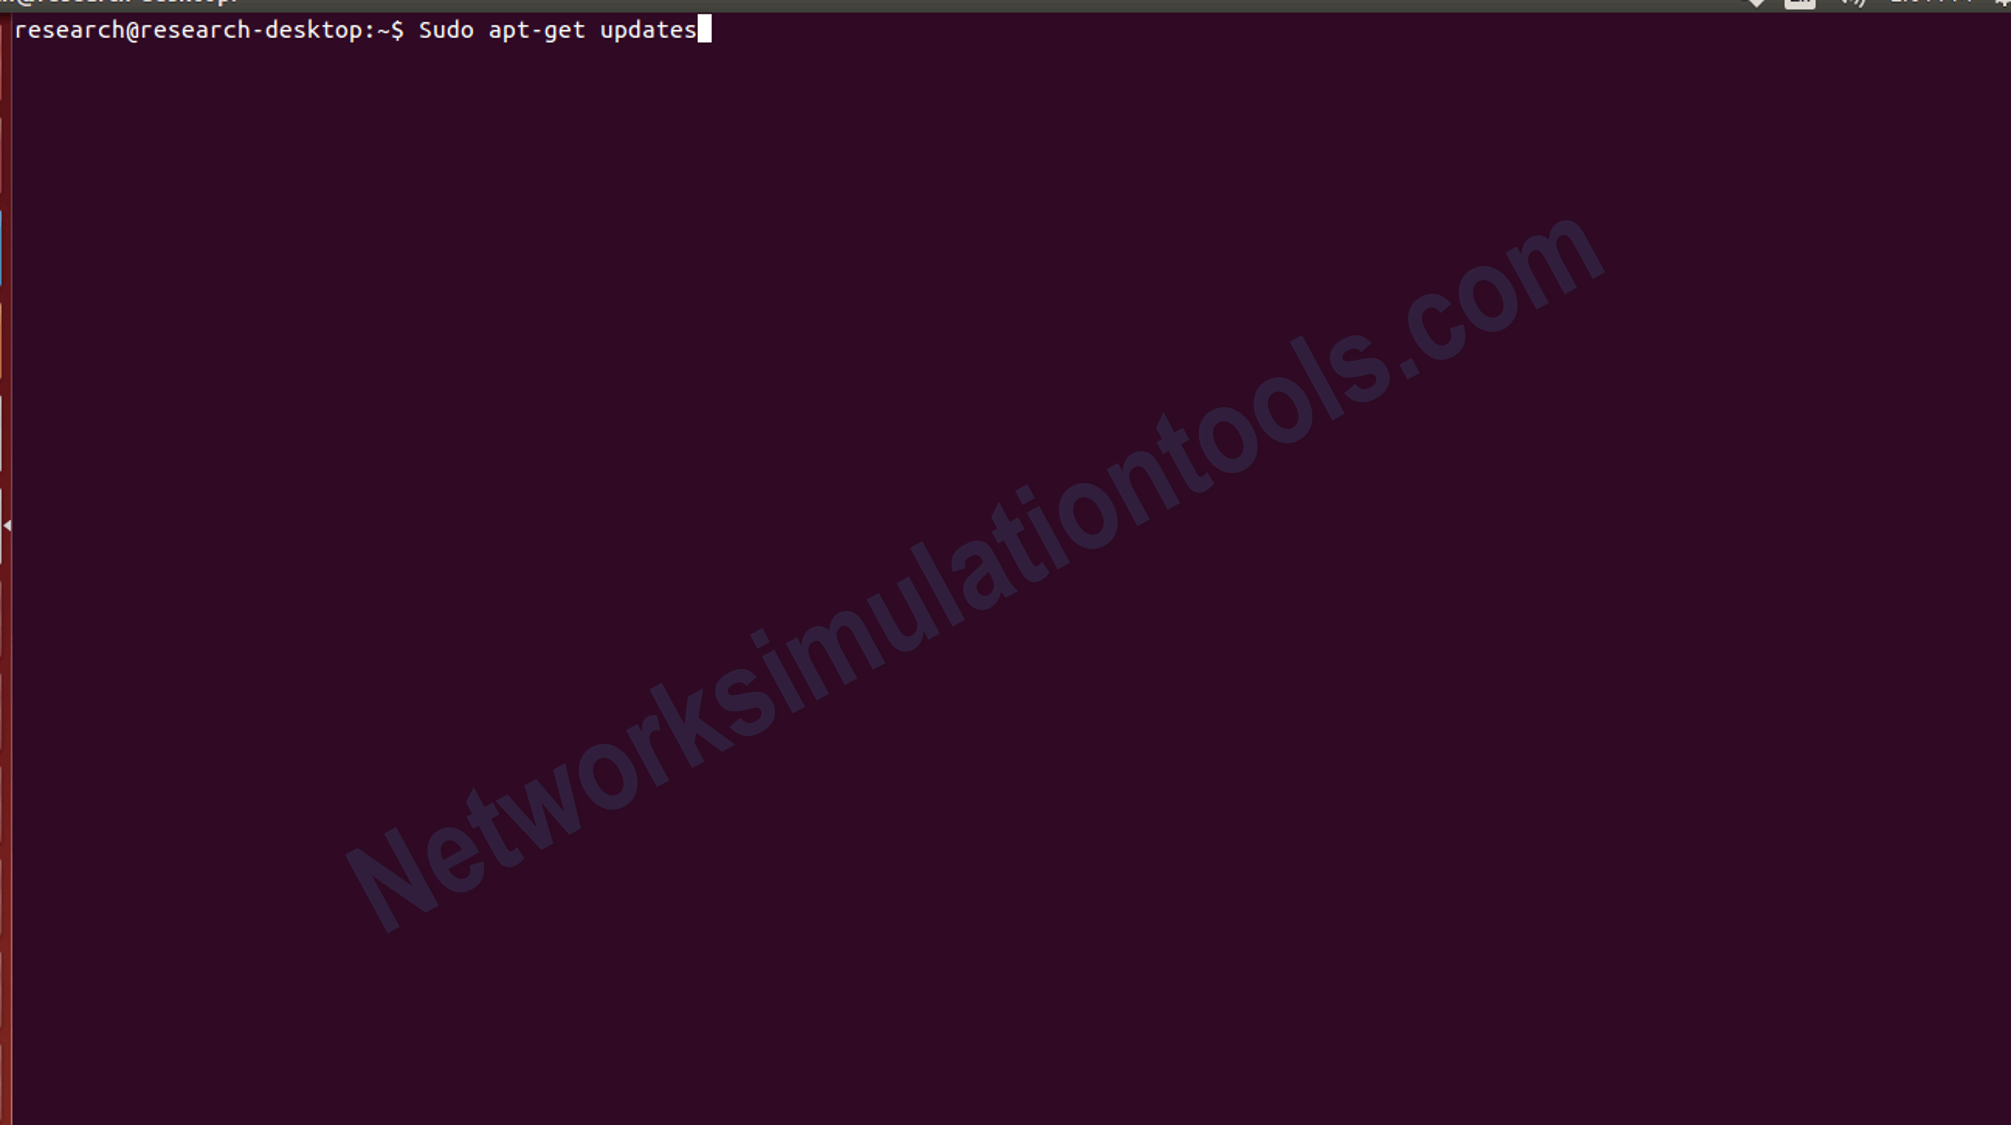
Then install the following libraries and press enter sudo apt-get install gcc g++ python python-dev mercurial bzr gdb valgrind gsl-bin libgsl-dev libgsl2 flex bison tcpdump sqlite sqlite3 libsqlite3-dev libxml2 libxml2-dev libgtk2.0-0 libgtk2.0-dev uncrustify doxygen graphviz imagemagick texlive texlive-latex-extra texlive-generic-extra texlive-generic-recommended texinfo dia texlive texlive-latex-extra texlive-extra-utils texlive-generic-recommended texi2html python-pygraphviz python-kiwi python-pygoocanvas libgoocanvas-dev python-pygccxml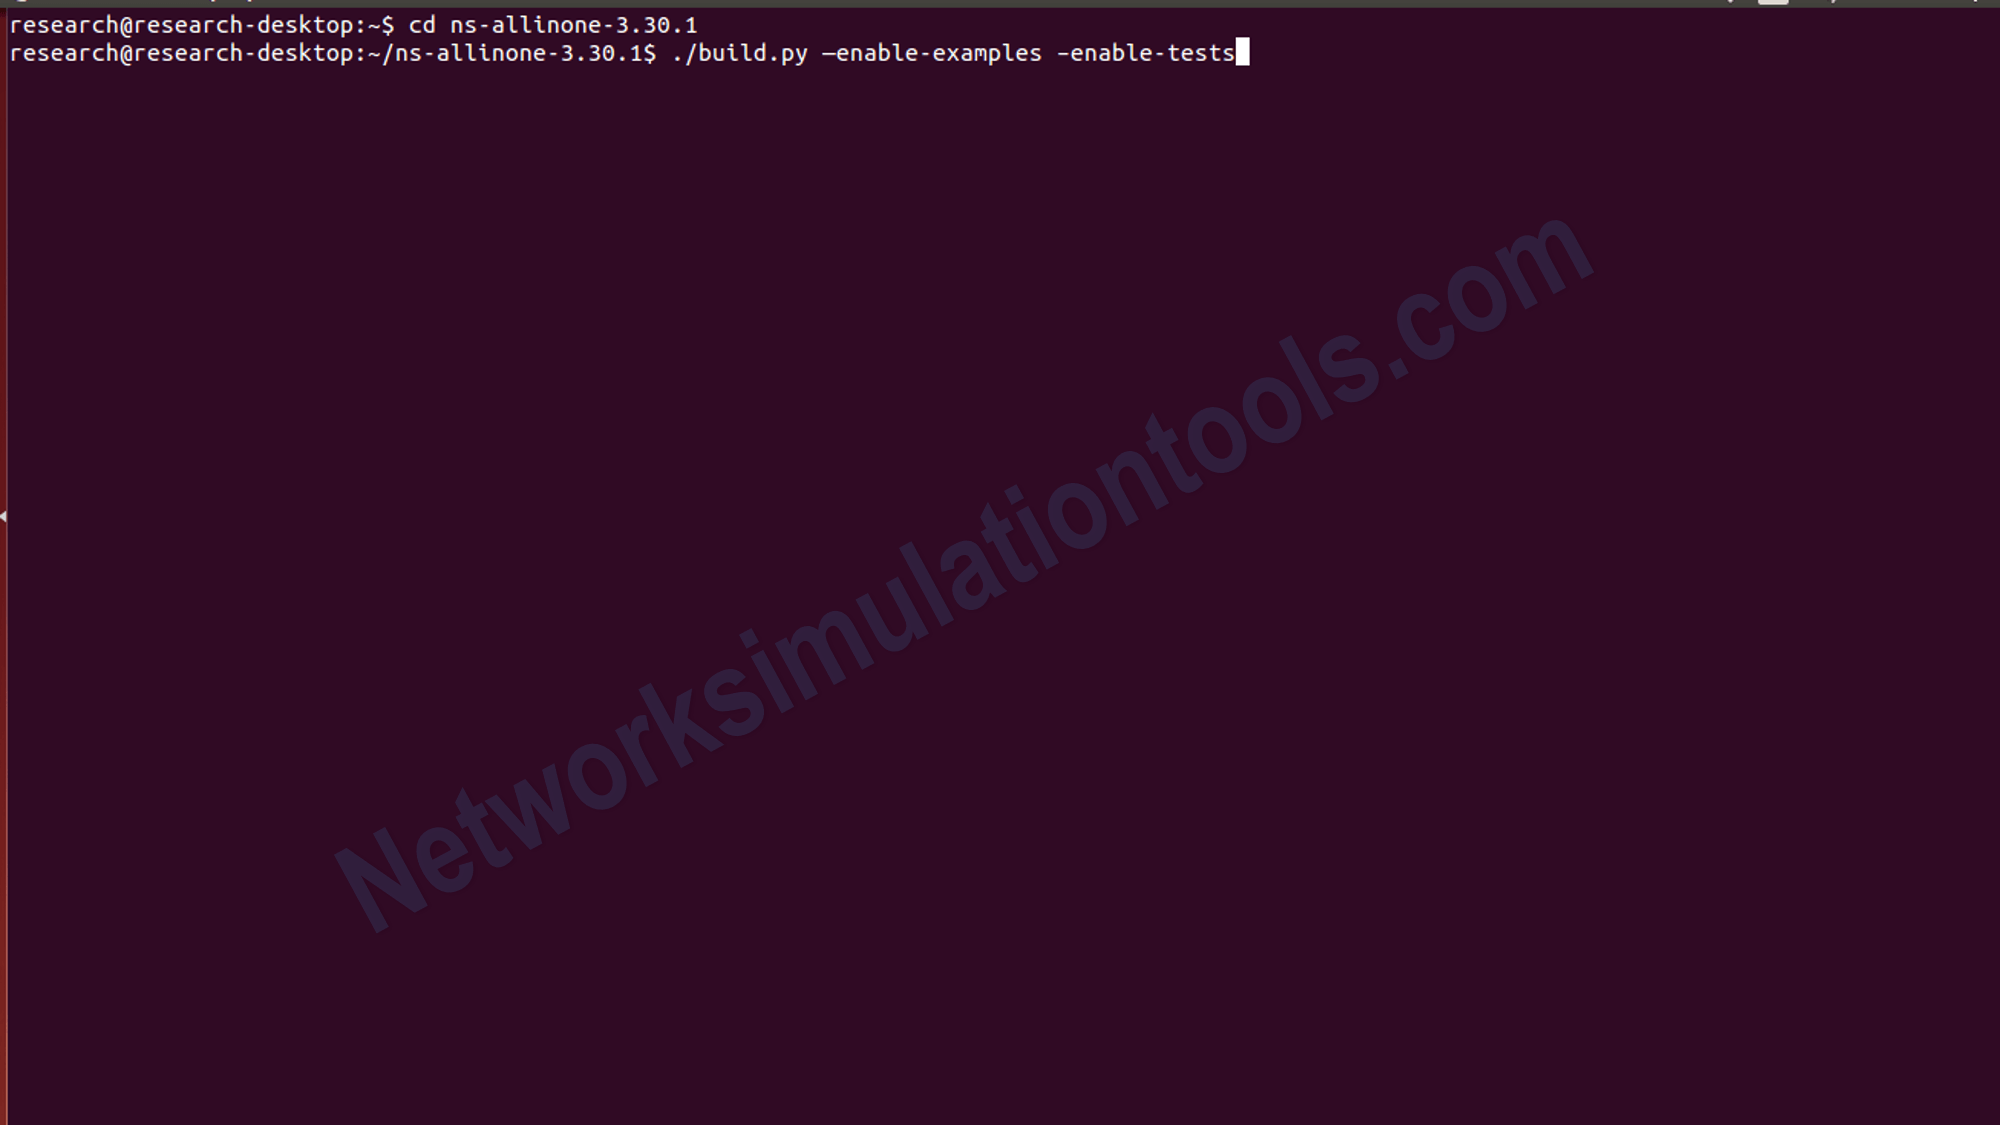
Now open (ns-allinone-3.30.1) NS3 extracted folder then.
ls
./build.py —enable-examples –enable-tests
Now open ns-allinone-3.30.1\ns-3.30.1 folder then.
./waf –build-profile=debug –enable-examples –enable-tests configure
./waf
./test.py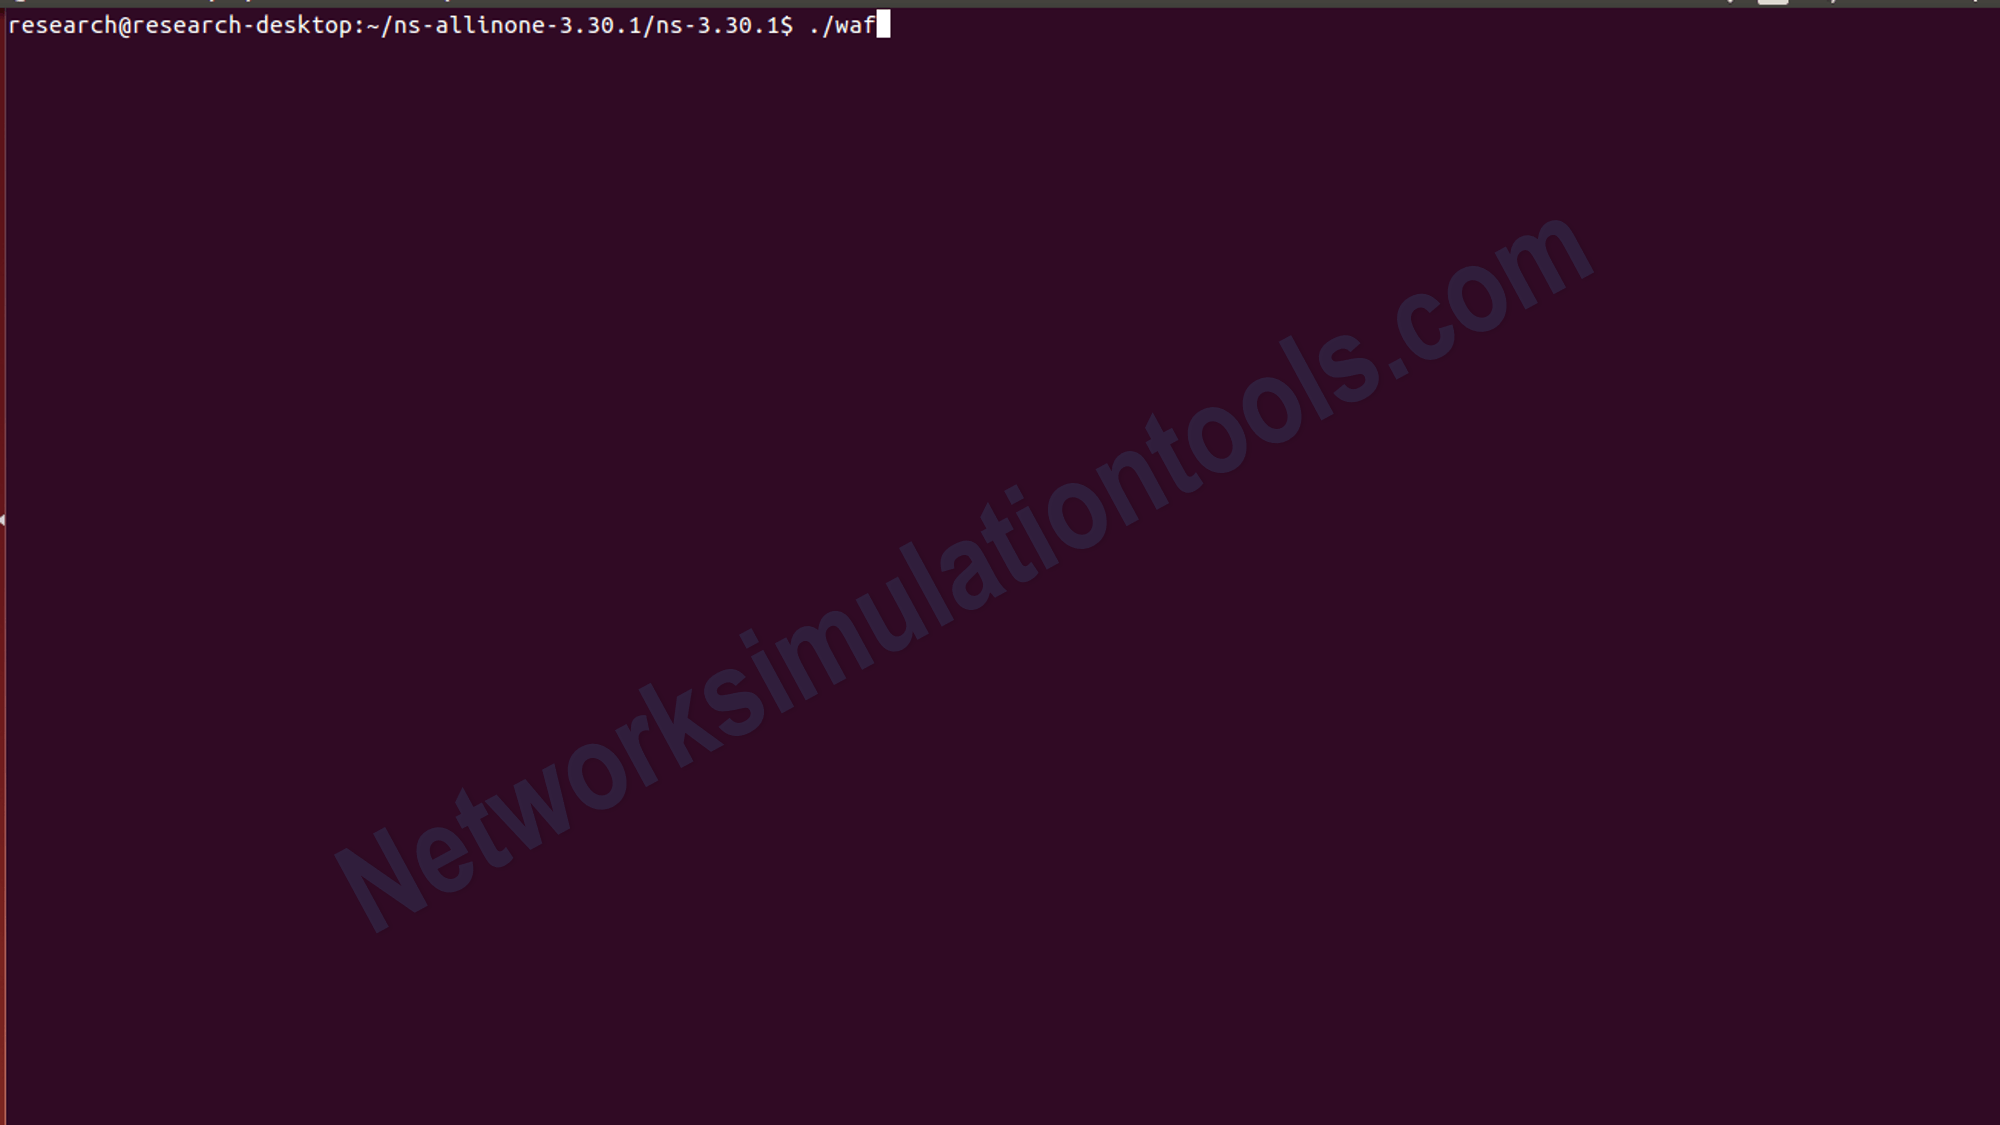
NS3 has installed successfully.
by using this command
./waf
./test.py
If you face any issues on How to Install NS3 on Windows 7, reach us to create an customize NS3 simulation projects.
| Technology | Ph.D | MS | M.Tech |
|---|---|---|---|
| NS2 | 75 | 117 | 95 |
| NS3 | 98 | 119 | 206 |
| OMNET++ | 103 | 95 | 87 |
| OPNET | 36 | 64 | 89 |
| QULANET | 30 | 76 | 60 |
| MININET | 71 | 62 | 74 |
| MATLAB | 96 | 185 | 180 |
| LTESIM | 38 | 32 | 16 |
| COOJA SIMULATOR | 35 | 67 | 28 |
| CONTIKI OS | 42 | 36 | 29 |
| GNS3 | 35 | 89 | 14 |
| NETSIM | 35 | 11 | 21 |
| EVE-NG | 4 | 8 | 9 |
| TRANS | 9 | 5 | 4 |
| PEERSIM | 8 | 8 | 12 |
| GLOMOSIM | 6 | 10 | 6 |
| RTOOL | 13 | 15 | 8 |
| KATHARA SHADOW | 9 | 8 | 9 |
| VNX and VNUML | 8 | 7 | 8 |
| WISTAR | 9 | 9 | 8 |
| CNET | 6 | 8 | 4 |
| ESCAPE | 8 | 7 | 9 |
| NETMIRAGE | 7 | 11 | 7 |
| BOSON NETSIM | 6 | 8 | 9 |
| VIRL | 9 | 9 | 8 |
| CISCO PACKET TRACER | 7 | 7 | 10 |
| SWAN | 9 | 19 | 5 |
| JAVASIM | 40 | 68 | 69 |
| SSFNET | 7 | 9 | 8 |
| TOSSIM | 5 | 7 | 4 |
| PSIM | 7 | 8 | 6 |
| PETRI NET | 4 | 6 | 4 |
| ONESIM | 5 | 10 | 5 |
| OPTISYSTEM | 32 | 64 | 24 |
| DIVERT | 4 | 9 | 8 |
| TINY OS | 19 | 27 | 17 |
| TRANS | 7 | 8 | 6 |
| OPENPANA | 8 | 9 | 9 |
| SECURE CRT | 7 | 8 | 7 |
| EXTENDSIM | 6 | 7 | 5 |
| CONSELF | 7 | 19 | 6 |
| ARENA | 5 | 12 | 9 |
| VENSIM | 8 | 10 | 7 |
| MARIONNET | 5 | 7 | 9 |
| NETKIT | 6 | 8 | 7 |
| GEOIP | 9 | 17 | 8 |
| REAL | 7 | 5 | 5 |
| NEST | 5 | 10 | 9 |
| PTOLEMY | 7 | 8 | 4 |