Time needed: 6 minutes
Follow from Step 1 to Step 38 in order to create NS2 using Simulator projects. Quick guide to create NS2 in Fedora. Reach us , if you want an customize NS2 simulator projects works for scholars.
Initially , install the needed package dependencies, by using Open a bash shell and type following command at prompt:
su
install gcc-c++
yum install gcc-c++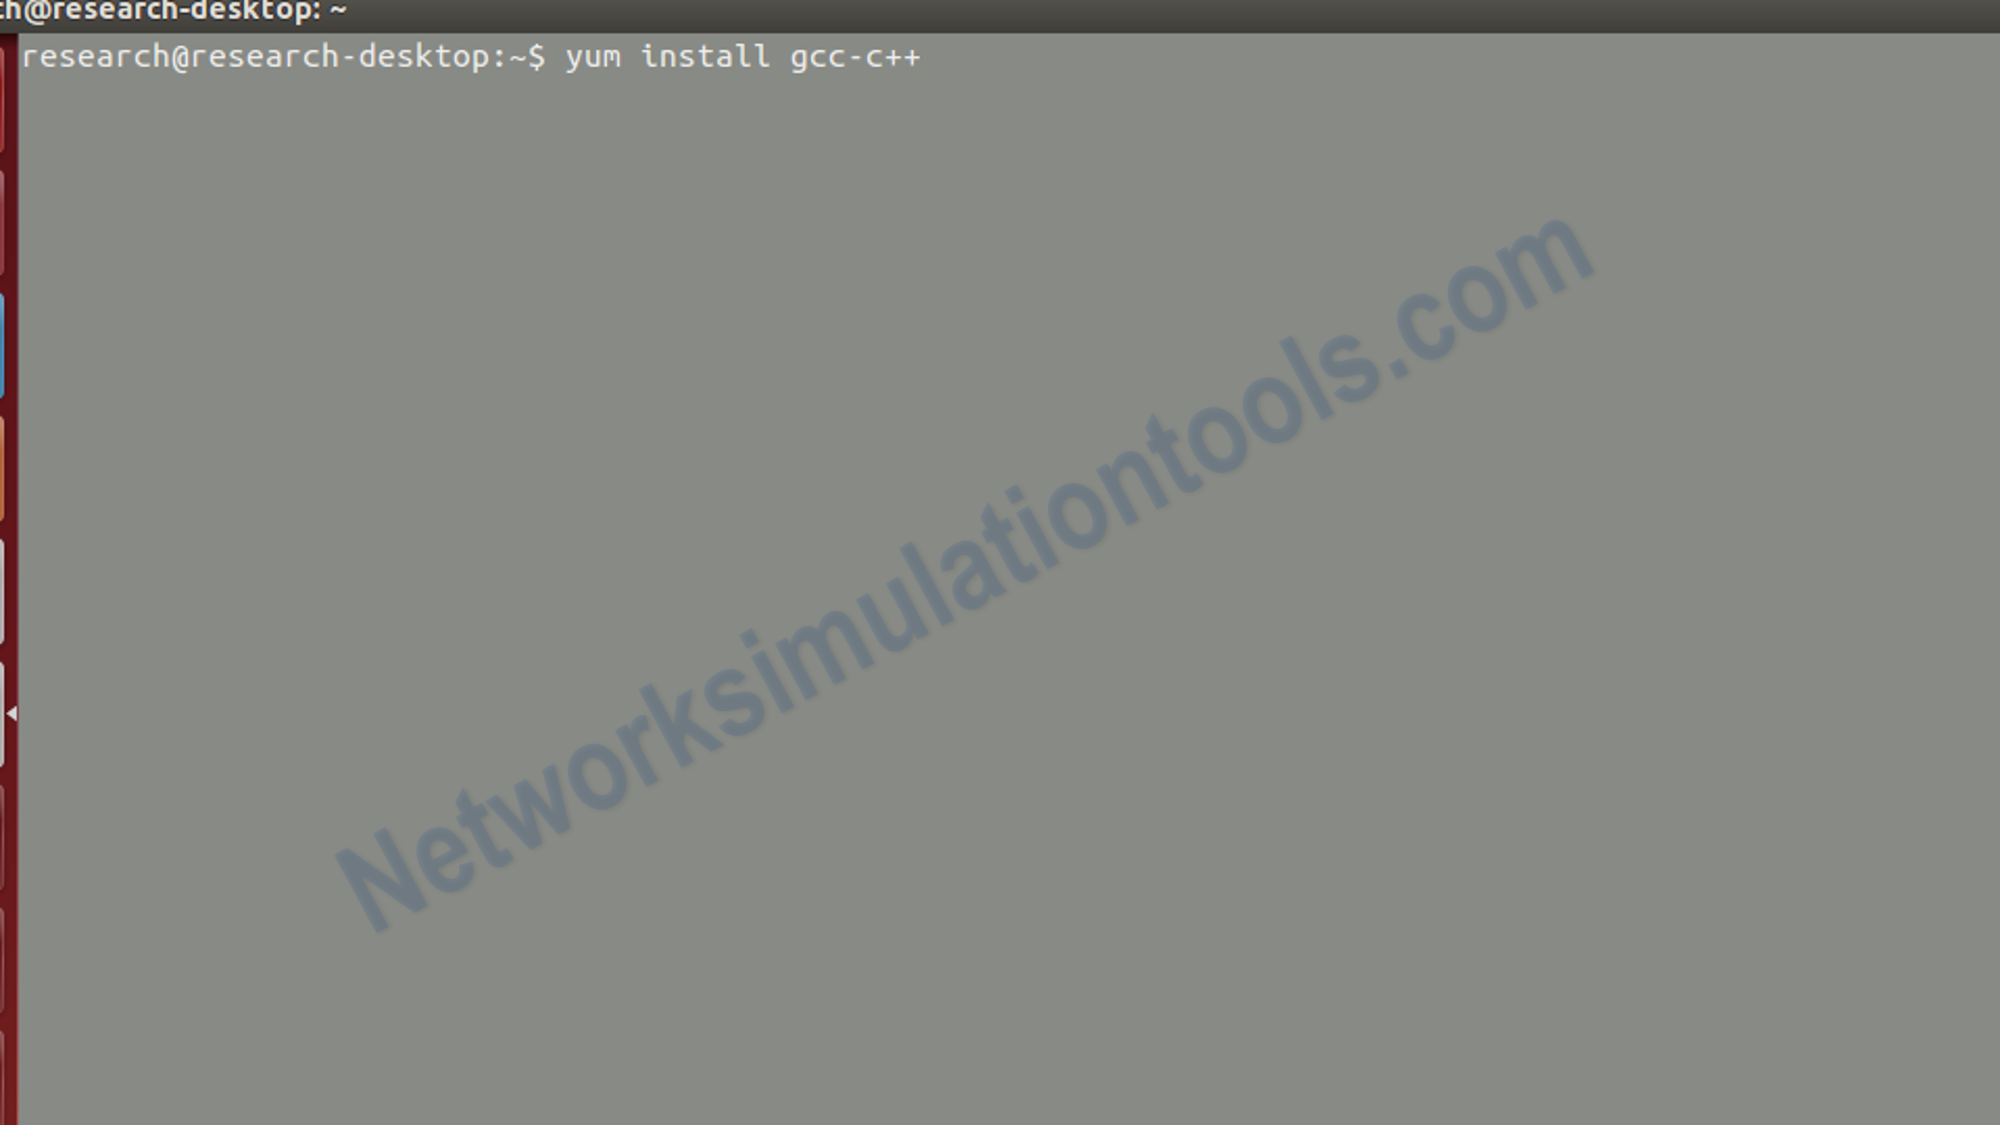
Install the needed package dependencies, by using Open a bash shell and type following command at prompt
Install the needed package dependencies, by using Open a bash shell and type following command at prompt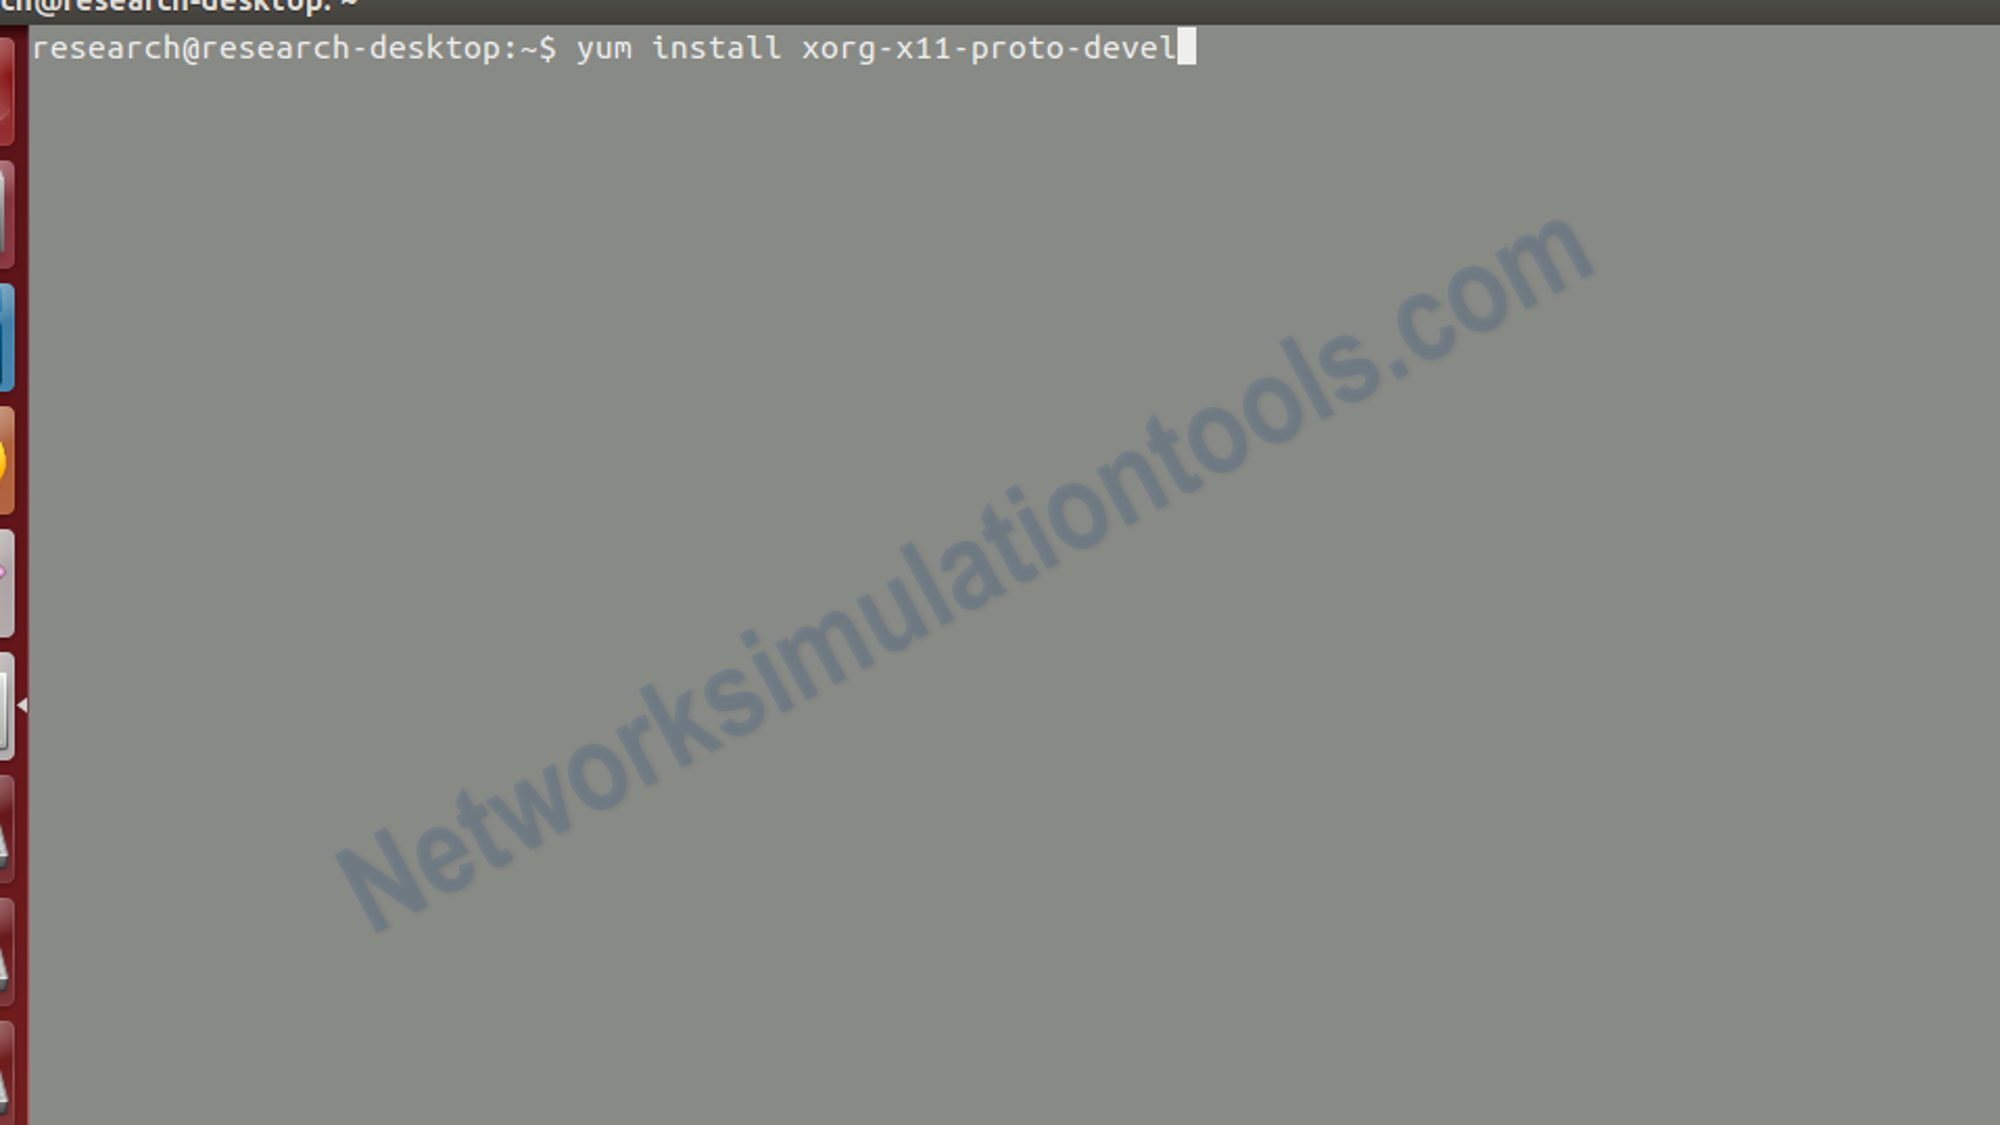
Install the needed package dependencies, by using Open a bash shell and type following command at prompt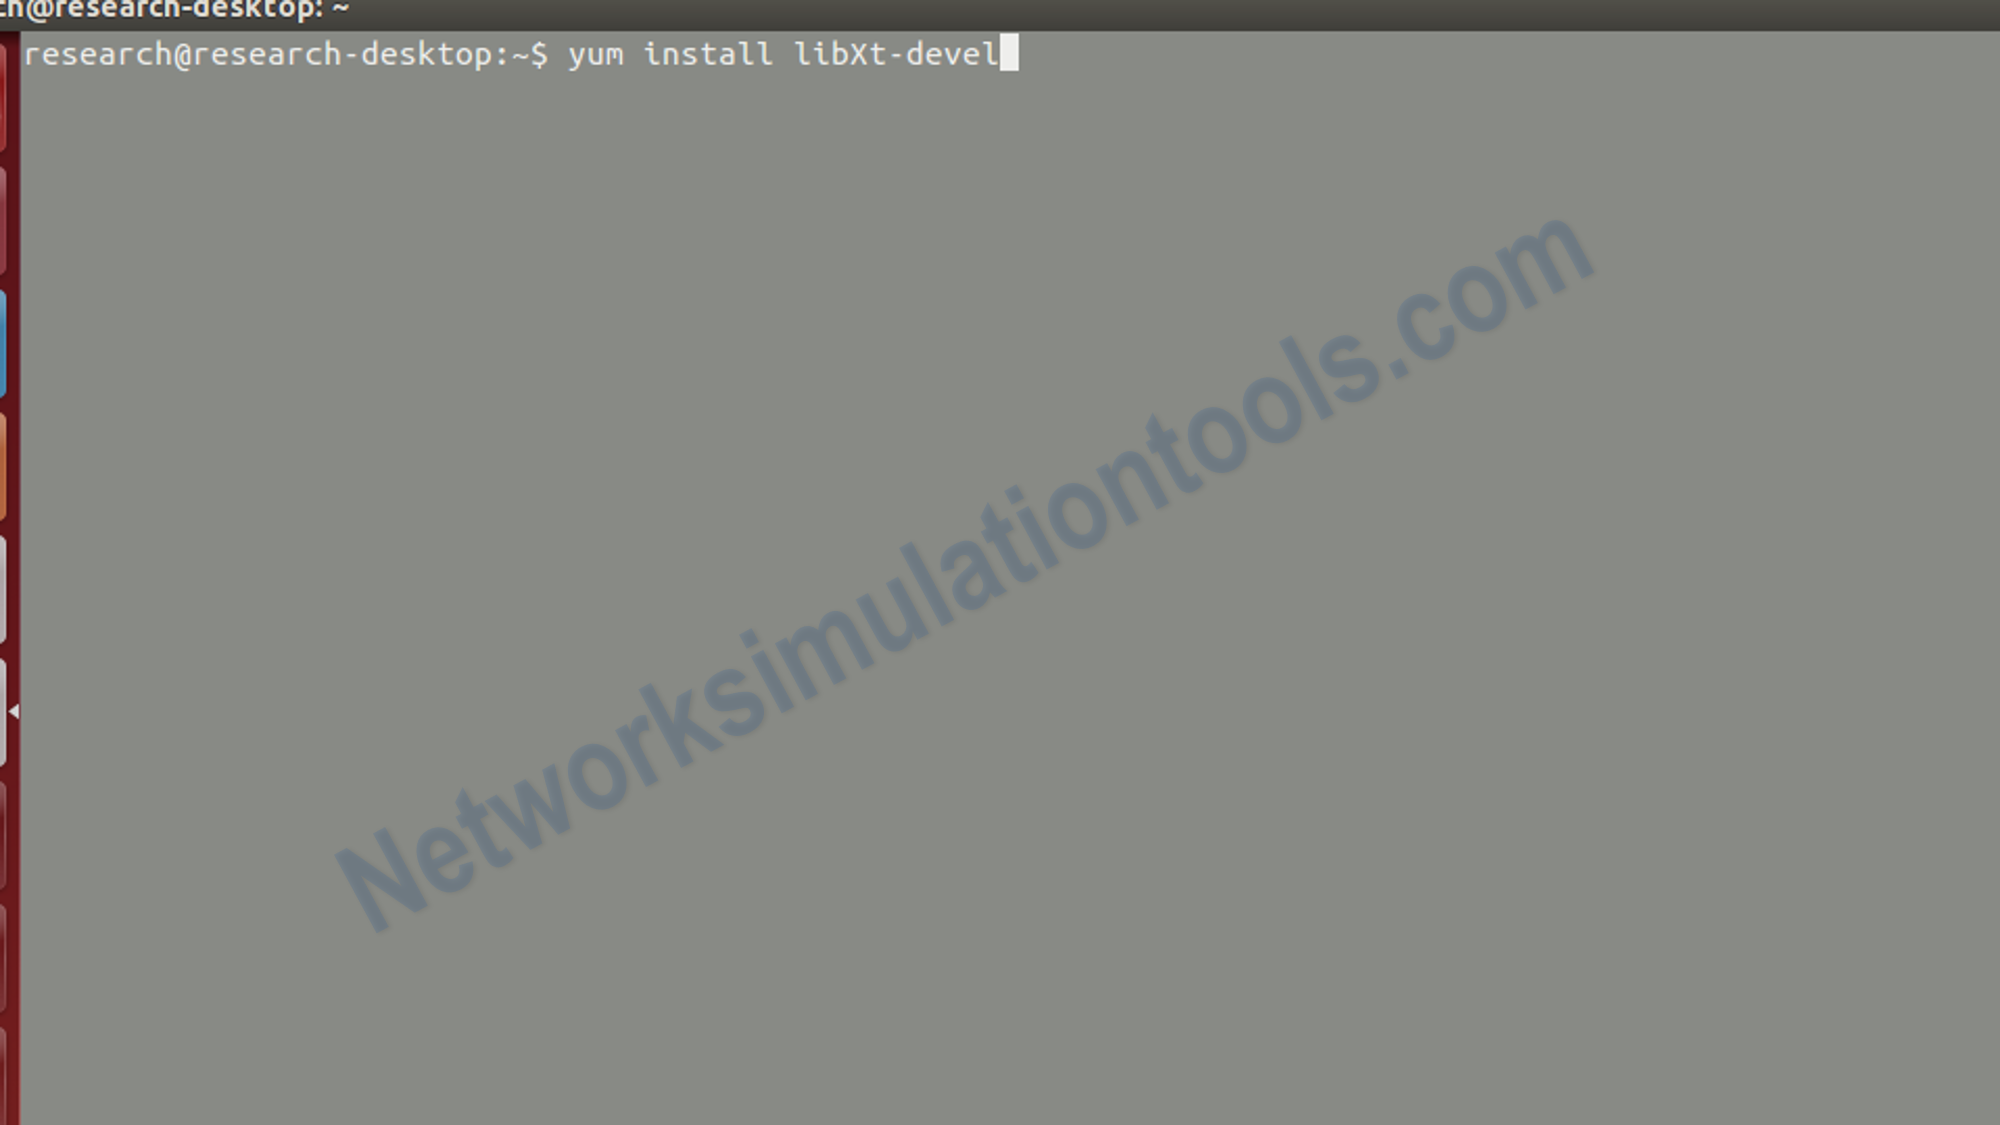
Install the needed package dependencies, by using Open a bash shell and type following command at prompt:
and also execute the below command for nam installation
Next, perform the process of tcl installation by , Open the bash shell and type the below command at prompt:
su
cd
wget http://prdownloads.sourceforge.net/tcl/tcl8.4.14-src.tar.gz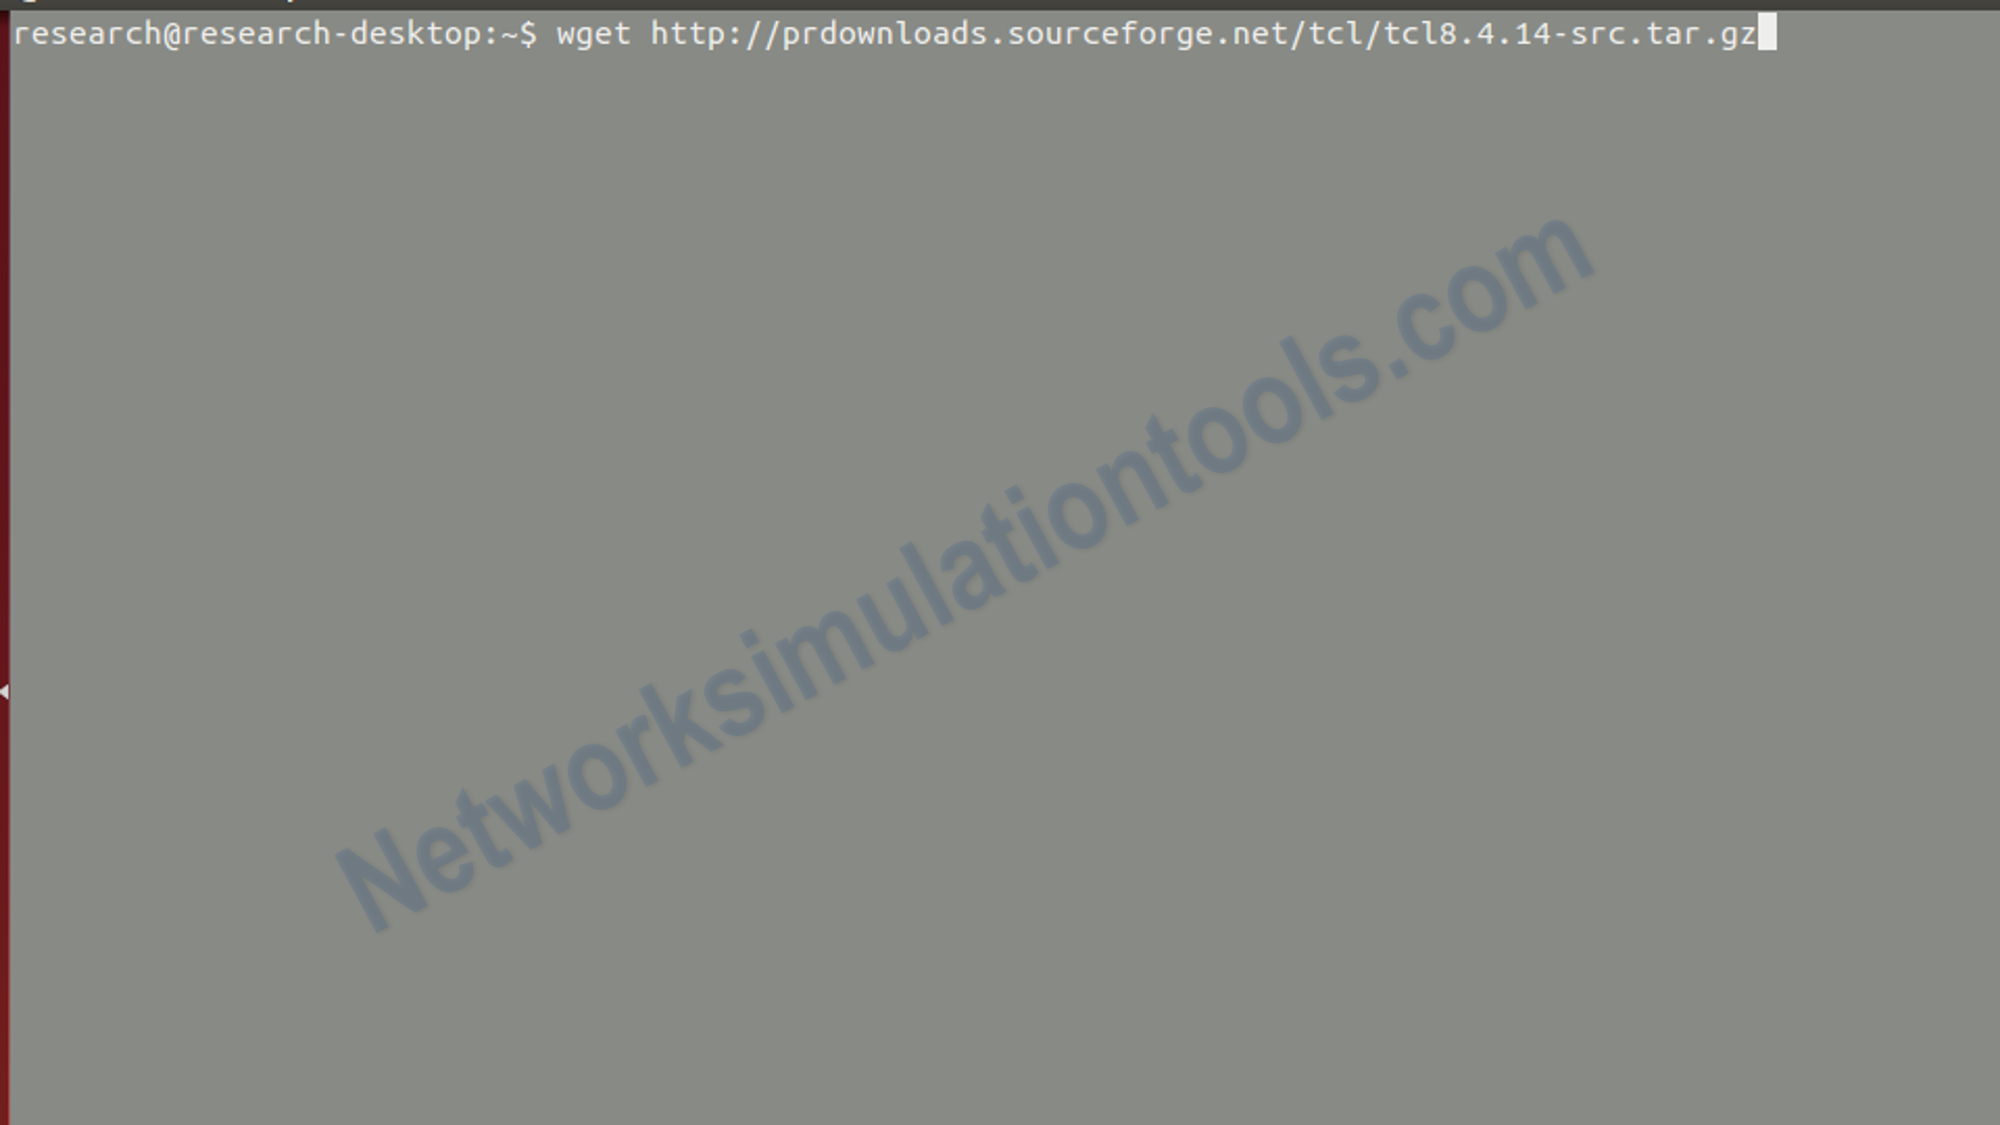
Next, perform the process of tcl installation by , Open the bash shell and type the below command at prompt:
cd /usr/share/
Next, perform the process of tcl installation by , Open the bash shell and type the below command at prompt:
tar -zxvf /root/tcl8.4.14-src.tar.gz
Next, perform the process of tcl installation by , Open the bash shell and type the below command at prompt:
cd /usr/share/tcl8.4.14/unix/
./configure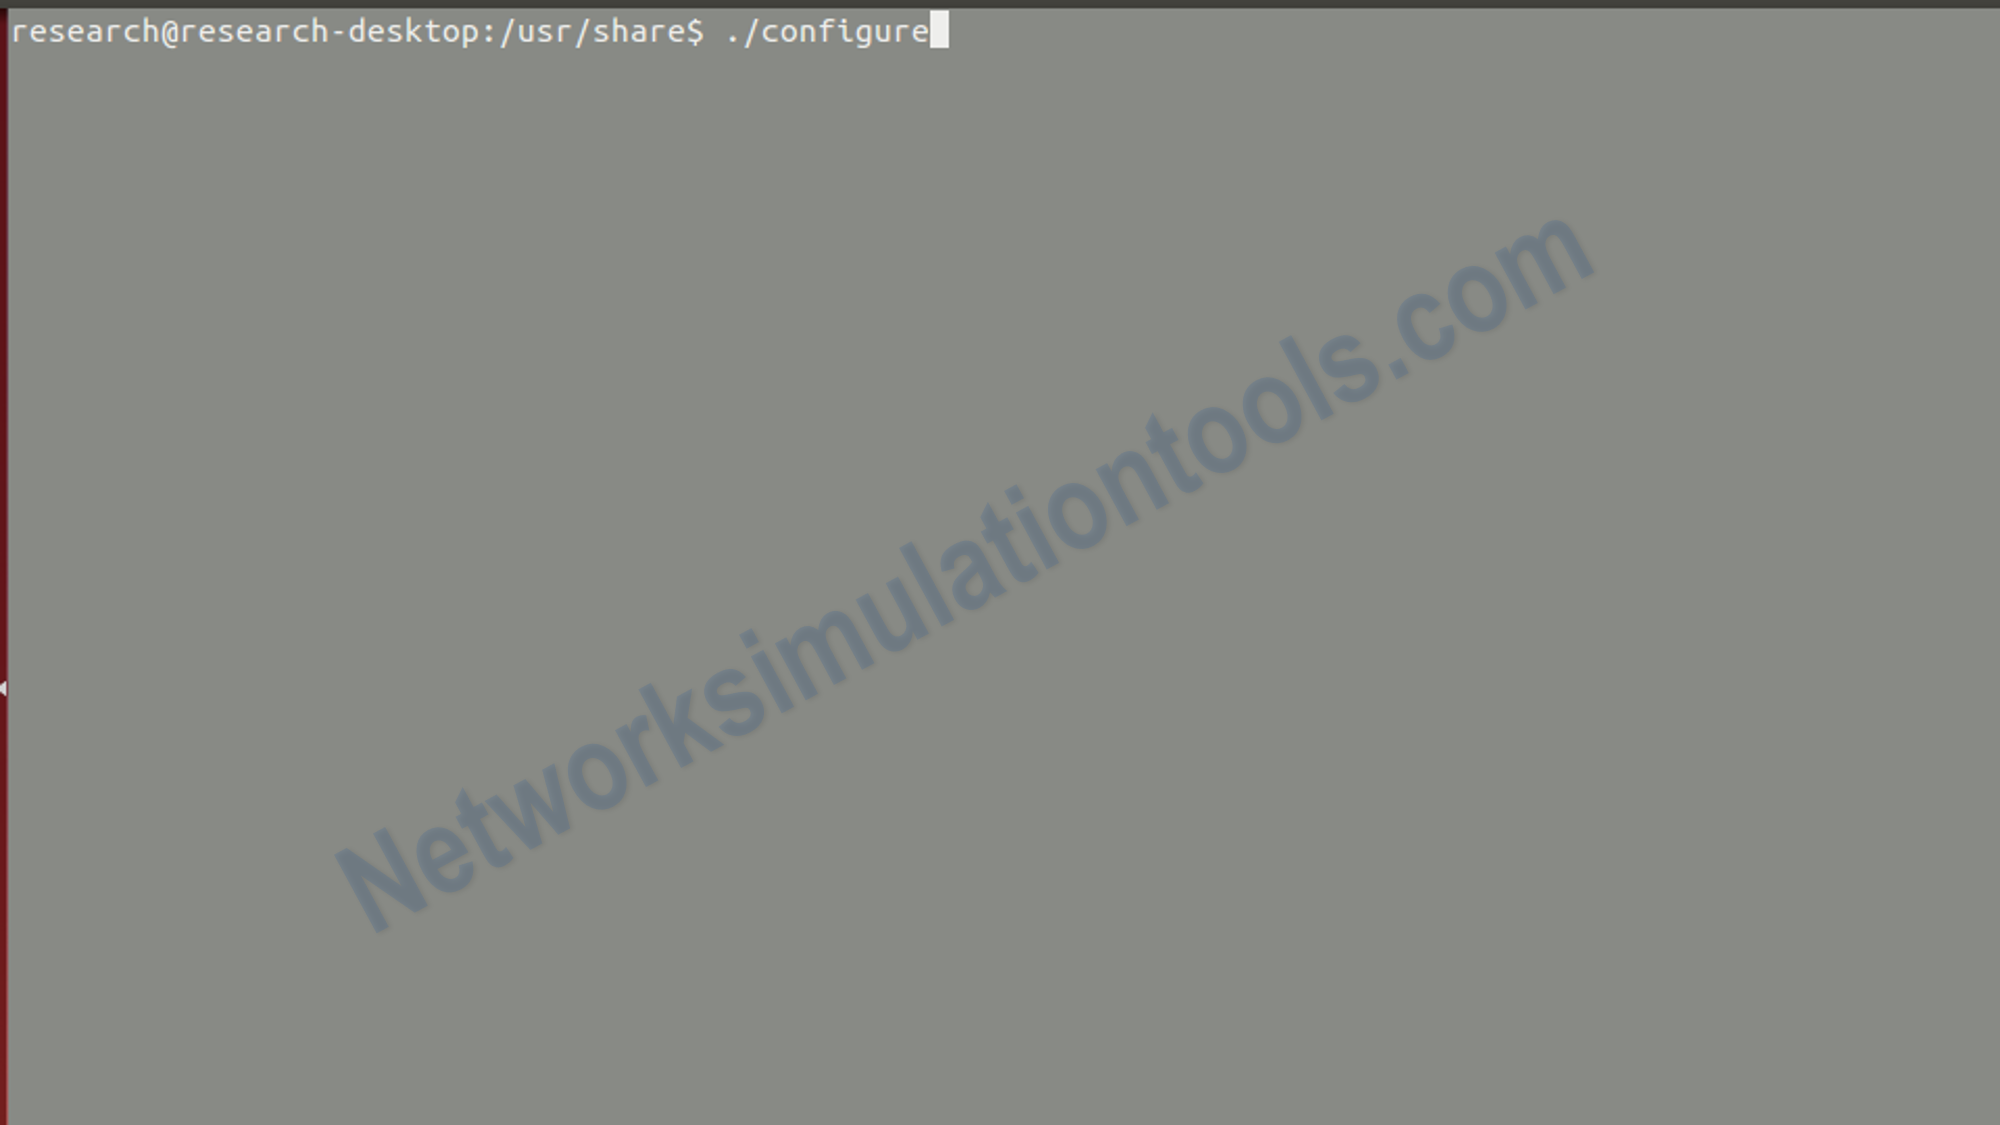
Next, perform the process of tcl installation by , Open the bash shell and type the below command at prompt:
make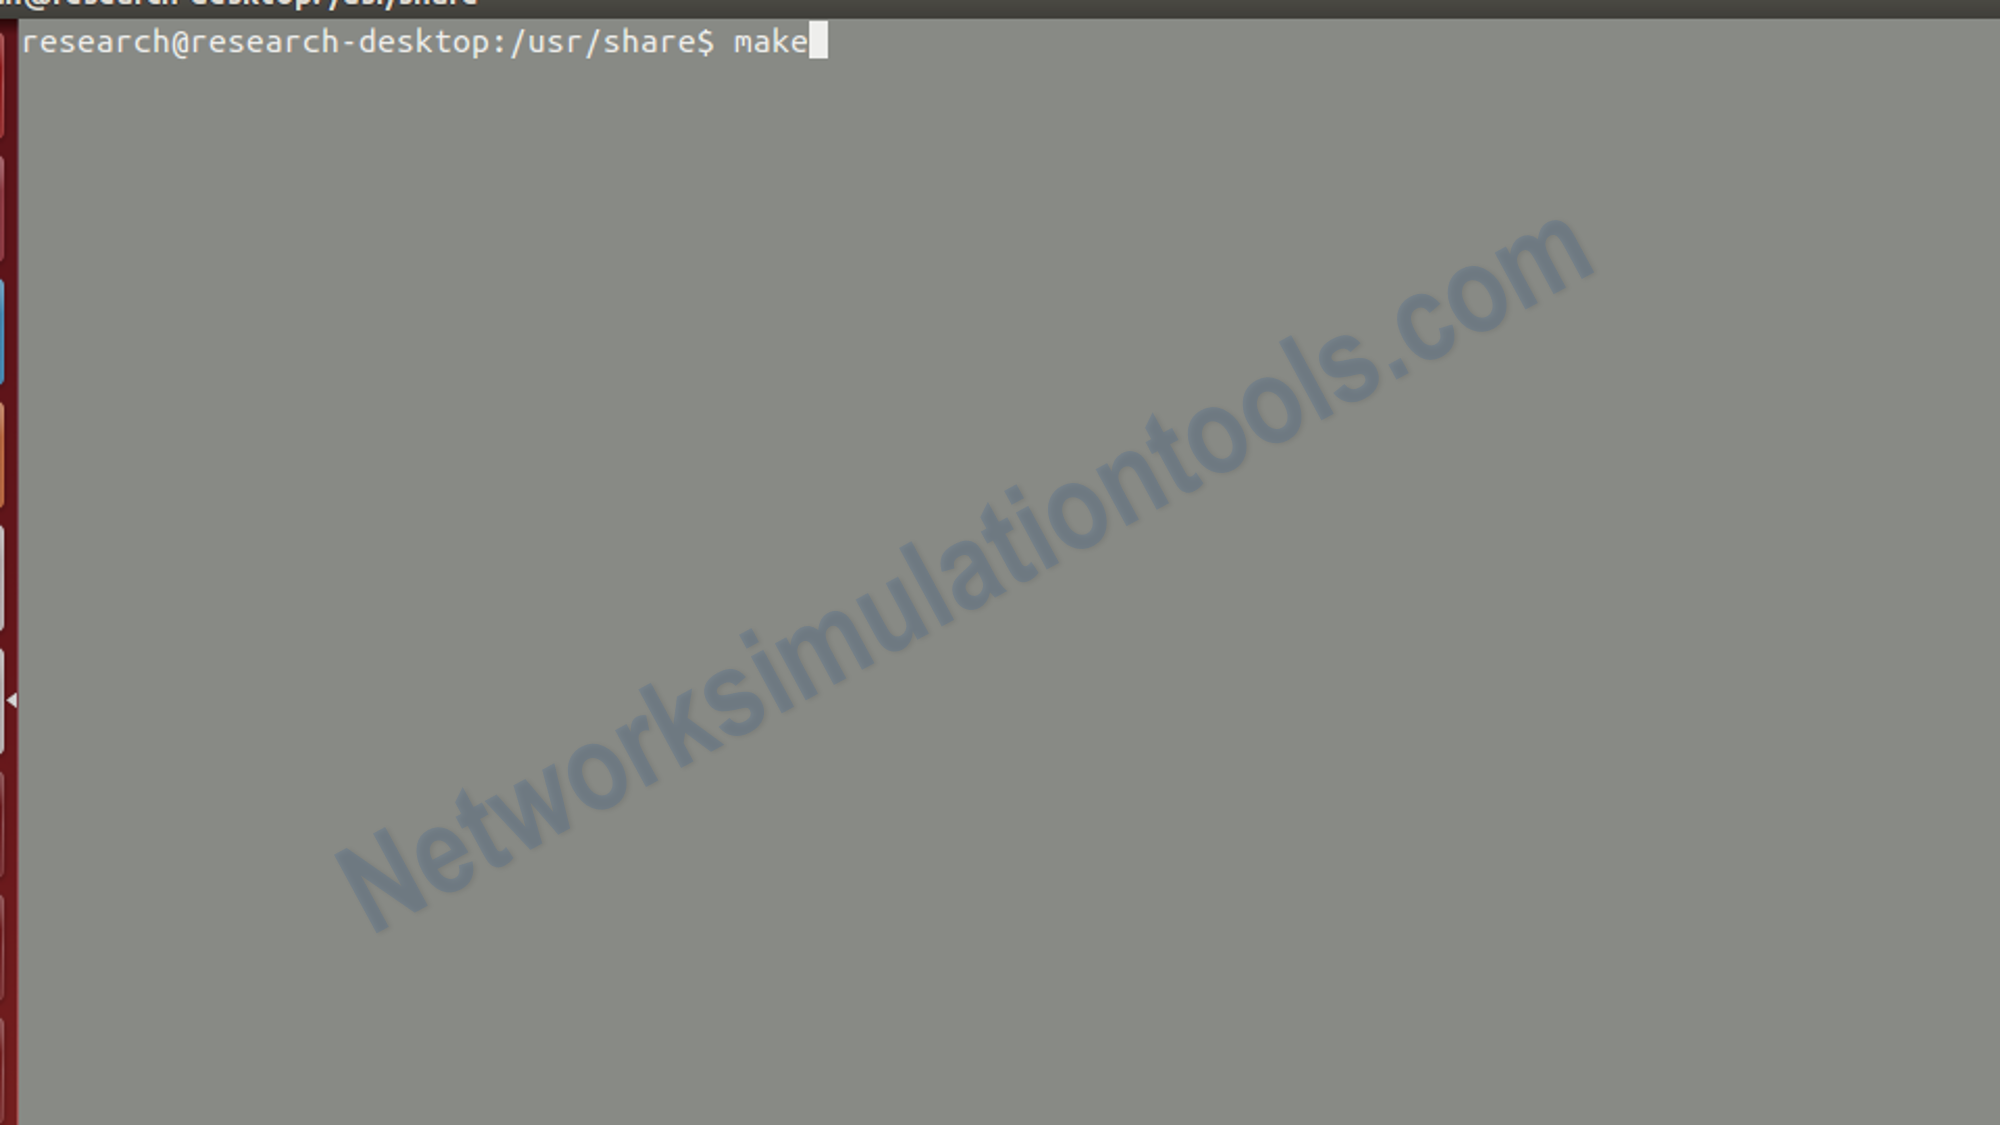
Next, perform the process of tcl installation by , Open the bash shell and type the below command at prompt:
make install
Next, perform the process of tcl installation by , Open the bash shell and type the below command at prompt:
rm -f /root/tcl8.4.14-src.tar.gz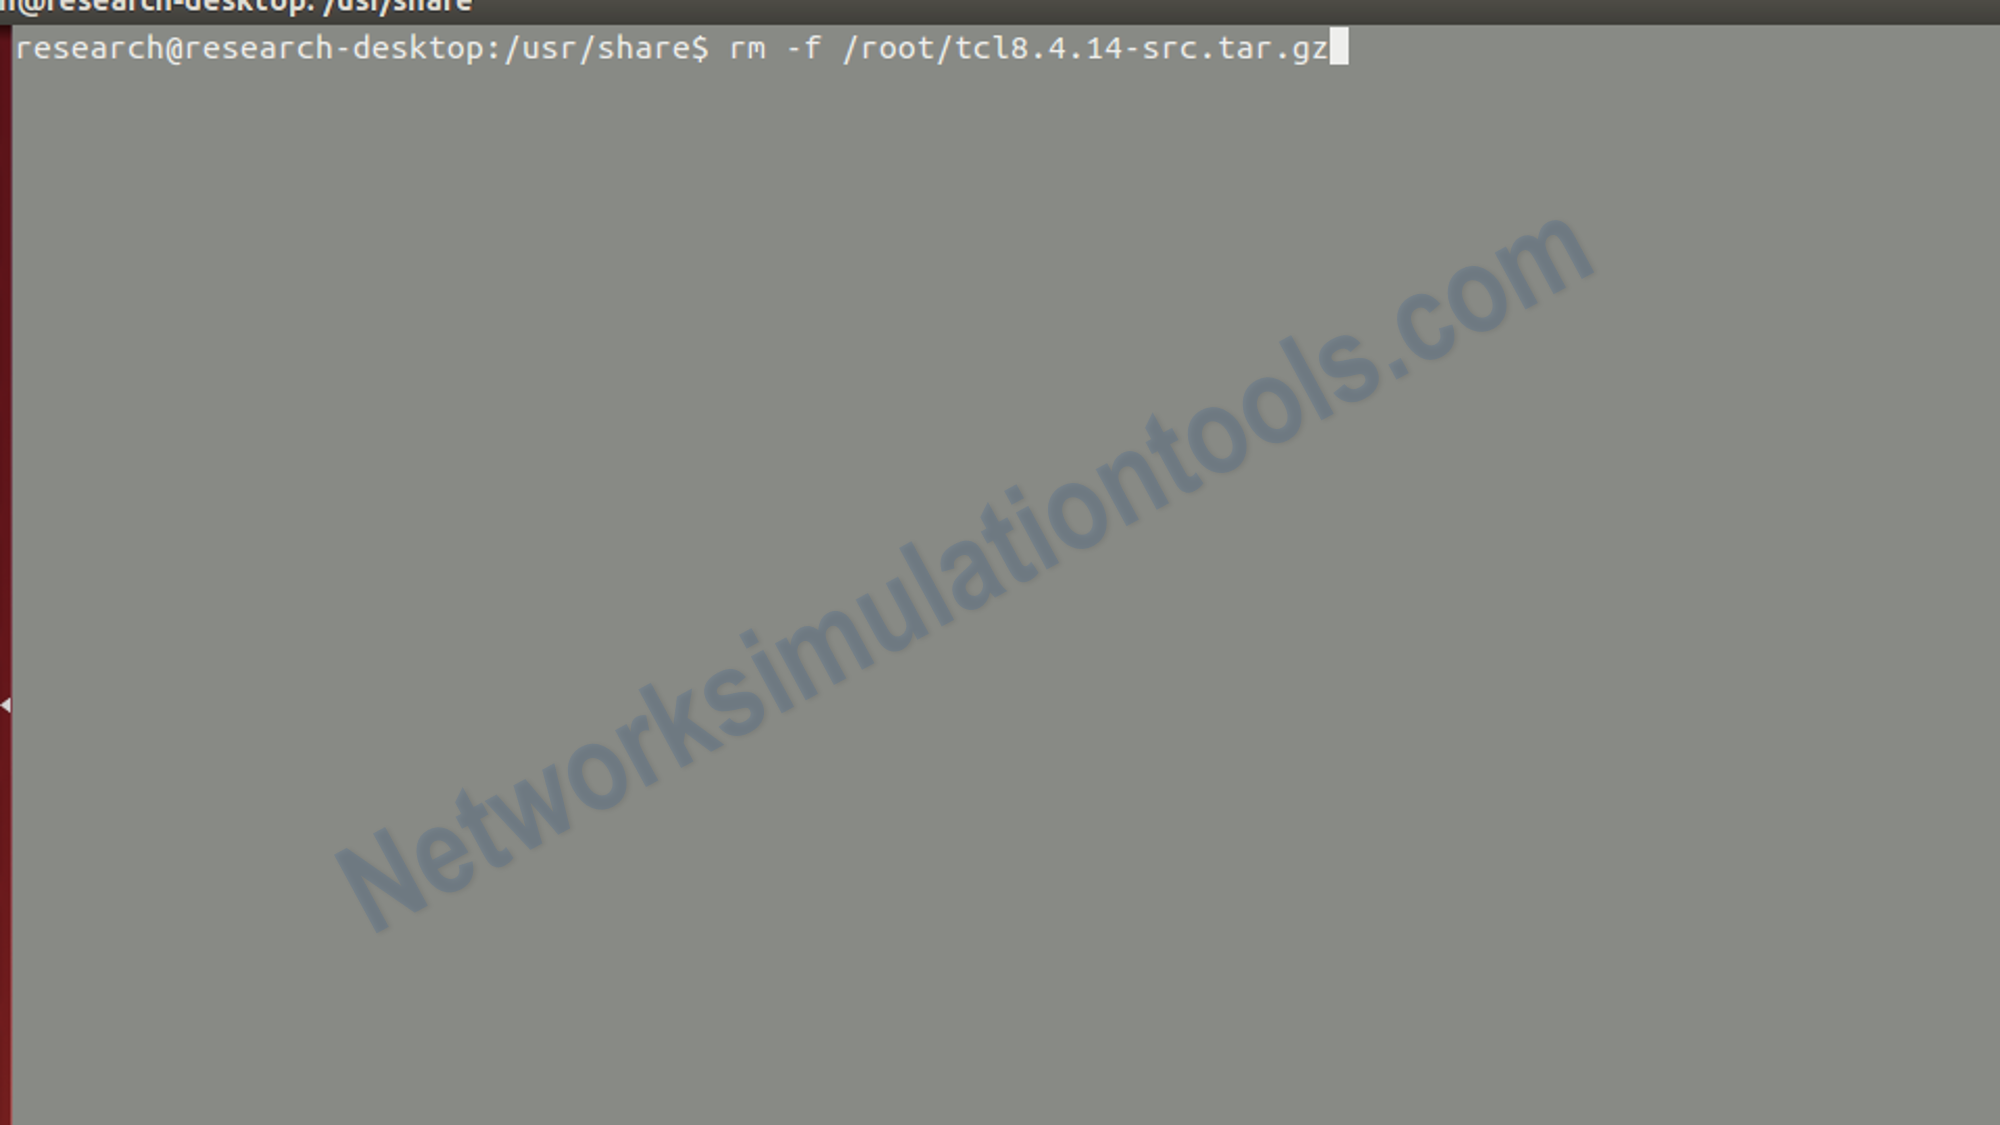
Next , perform the tk installation process by use the Open the bash shell and type below commands at prompt:
su
cd
wget http://prdownloads.sourceforge.net/tcl/tk8.4.14-src.tar.gz
Next , perform the tk installation process by use the Open the bash shell and type below commands at prompt:
cd /usr/share/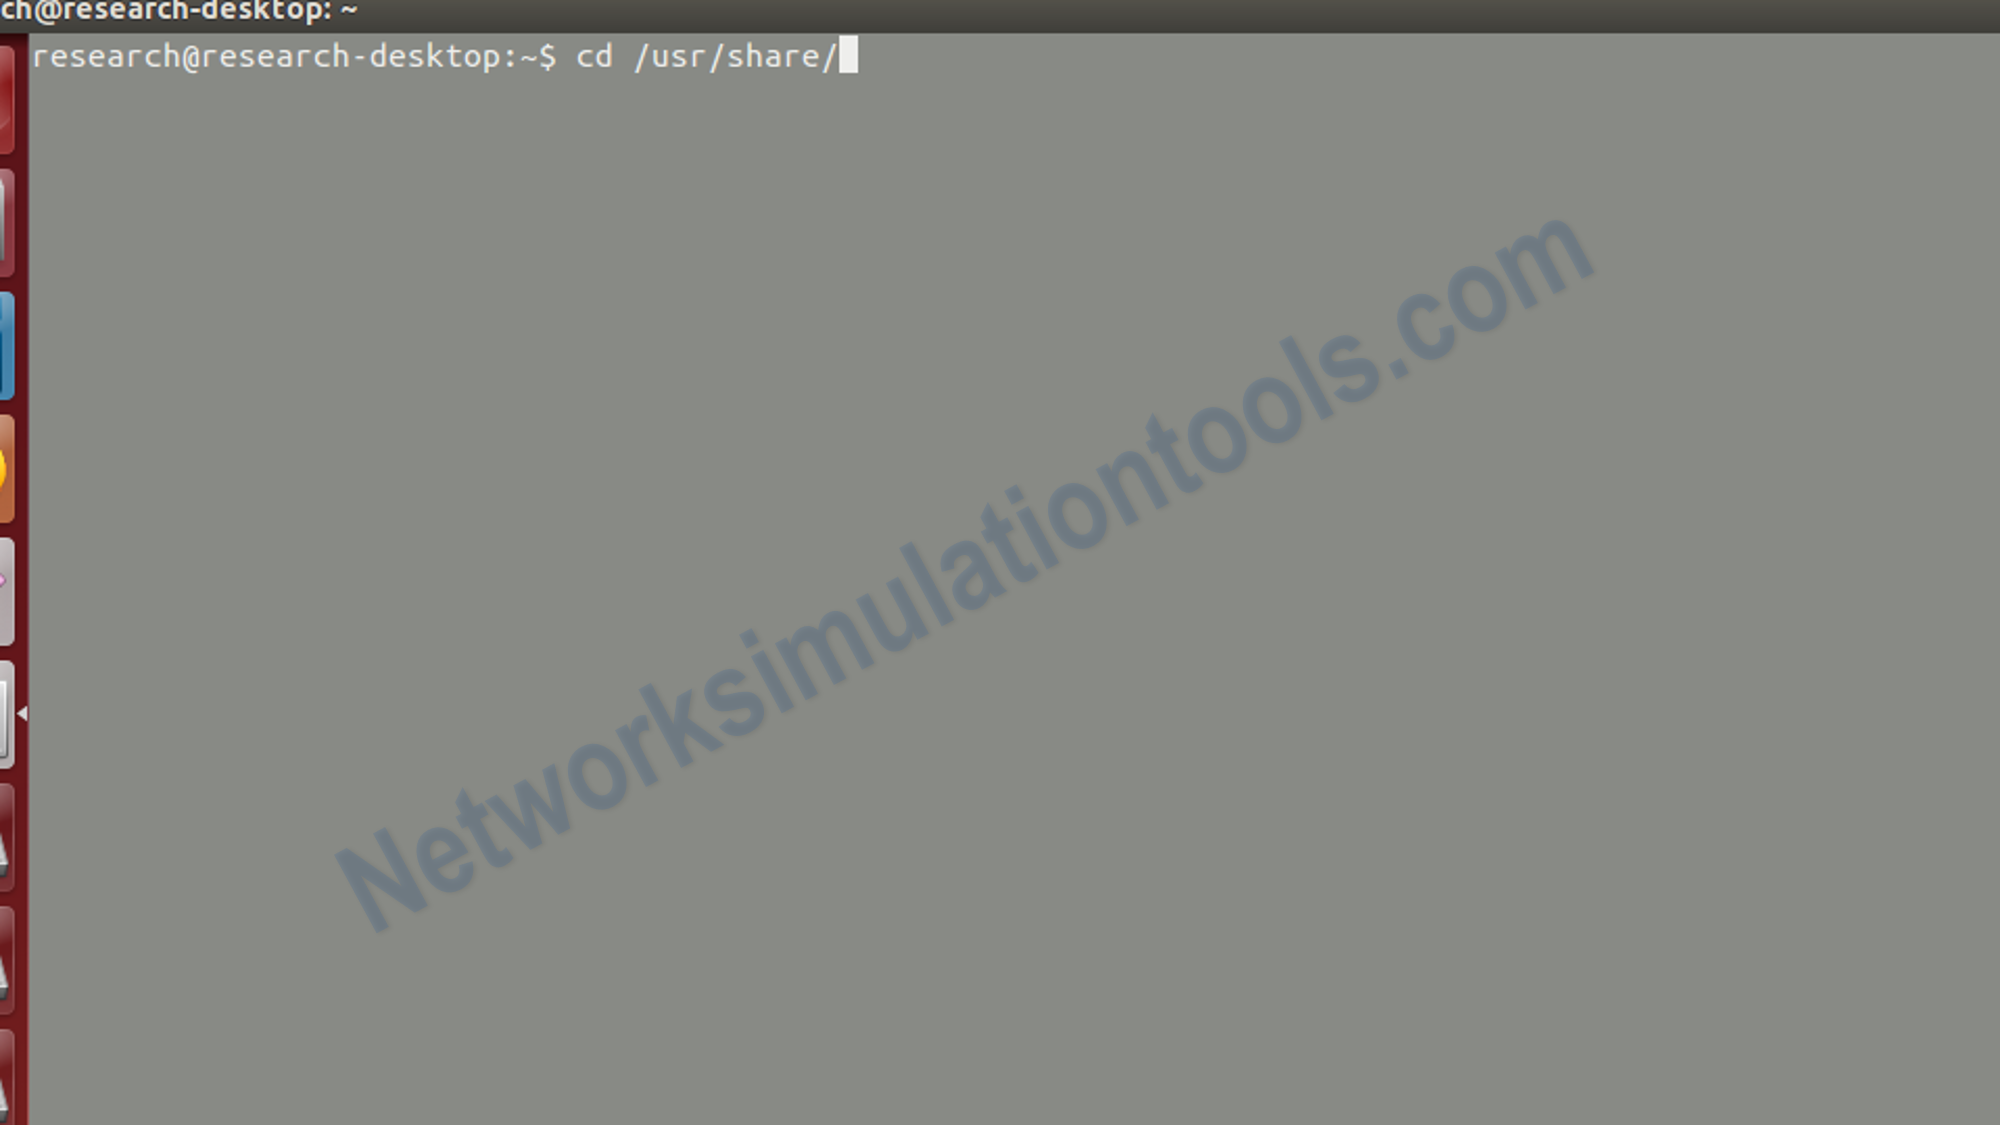
Next , perform the tk installation process by use the Open the bash shell and type below commands at prompt:
cd /usr/share/tk8.4.14/unix/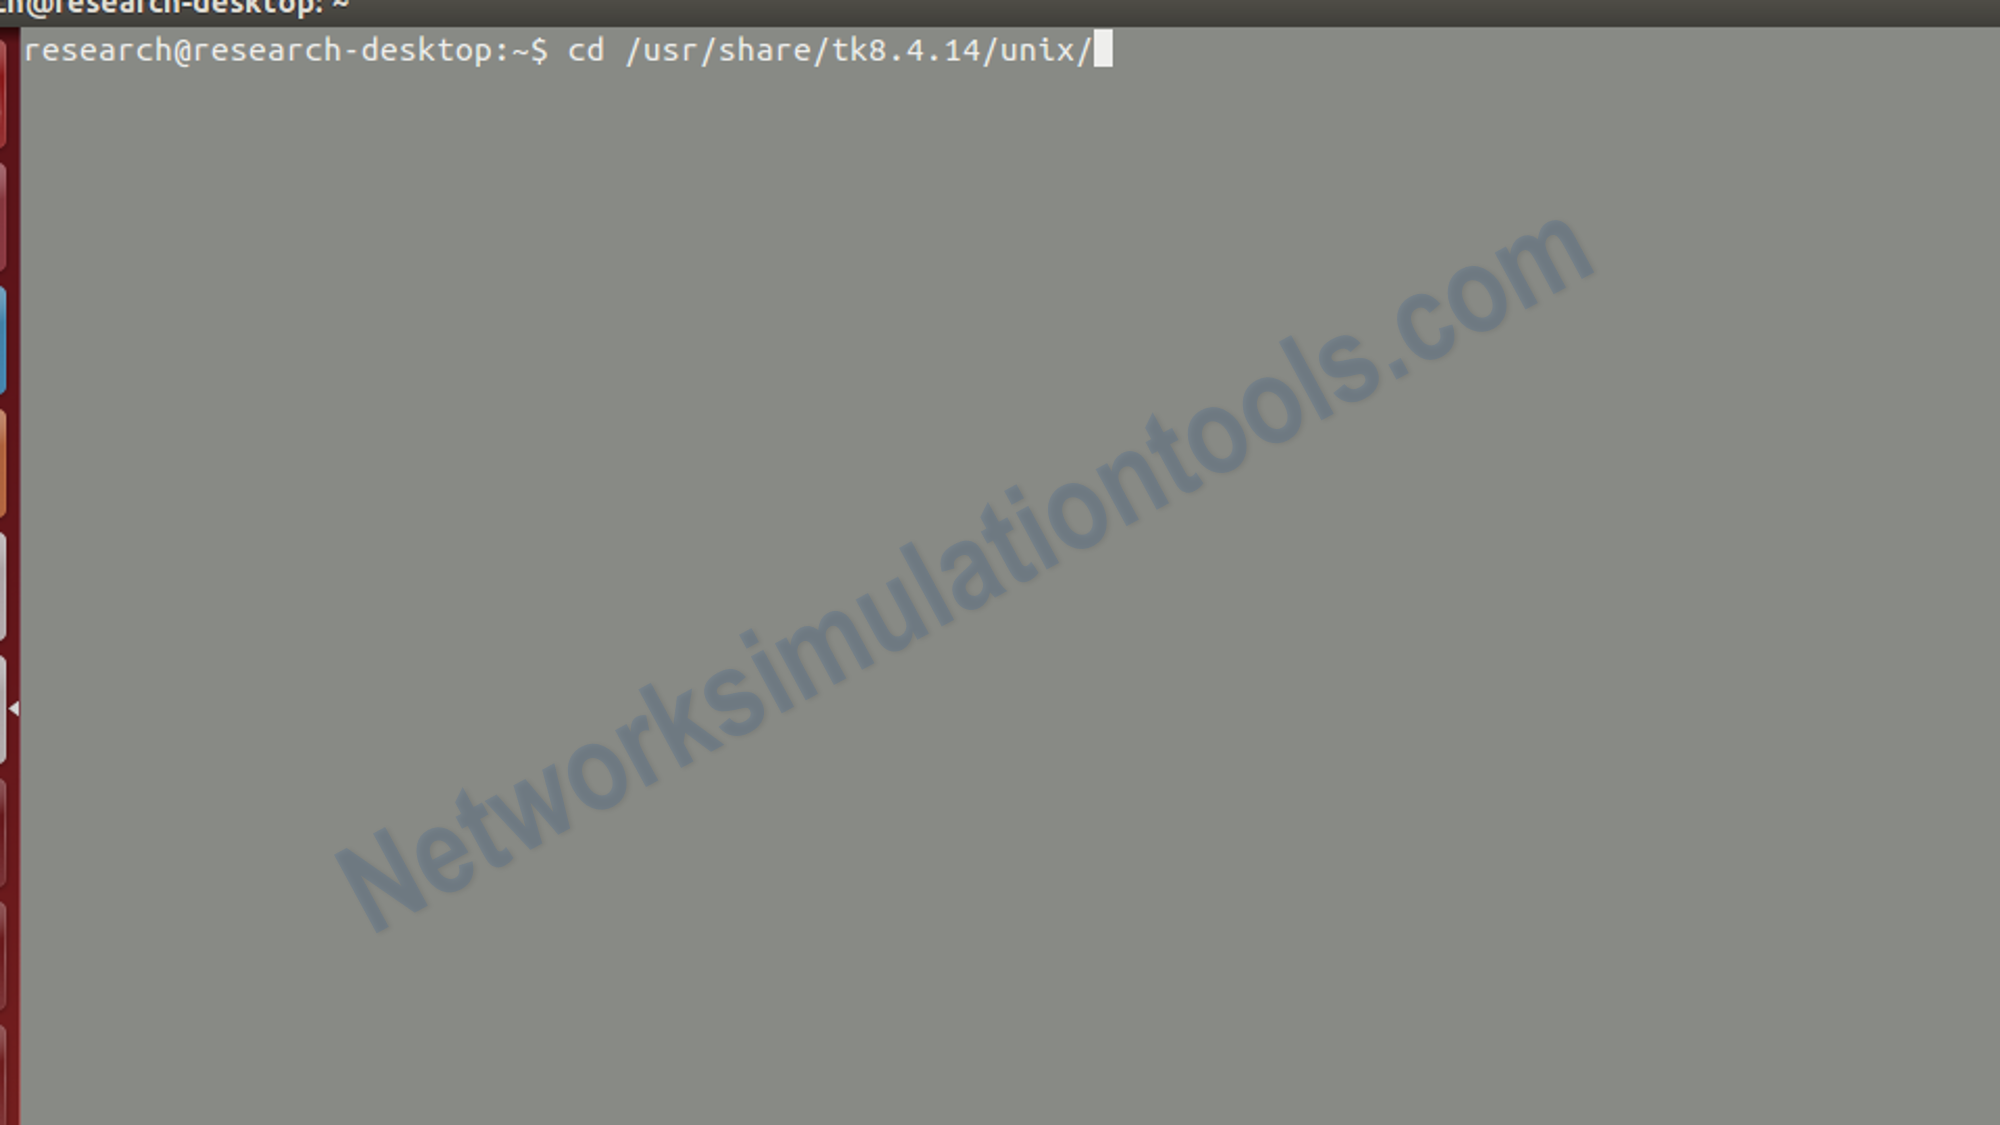
Next , perform the tk installation process by use the Open the bash shell and type below commands at prompt:
cd /usr/share/tk8.4.14/unix/
Next , perform the tk installation process by use the Open the bash shell and type below commands at prompt:./configure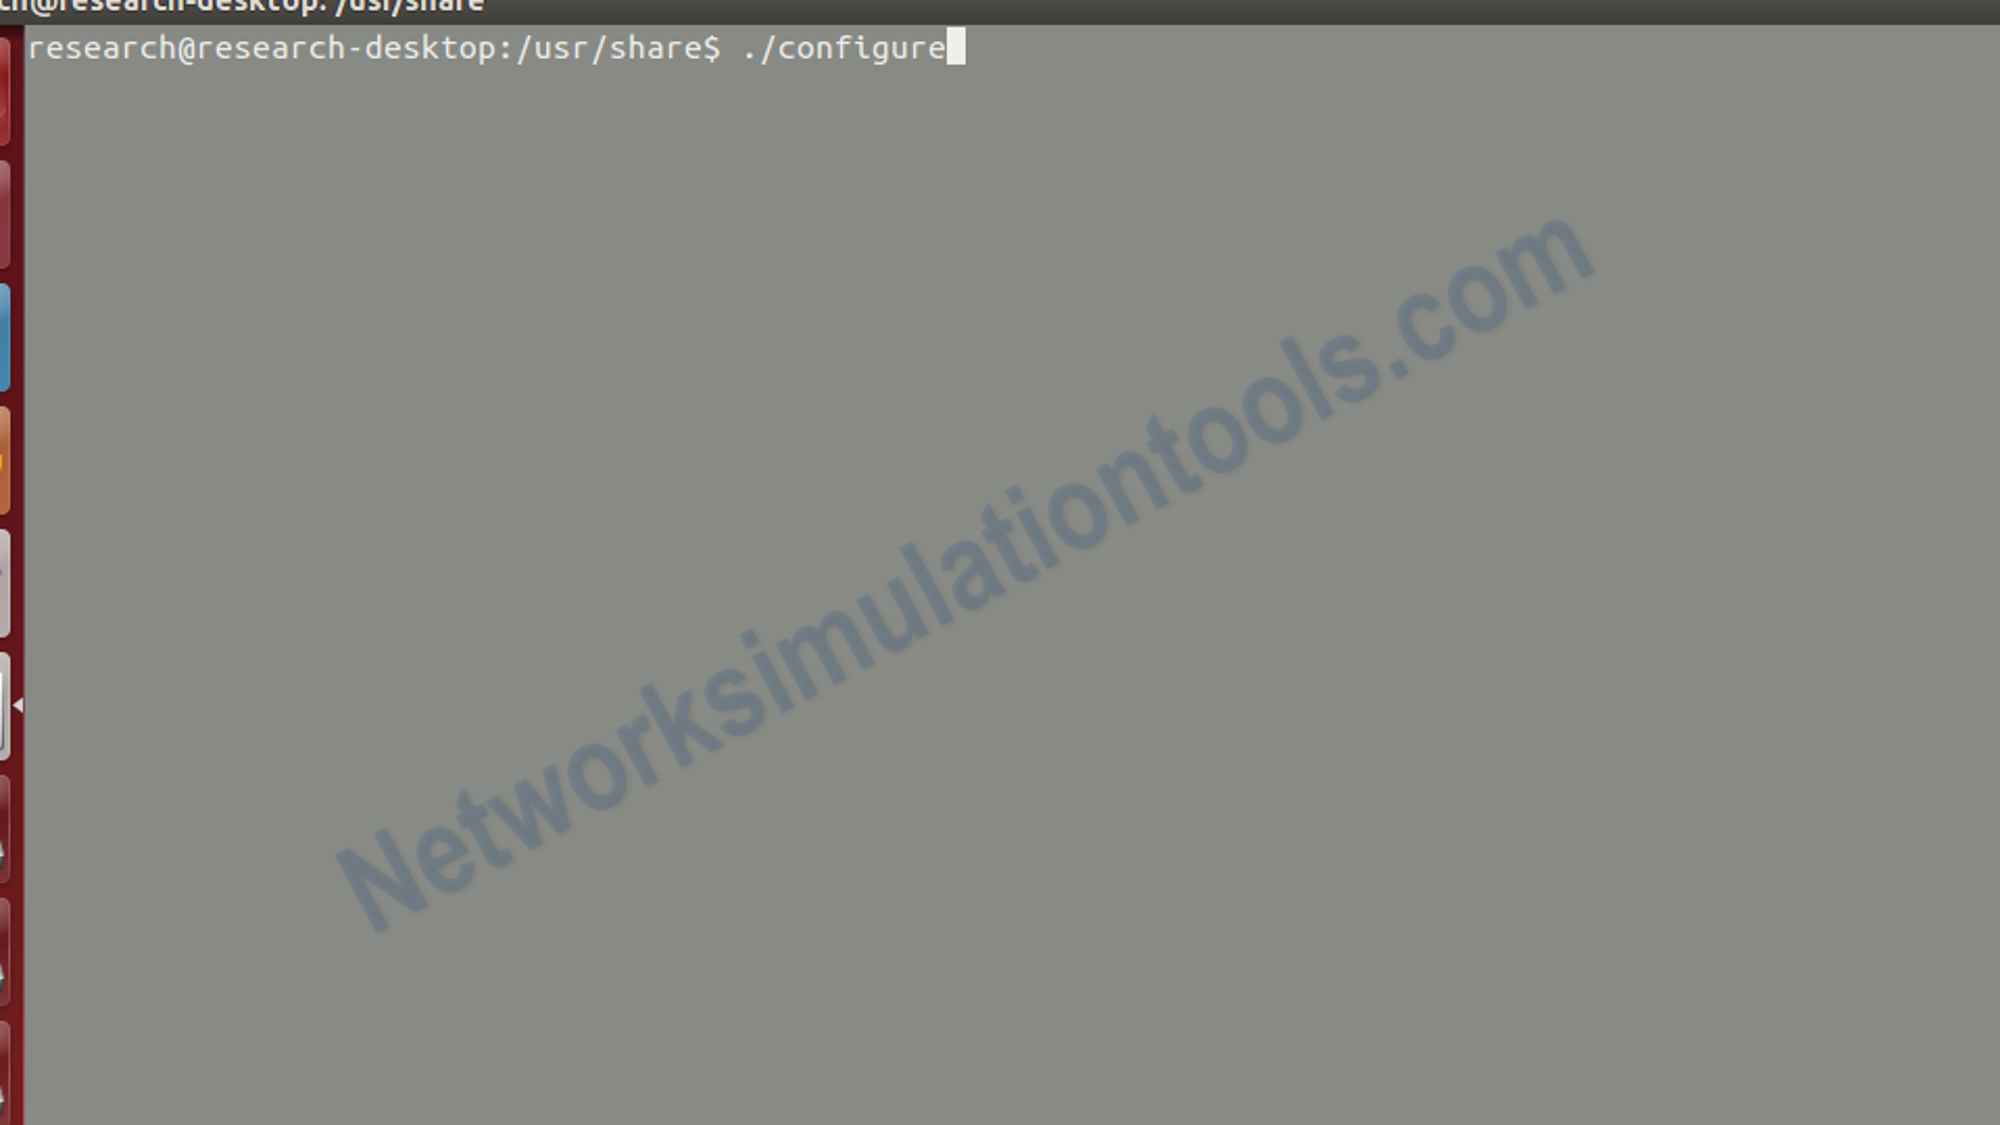
Next , perform the tk installation process by use the Open the bash shell and type below commands at prompt:
make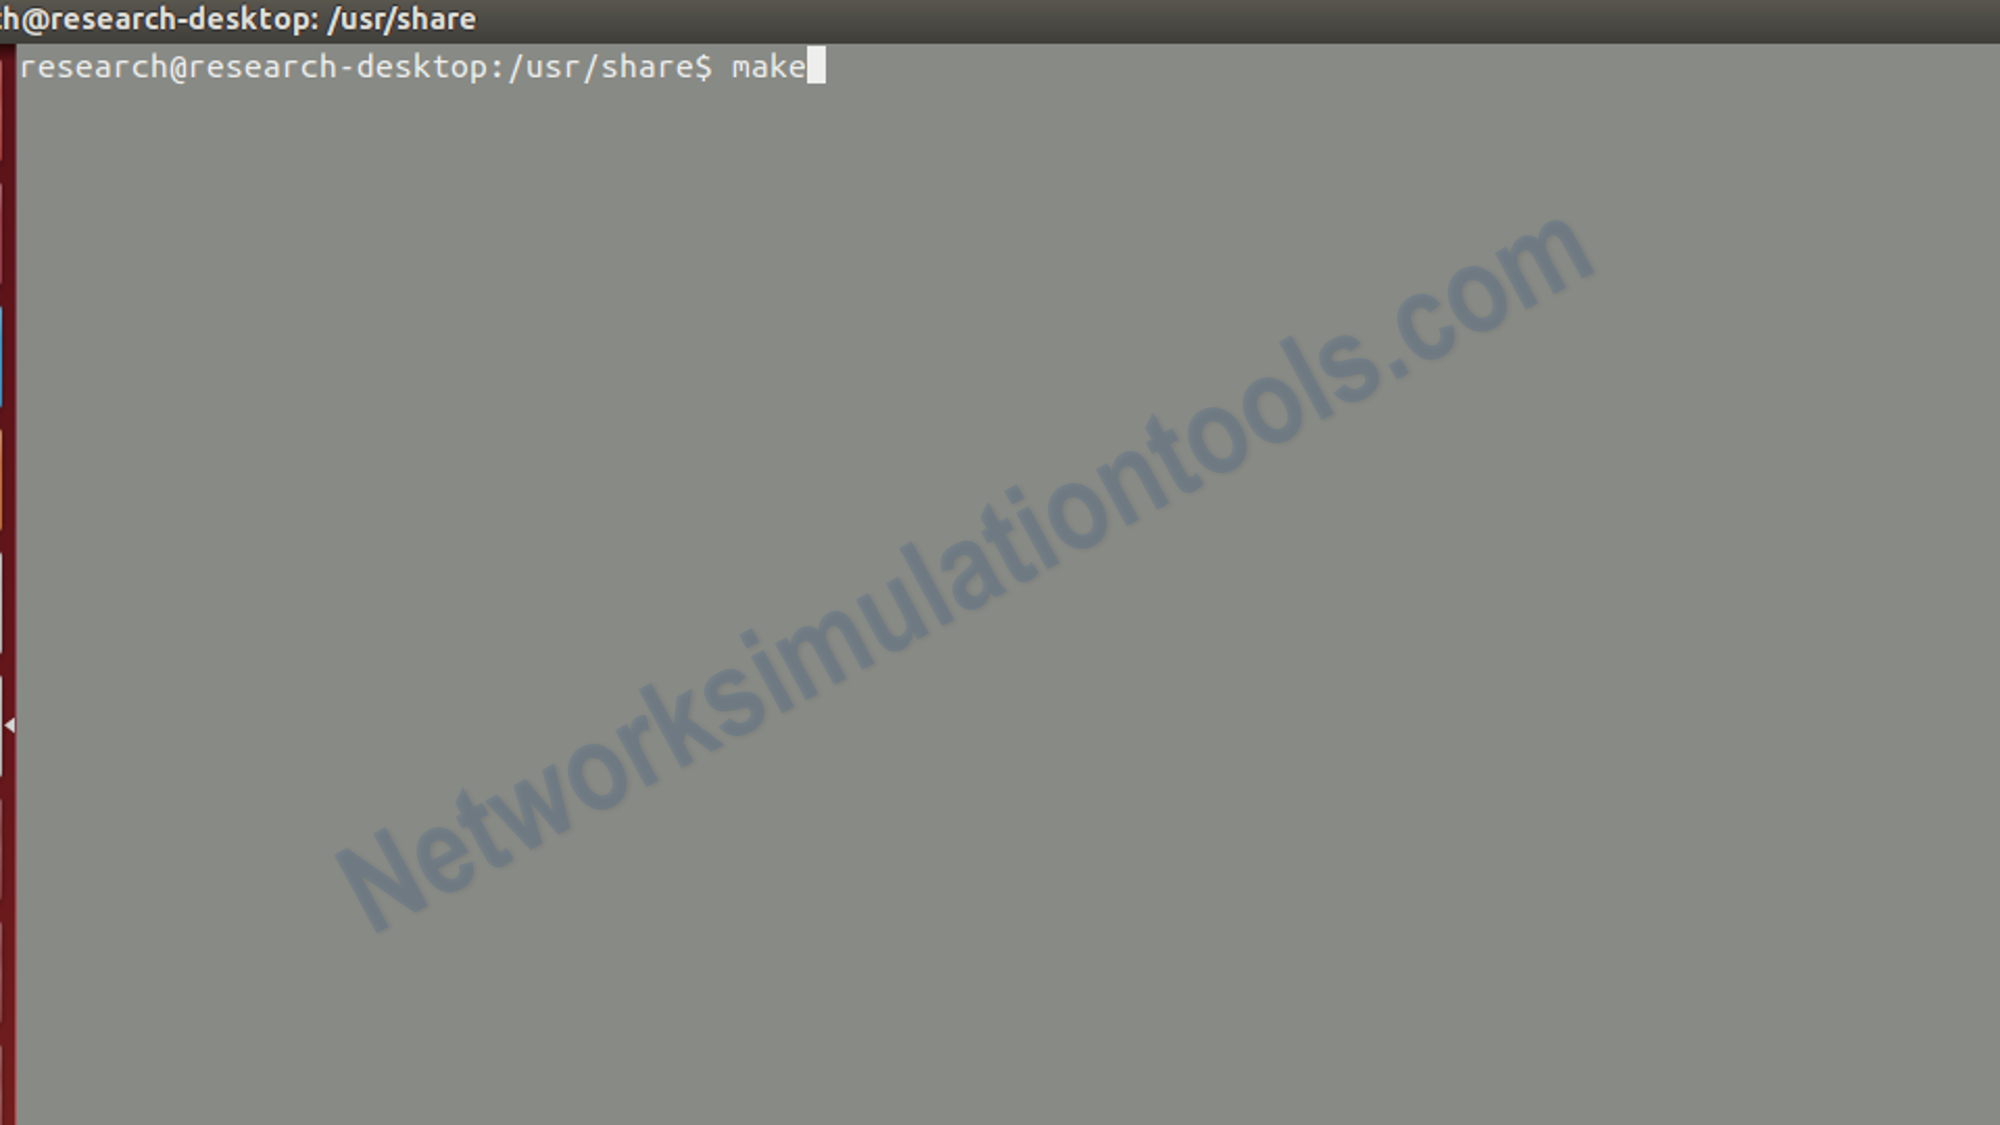
Next , perform the tk installation process by use the Open the bash shell and type below commands at prompt:
make install
Next , perform the tk installation process by use the Open the bash shell and type below commands at prompt:
tar -zxvf /root/tk8.4.14-src.tar.gz
Next , perform the otcl installation process by use the Open the bash shell and type below commands at prompt:
su
cd
wget http://downloads.sourceforge.net/otcl-tclcl/otcl-src-1.12.tar.gz
cd /usr/share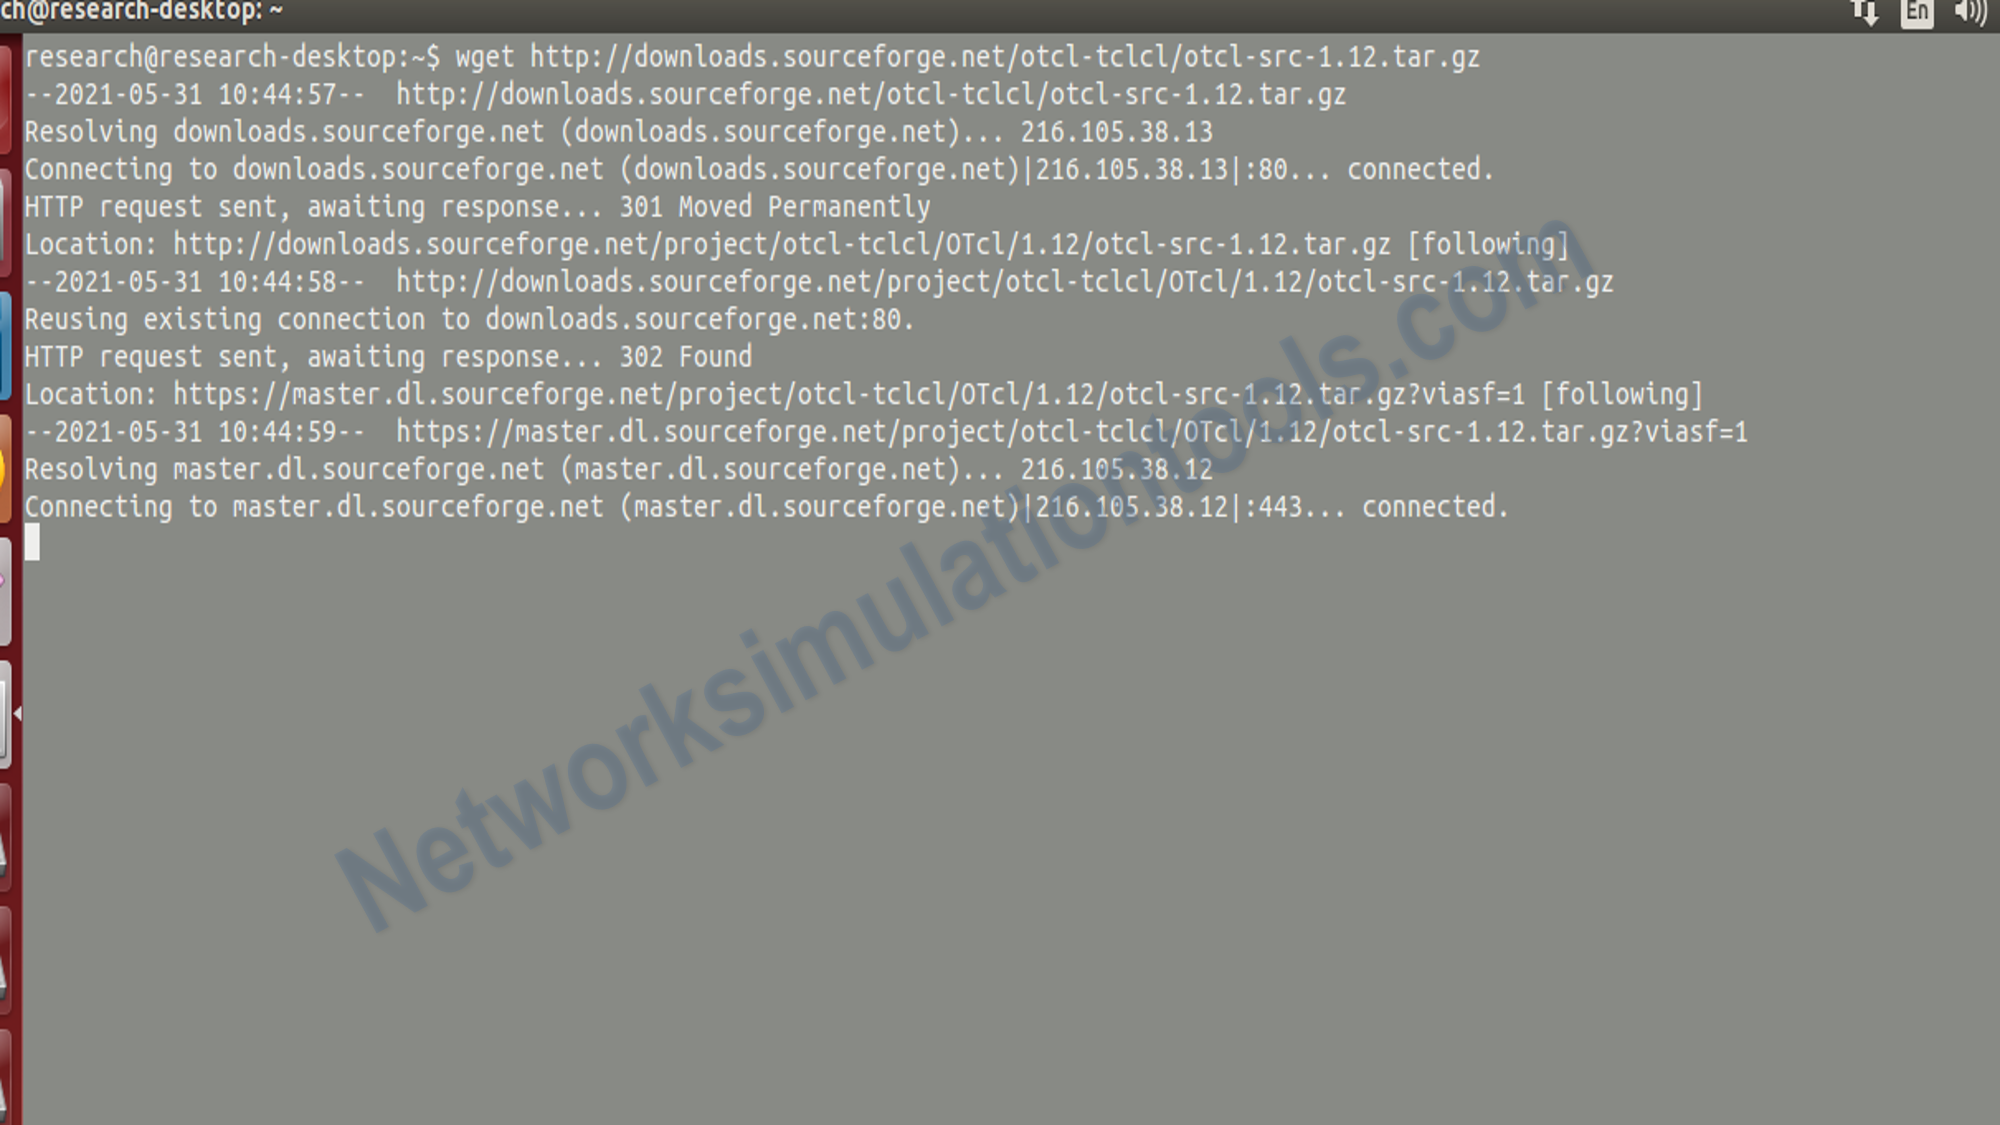
Next , perform the otcl installation process by use the Open the bash shell and type below commands at prompt:
tar -zxvf /root/otcl-src-1.12.tar.gz
Next , perform the otcl installation process by use the Open the bash shell and type below commands at prompt:
cd /usr/share/otcl-1.12/./configure –with-tcl=/usr/share/tcl8.4.14/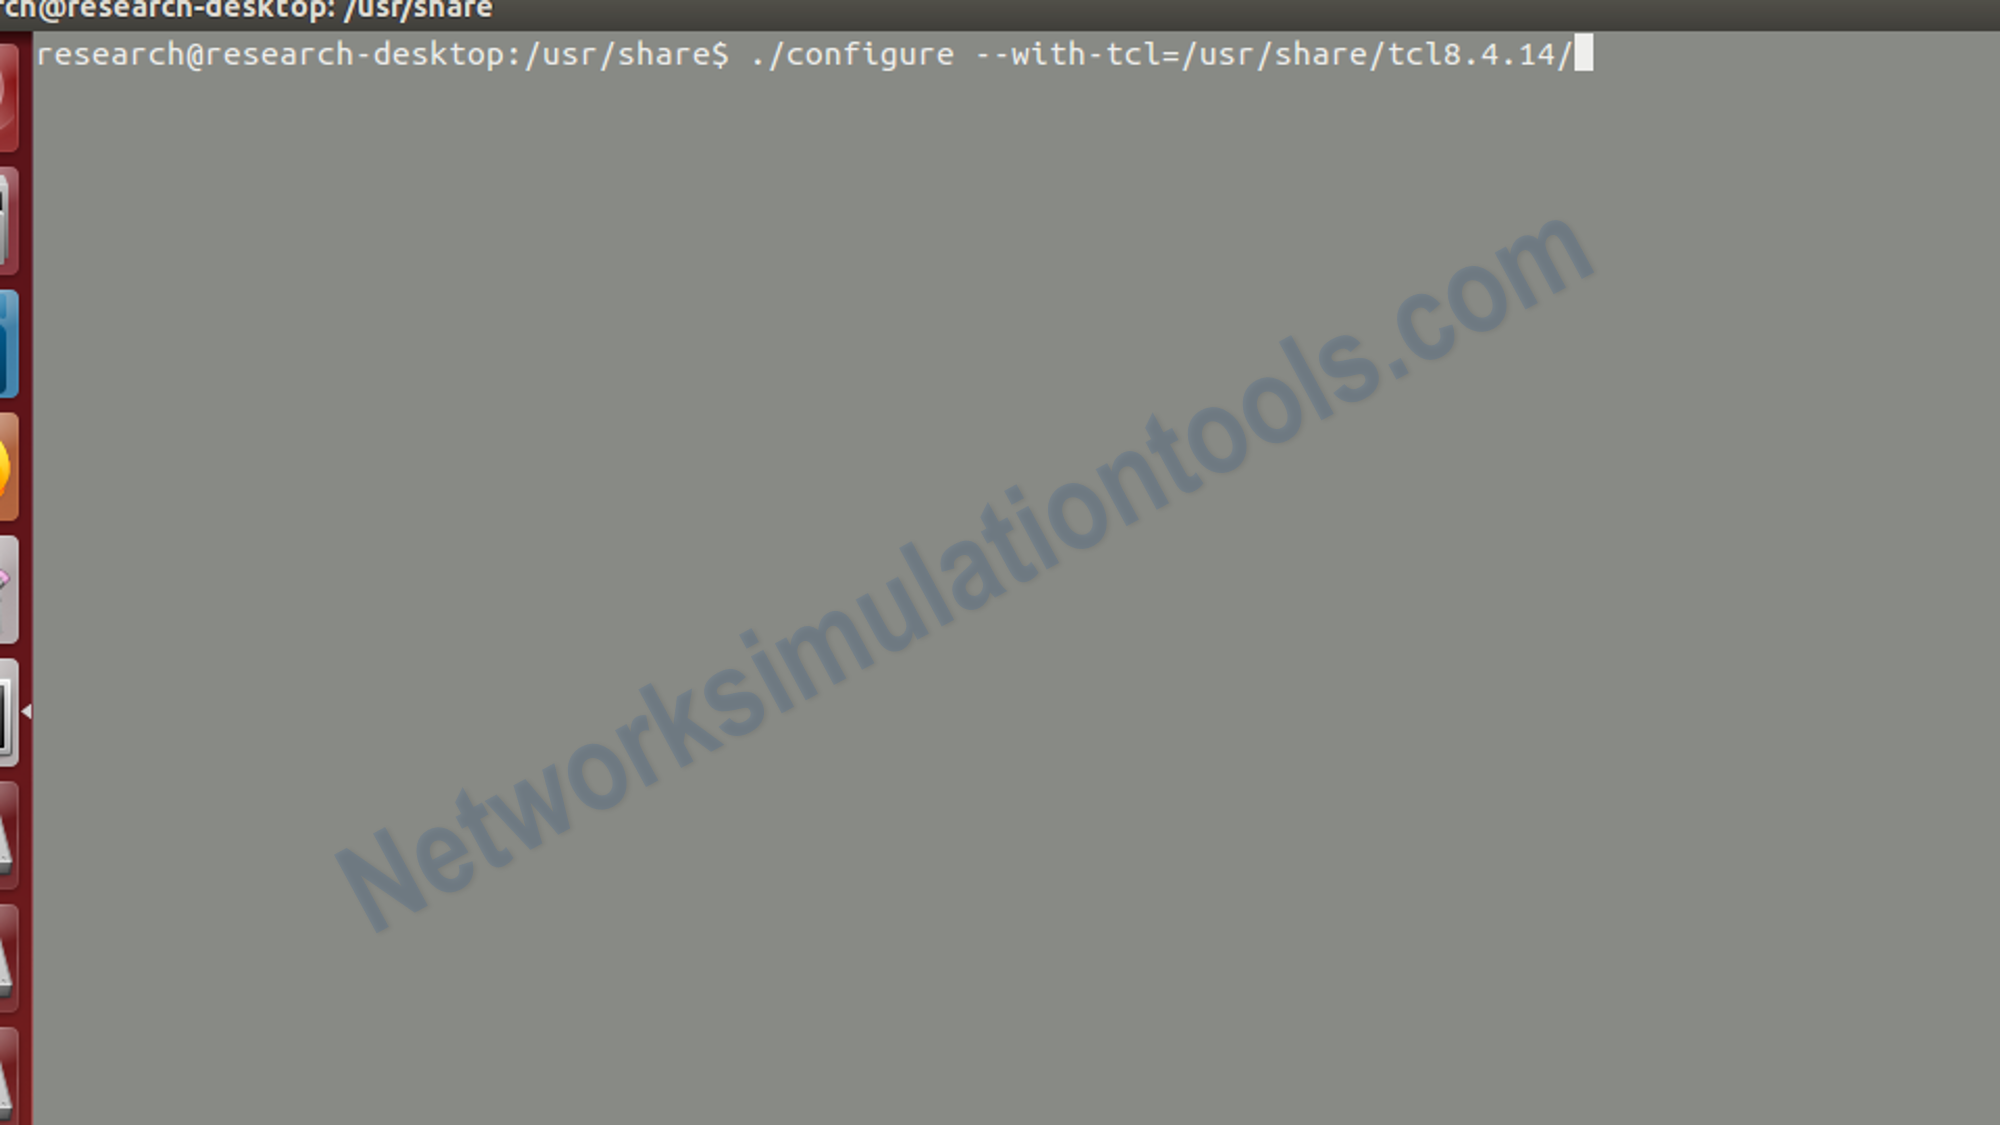
Next , perform the otcl installation process by use the Open the bash shell and type below commands at prompt:
make
Next , perform the otcl installation process by use the Open the bash shell and type below commands at prompt:
kwrite Makefile
Next , perform the tclcl installation process by use the Open the bash shell and type below commands at prompt:
su
cd
wget http://downloads.sourceforge.net/otcl-tclcl/tclcl-src-1.18.tar.gz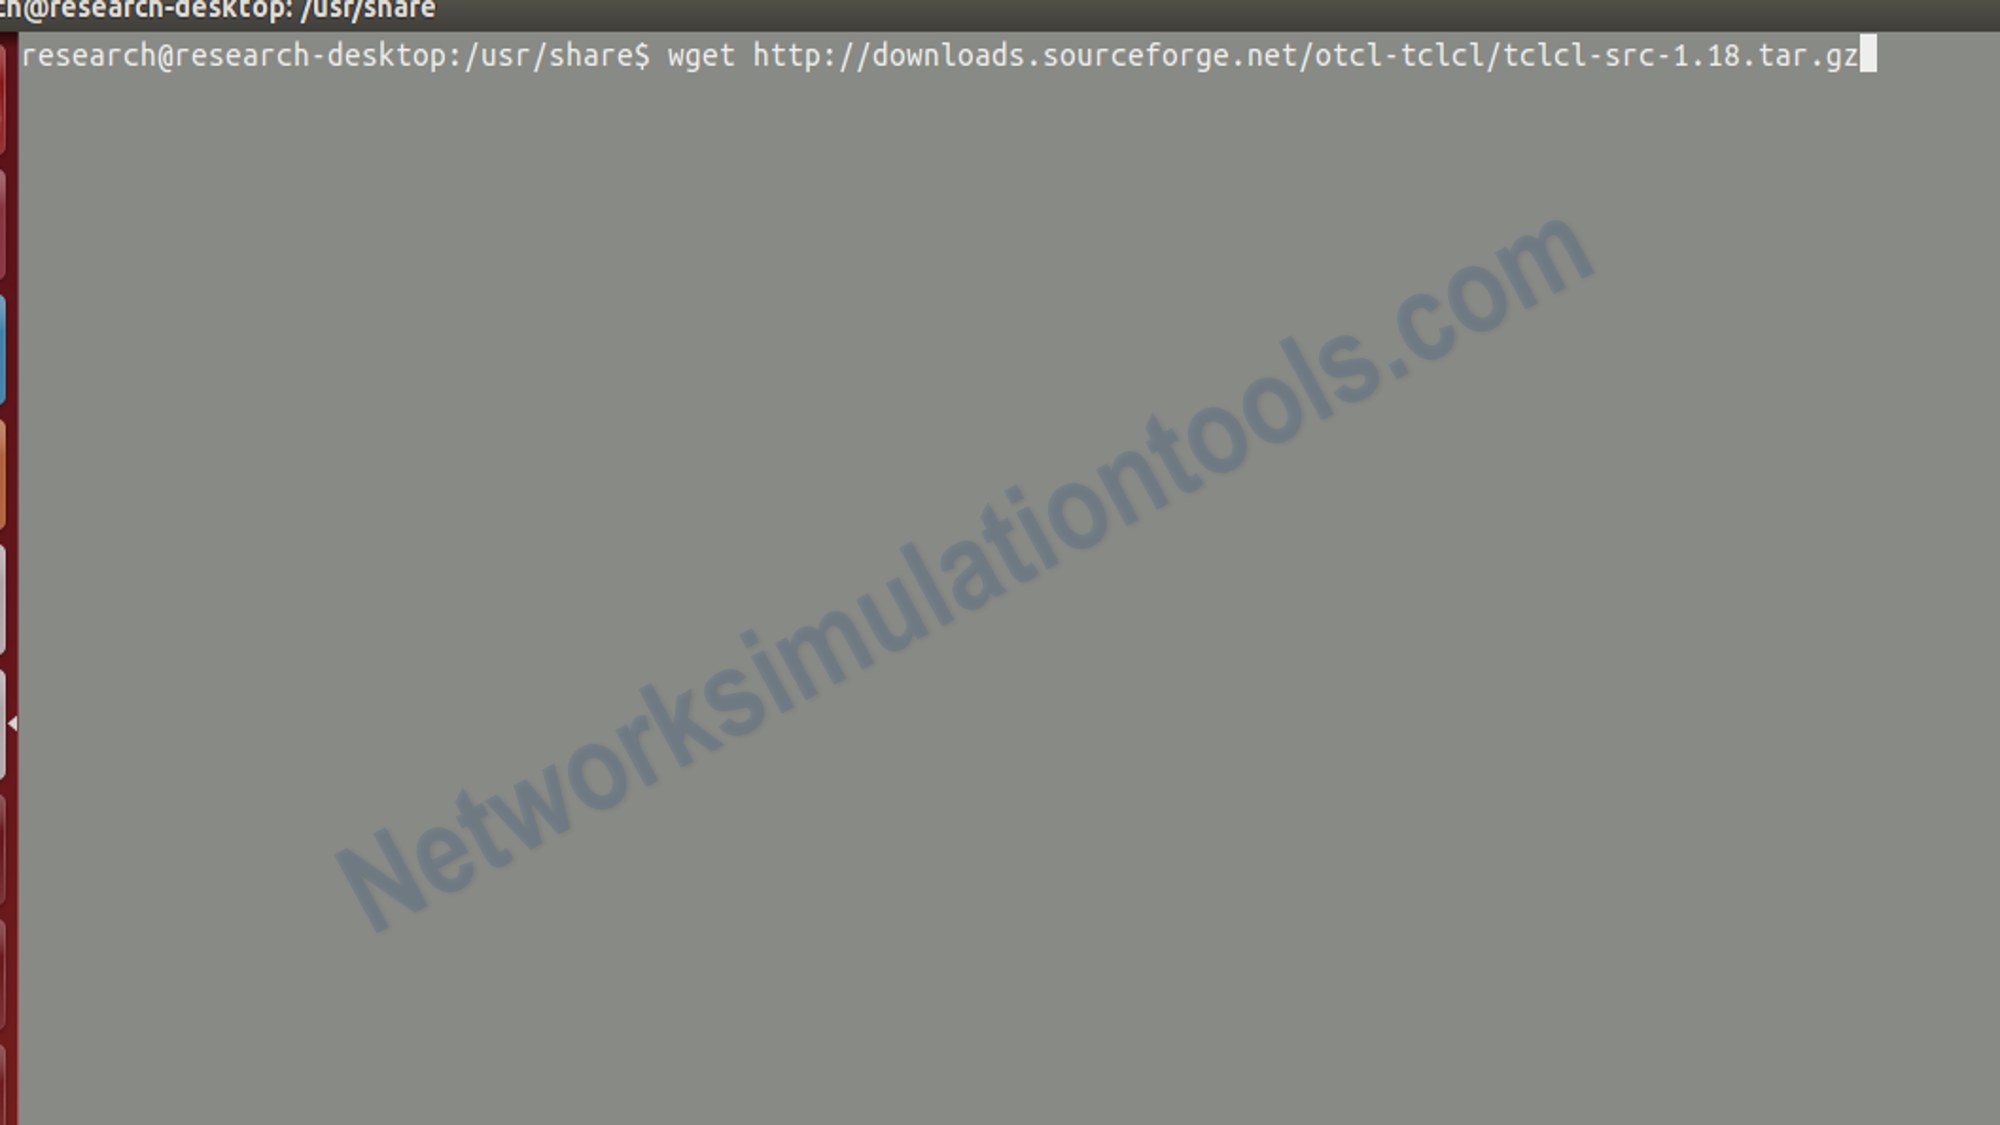
Next , perform the tclcl installation process by use the Open the bash shell and type below commands at prompt:
cd /usr/share
tar -zxvf /root/tclcl-src-1.18.tar.gz
cd /usr/share/tclcl-1.18/
./configure –with-tcl=/usr/share/tcl8.4.14/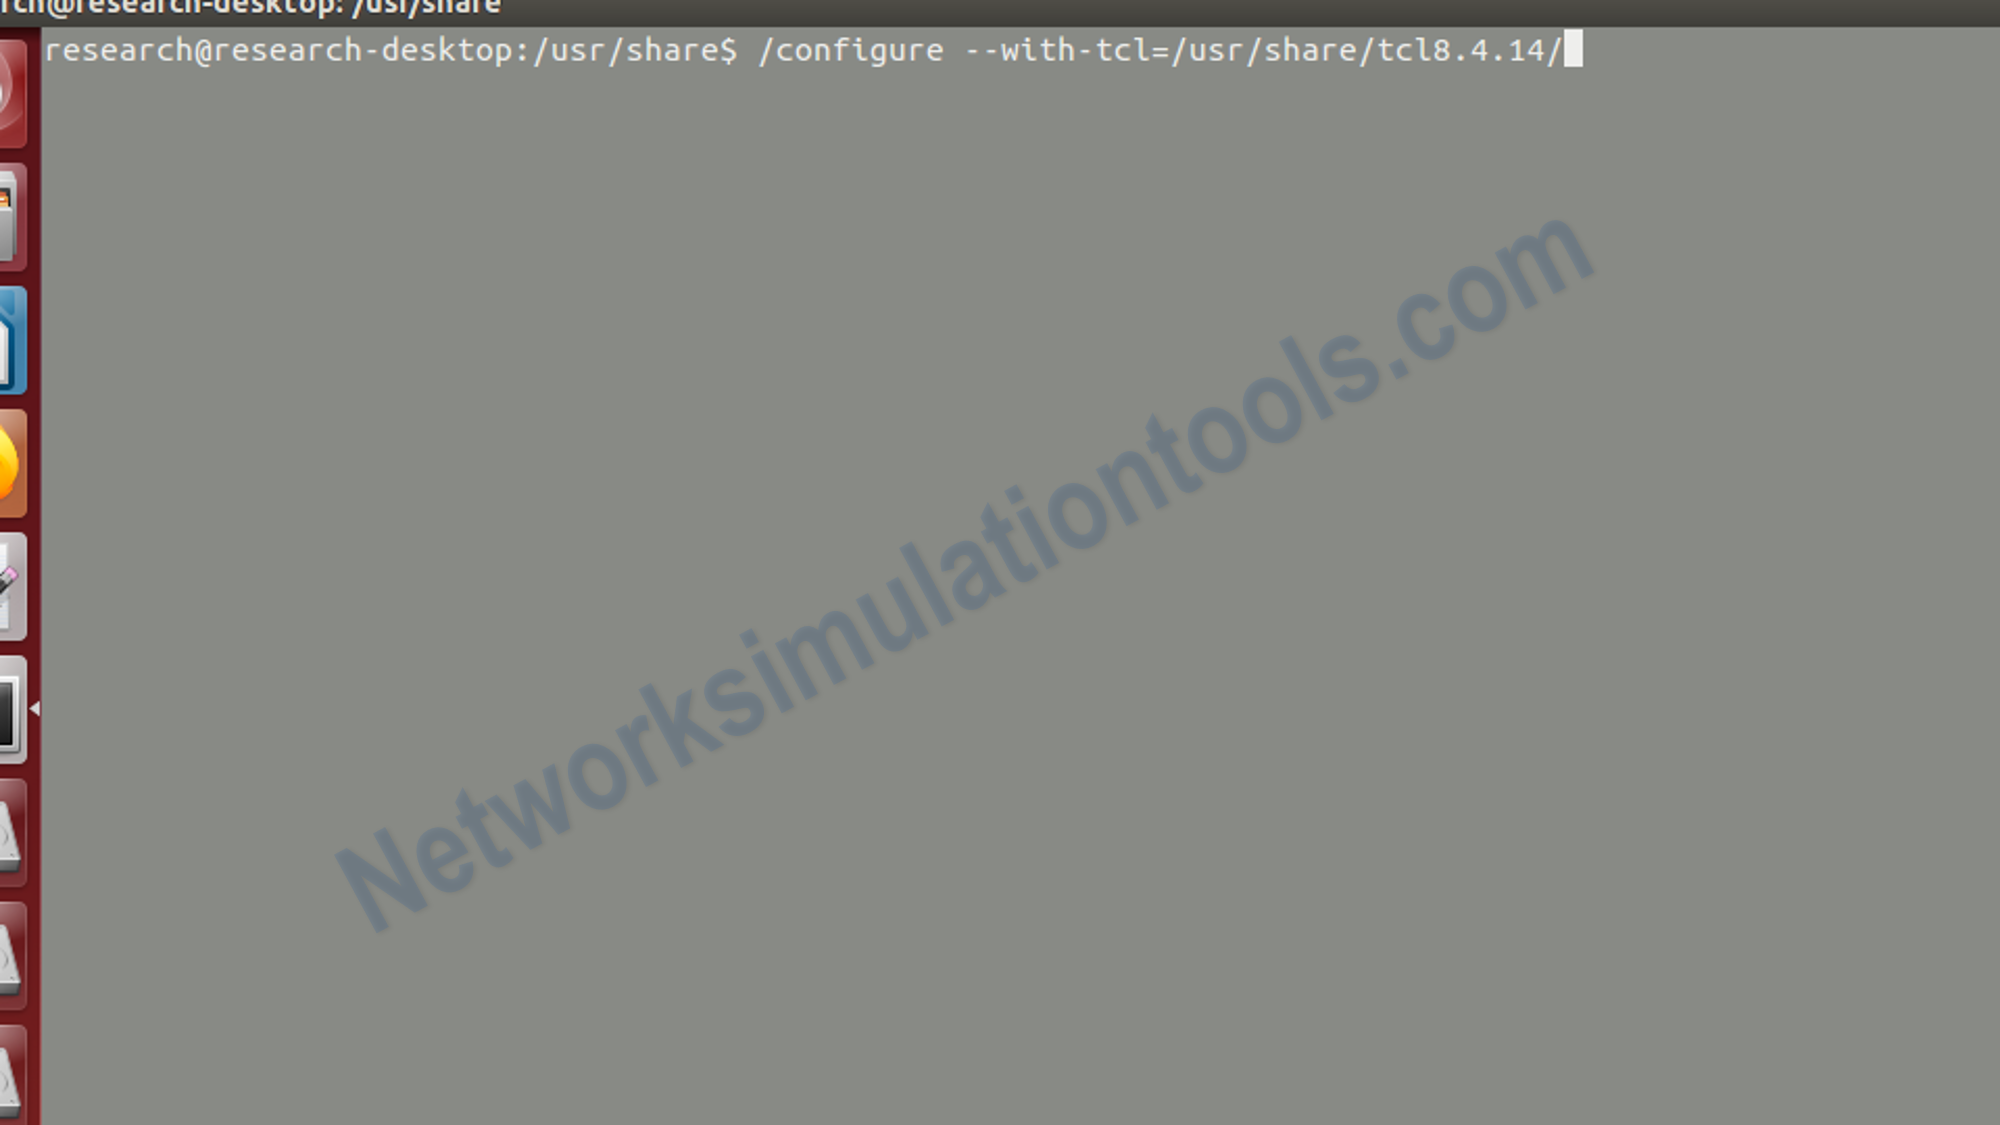
Next , perform the tclcl installation process by use the Open the bash shell and type below commands at prompt:
make
Next , perform the tclcl installation process by use the Open the bash shell and type below commands at prompt:
make install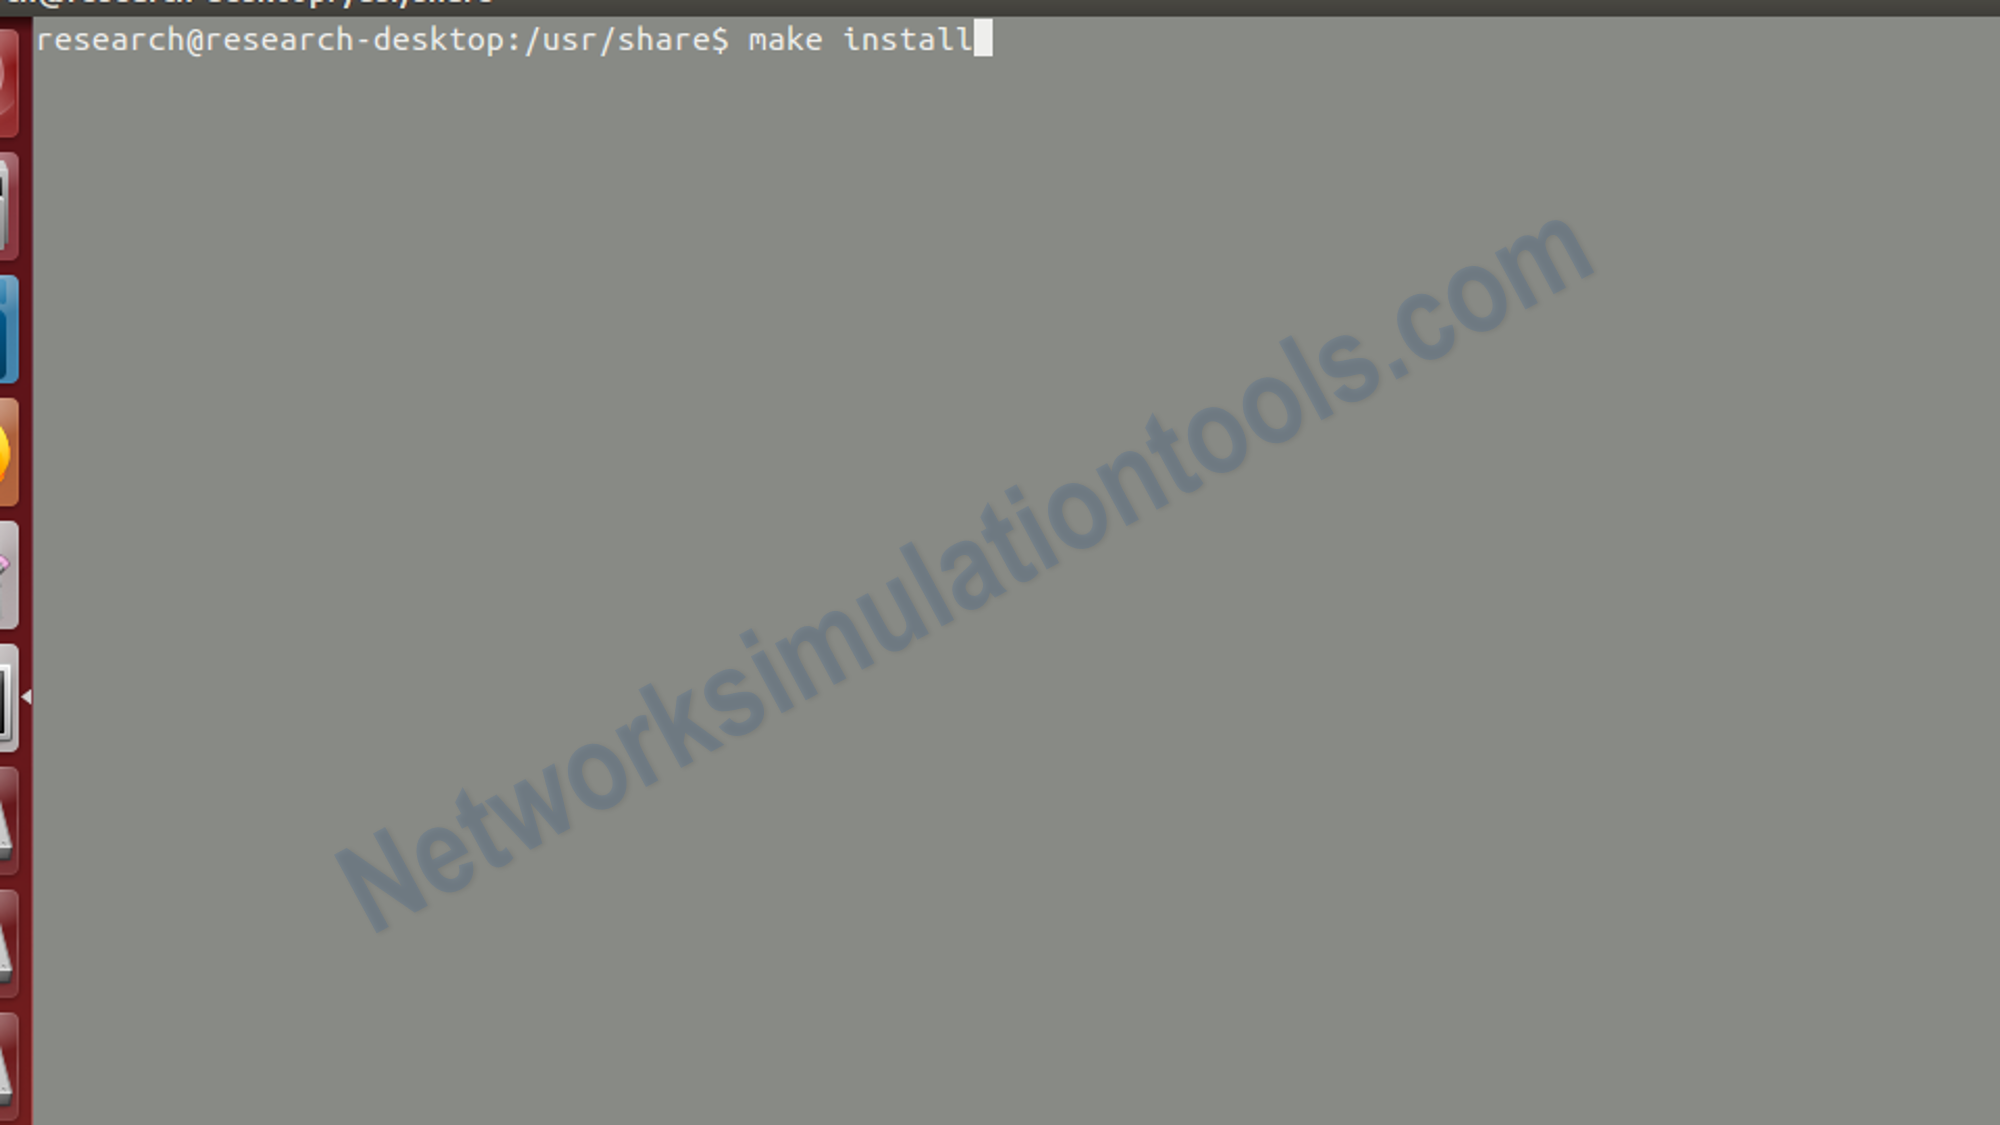
Next , perform the ns2 installation process by use the Open the bash shell and type below commands at prompt:
su
cd
wget http://downloads.sourceforge.net/nsnam/ns-src-2.30.tar.gz
Next , perform the ns2 installation process by use the Open the bash shell and type below commands at prompt:
cd /usr/share
tar -zxvf /root/ns-src-2.30.tar.gz
cd /usr/share/ns-2.30/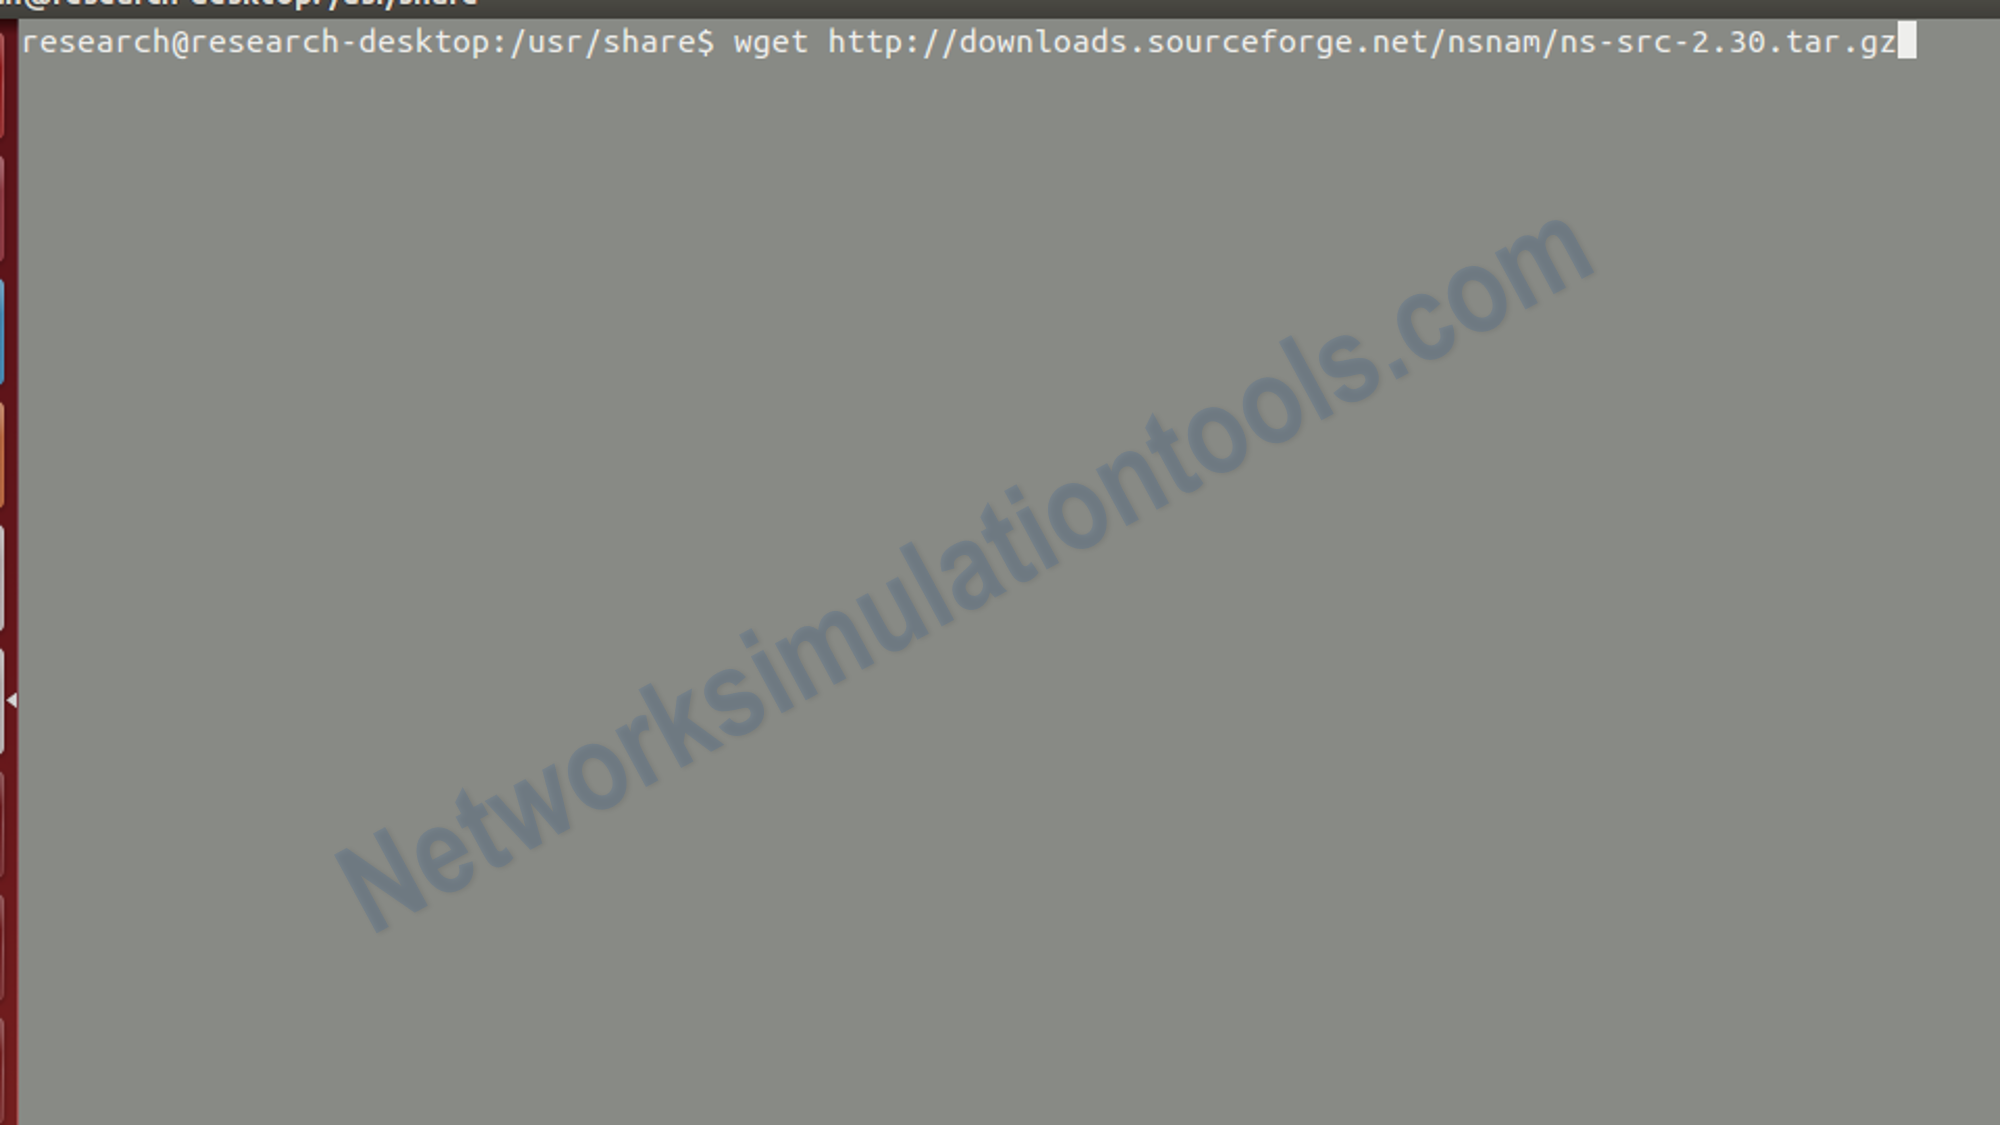
Next , perform the ns2 installation process by use the Open the bash shell and type below commands at prompt:
./configure (or ./configure –enable-debug if you want to use gdb for debugging)
Next , perform the ns2 installation process by use the Open the bash shell and type below commands at prompt:
make
make install
echo ‘export LD_LIBRARY_PATH=$LD_LIBRARY_PATH:/usr/local/lib:’ > /etc/profile.d/ns.sh
chmod 0733 /etc/profile.d/ns.sh
echo ‘export LD_LIBRARY_PATH=$LD_LIBRARY_PATH:/usr/local/lib:’ > $HOME/.bashrc
rm -f /root/ns-src-2.30.tar.gz
Next, perform the process of check if ns2 is well installed, type at promp :
ns
then ewe should see the ‘%’ simbol, in the promt window
Next , perform the nam installation process by use the Open the bash shell and type below commands at prompt:
su
cd
wget http://downloads.sourceforge.net/nsnam/nam-src-1.12.tar.gz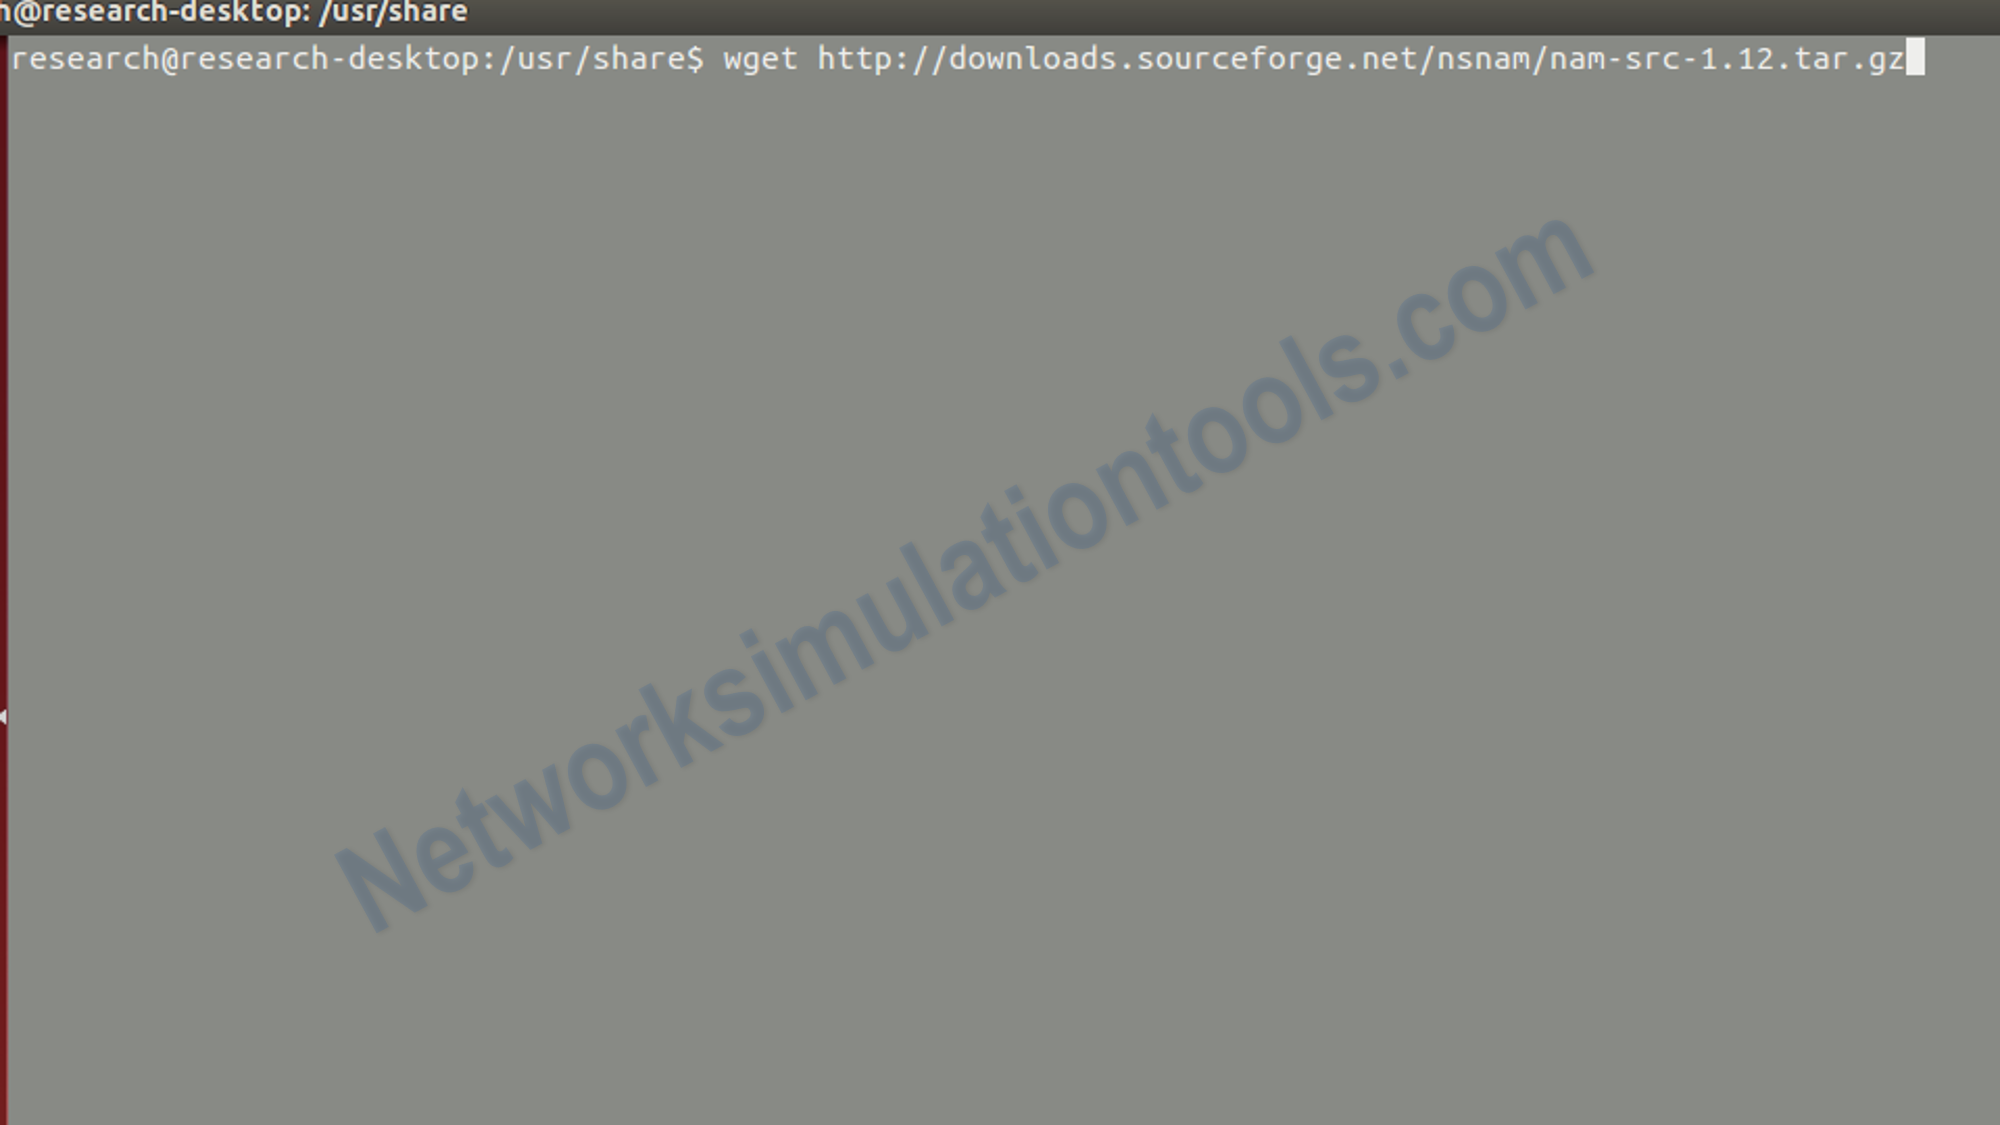
cd /usr/share
tar -zxvf /root/nam-src-1.12.tar.gz
cd /usr/share/nam-1.12/
./configure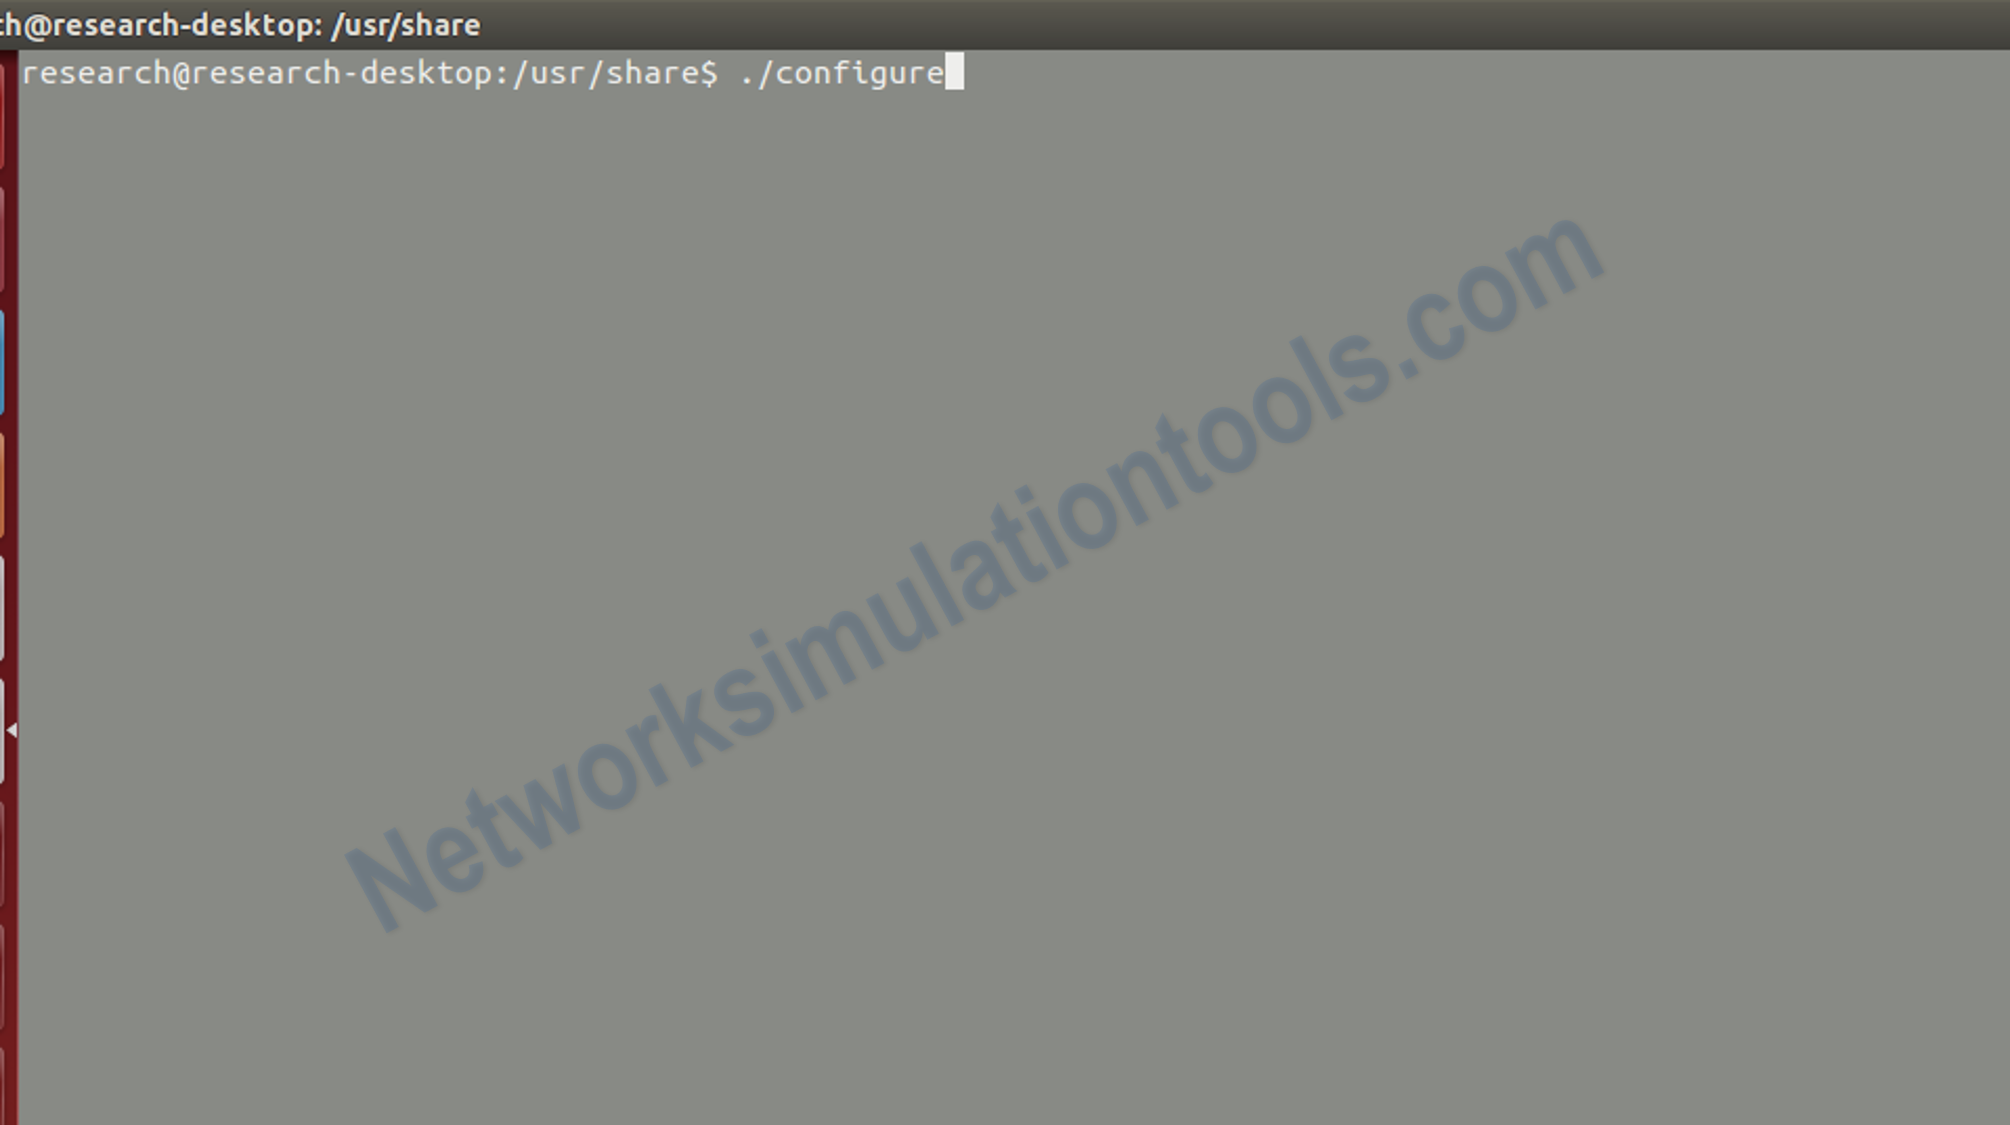
Next , perform the nam installation process by use the Open the bash shell and type below commands at prompt:
make
Next , perform the nam installation process by use the Open the bash shell and type below commands at prompt:
make install
rm -f /root/nam-src-1.12.tar.gz
Next, perform the process of check if nam is well installed, type at promp:
nam
then we should see the nam window
If you face any issues on How to Install NS2 in Fedora, reach us to create an customize NS2 simulation projects.
| Technology | Ph.D | MS | M.Tech |
|---|---|---|---|
| NS2 | 75 | 117 | 95 |
| NS3 | 98 | 119 | 206 |
| OMNET++ | 103 | 95 | 87 |
| OPNET | 36 | 64 | 89 |
| QULANET | 30 | 76 | 60 |
| MININET | 71 | 62 | 74 |
| MATLAB | 96 | 185 | 180 |
| LTESIM | 38 | 32 | 16 |
| COOJA SIMULATOR | 35 | 67 | 28 |
| CONTIKI OS | 42 | 36 | 29 |
| GNS3 | 35 | 89 | 14 |
| NETSIM | 35 | 11 | 21 |
| EVE-NG | 4 | 8 | 9 |
| TRANS | 9 | 5 | 4 |
| PEERSIM | 8 | 8 | 12 |
| GLOMOSIM | 6 | 10 | 6 |
| RTOOL | 13 | 15 | 8 |
| KATHARA SHADOW | 9 | 8 | 9 |
| VNX and VNUML | 8 | 7 | 8 |
| WISTAR | 9 | 9 | 8 |
| CNET | 6 | 8 | 4 |
| ESCAPE | 8 | 7 | 9 |
| NETMIRAGE | 7 | 11 | 7 |
| BOSON NETSIM | 6 | 8 | 9 |
| VIRL | 9 | 9 | 8 |
| CISCO PACKET TRACER | 7 | 7 | 10 |
| SWAN | 9 | 19 | 5 |
| JAVASIM | 40 | 68 | 69 |
| SSFNET | 7 | 9 | 8 |
| TOSSIM | 5 | 7 | 4 |
| PSIM | 7 | 8 | 6 |
| PETRI NET | 4 | 6 | 4 |
| ONESIM | 5 | 10 | 5 |
| OPTISYSTEM | 32 | 64 | 24 |
| DIVERT | 4 | 9 | 8 |
| TINY OS | 19 | 27 | 17 |
| TRANS | 7 | 8 | 6 |
| OPENPANA | 8 | 9 | 9 |
| SECURE CRT | 7 | 8 | 7 |
| EXTENDSIM | 6 | 7 | 5 |
| CONSELF | 7 | 19 | 6 |
| ARENA | 5 | 12 | 9 |
| VENSIM | 8 | 10 | 7 |
| MARIONNET | 5 | 7 | 9 |
| NETKIT | 6 | 8 | 7 |
| GEOIP | 9 | 17 | 8 |
| REAL | 7 | 5 | 5 |
| NEST | 5 | 10 | 9 |
| PTOLEMY | 7 | 8 | 4 |